In my Welcome Sign tutorial, I talked about how we were recently gifted Jeremy’s Grandma’s old wicker furniture. We were pretty excited to get started on this project, because both Jeremy and I had the same vision for the furniture – this look (sans the striped pillows/curtains):

Black Wicker + White Cushions. So clean, classic, and easy to decorate around for different holidays/seasons.
This is what we started with:
The furniture itself needed a little TLC, but it really wasn’t too bad. I didn’t go to the lengths of re-wrapping the legs with wicker, because we wanted it to look like heirloom furniture – not brand new. With this project, you want to take the steps you would to refinish any old furniture:
Clean + Prime + Paint + Top Coat
CLEAN:
We started by taking a stiff-bristled brush and gently scraping off loose paint. Be very light-handed with this, I made the mistake of thinking I needed to scrub harder than I did, and snapped a few pieces of wicker before I learned this. We finished giving it a once-over with the air compressor hose, this was able to knock off any stubborn loose paint.
PRIME:
Oh trusty old Kilz, how I love you. I bought four cans of their white oil-based spray primer – one for each piece of furniture. Since these were going to be indoors on a three season porch, we didn’t need heavy duty exterior primer. This will give you good coverage, hold up to temperature fluctuations, and hold the top coats of paint really well. I followed the instructions and sprayed one thin coat, let it dry for one hour, then gave it a final coat. Kilz has amazing coverage and has never failed me.
PAINT:
I did a lot of Googling before I started this project, and most people said that the way to go with wicker was an oil-based primer, with latex paint on top. It makes for a durable combination, which is what you want for furniture you plan on using a lot. Luckily, I had almost 1/2 a gallon of Benjamin Moore Onyx latex paint in the basement to use. When refinishing wicker, you never, Ever, EVER want to paint with a brush. Don’t do it. Always spray the paint on, it gives a much cleaner finish. We opted to use our paint sprayer attachment for the air compressor.
One caveat – these sprayers are not meant to be used with traditional latex interior paint, it is too thick and can clog up your equipment. So before we started, we had to make a large batch of thinned paint. We simply mixed 4 parts paint with 1 part paint thinner, and let it run through a straining funnel. If it can run through the strainer smoothly, it will run through your sprayer. This worked perfectly.
Wear a mask, gloves, and eye protection for this part, and cover your yard with a dropcloth if you don’t want spray paint shadows on your grass! Much like the priming process, we did one coat on the furniture, let it dry for an hour, and re-coated. We did thicker coats with the paint sprayer since we had to thin it out initially.
TOP COAT:
The furniture looked SO much better when we were finished with the final coat of paint – almost brand new! But in order to keep it looking that way, I suggest giving it at least two coats of sprayable polyurethane. This will keep the finish lasting a lot longer, and minimize the chance of paint cracking or chipping off. We bought two cans of Mixwax Helmsman Spray Polyurethane in Satin – all of the reviews I read said that this left the nicest finish, and won’t yellow over time as some polyurethanes can.
You want really thin coats with this, so two cans was more than enough. I followed the instructions (once the last coat of Onyx was dry), sprayed one light coat, let it dry for and hour, and re-coated. If you’re going to be using your wicker furniture outside, do at least three coats to be safe. Let this top coat dry for at least 24 hours before using your furniture.
Now that the furniture itself was done, we just had to find some white cushions to finish the look. If you’re like us, at this point in the project you’re thinking “Whew, the hardest part is over. Cushions can’t be that expensive, right?”
And you’d be so wrong. Just like we were.
Cushions are stupid expensive. Like more expensive than the furniture itself – sure, ours was free, but even if we’d purchased it the cushions would still be the most expensive part of the project. There is nothing I can do about this, but I feel it necessary to complain because seriously, these are glorified butt-pillows.
We looked at Home Depot, Lowes, Pottery Barn, Ballard Design, Homegoods, At Home, TJ Maxx, Macys, Kohls, Target, and 1.2 million other stores. Most places either did not carry white cushions, or if they did, they were $90 for a freaking lumbar pillow. No bueno. Thankfully, we stumbled on a sale Memorial Day weekend at Pier 1…and they had exactly what we were looking for, for great prices: the Cabana line in Cream.
We bought the standard settee and chair cushions, and a few pillows, and did a happy dance through the parking lot all the way back to our car because Hallelujah! We had something to sit on, now! There are a ton of other items in the cabana line, but these were the ones we considered – I’ll bet that there are more amazing summer sales coming up soon for the 4th of July.
I’m just about 5 months along and realize that children + cream furniture are a disaster waiting to happen. So, before we even set these on the furniture, I did three coats of Scotchgard just to be safe. It’s a fail-safe product and gives me the peace of mind I need to keep these cushions/pillows clean.
Woohoo! I love the cozy feel this new (to us) furniture gives our front porch. Most importantly, Murph approves – it is now his favorite “room” in the house. A big thank you to my mother-in-law Loree for letting us have these pieces! I’m still looking for a side table, rug, and other accessories, but it’s really coming together. Enjoy your weekend!

 It’s one of my favorite “rooms” in the house, a relaxing little window-lined space to hangout. Last year, Jeremy and I painted the walls, and added some seating by refurbishing Jeremy’s grandma’s old wicker furniture. We also refinished my grandpa’s canoe paddles and hung those on the wall.
 He also hung this oversized marquee letter that he made for our wedding 5 years ago. It adds a lot of curb appeal in such a special, meaningful way.


 I’m hoping sometime soon we’ll be able to redo the bead board ceiling, and add an outdoor ceiling fan. This porch is what sold me on the house when we were hunting, so I’m really excited to see it start coming together as the space I was hoping for.


 I used an orbital sander, and did a light sanding with a 120 grit pad on both sides. I went really easy on the handles and sides because the wood was a little softer and I didn’t want to reshape it.
 I really like how the sanding sealer darkened the wood just a bit, but still let all of the weathered grain show through.

 Finished 🙂
 I wasn’t crazy about the idea of screwing the oars into the wall and creating a million holes, in case we wanted to move them in the future – I was also worried about damaging the oars themselves, so I decided to hang these using medium
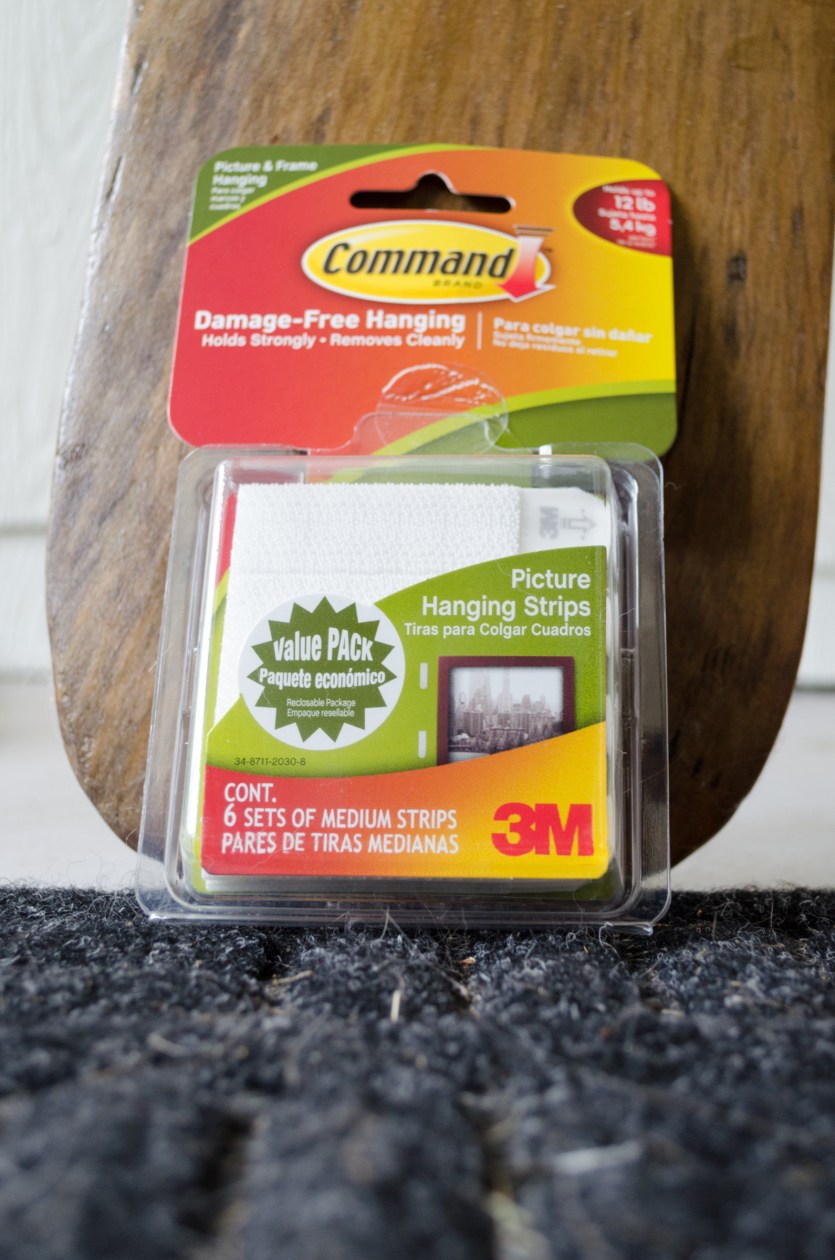


 One caveat – these sprayers are not meant to be used with traditional latex interior paint, it is too thick and can clog up your equipment. So before we started, we had to make a large batch of thinned paint. We simply mixed 4 parts paint with 1 part paint thinner, and let it run through a straining funnel. If it can run through the strainer smoothly, it will run through your sprayer. This worked perfectly.


 We also set out some of Jeremy’s summer beer coasters – how
  I also whipped up this new chalkboard – inspired by a current pregnancy craving of mine 🙂 Watermelon is the BEST in summer, pregnant or not.