
All Posts By

Becky

Home Improvement

This Old Kitchen (Progress) – Part II

So, this post was delayed a little bit by a few newer projects, as well as our big announcement!  You can read Part I of this post here.

Let’s start with a little refresher.

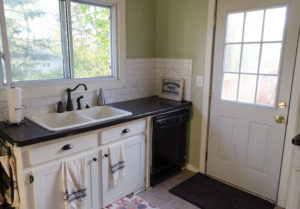
BEFORE:

kitchen 1
kitchen 2

There’s really just a whole lot of NO going on here.

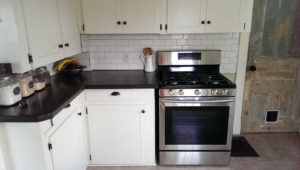
AFTER:
IMAG1385-2
DSC_0945Still in progress, but much less MAKE IT STOP! happening now.

Let’s continue talking about how we got here – today we’re talking countertops!

Part II: Tinted Concrete Countertop Overlay
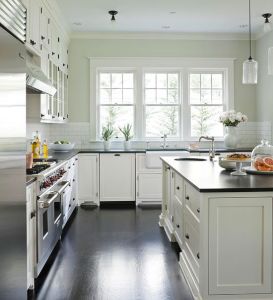
The gray laminate countertop was durable, but so, So, SO ugly. I also knew the 4″ laminate backsplash had to go.  It made the walls behind it feel so small and closed-in, and I knew we’d be putting in a subway tile backsplash next that I wanted to run flush from the countertop.  My inspiration has always been these two photos:
Kitch 1
Kitch 2
I love the look of soapstone or black granite with crisp white cabinets in a farmhouse, but we’re not quite there yet budget-wise.  So for a quick livable makeover, I opted for a black-tinted concrete countertop overlay.  I was inspired by the tutorial I found on Little Green Notebook, she made it seem so easy!  We ordered the Ardex Feather Finish concrete powder, as well as the black tinting powder from Amazon.  We had about 30 square feet of countertop space to cover, and one bag of each was plenty.  Ardex is not sold in stores unless you have a distributor nearby – you can search for them here.

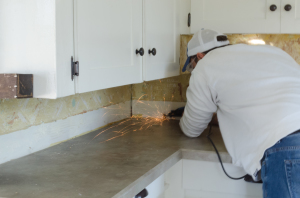
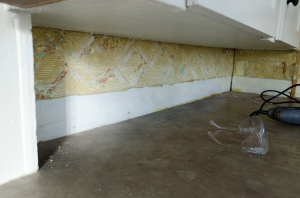
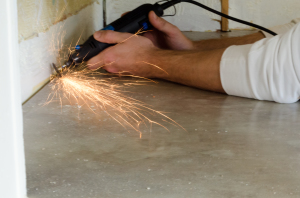
While we were waiting for the powders to arrive, it was time to do some prep work.  The first thing we did was attack remove the 4″ laminate backsplash.  If you have countertops like we did, you’ll notice that unfortunately they usually screw this backsplash into the countertop through the bottom, before they install the counters themselves.  This makes it near-impossible to just unscrew them from underneath, and trying to pry them off will only damage the countertop you have left.  To get around this, we slightly pried each section away from the countertop enough to expose the screws.  We then used an oscillating saw with a metal blade, and cut through each screw as flush to the countertop as possible, and finished grinding down the screws with a dremel tool.  It’s okay if you scuff up the countertops a little, since you’ll be doing an overlay.  You just don’t want the huge holes that prying might cause.
DSC_0054
DSC_0062
DSC_0064

Woohoo!  So much better already, and we haven’t even started.

Next, we needed to scuff up the surface of the countertop, so that the concrete had something to grab on to.  I used a wallpaper scorer for this, and gave each surface a rough score 3 times each.  Finally, make sure each surface is clean with a wet sponge.  If the surface is really dirty or greasy, clean with a mixture of 1/4 cup TSP: 1 gallon water.  Wear eye protection and gloves if you have to use this solution, because it is serious stuff!  The countertop will look rough when you’re done, but that’s good – at this point there’s no turning back 🙂

Now is the exciting part : time to lay down some concrete!  Be sure you’re wearing disposable gloves for this part, if you don’t want stained hands.  I wish I had more pictures of this process, but we finished the project 4 months before I started blogging.  I’ll do my best to describe the rest from here!  To get the dark color we wanted, we mixed the following ratio:

1/4 cup tinting powder : 2 cups ardex powder : (about) 1 1/2 cups water

It will look like a thin black cake frosting.  Yum?

You want to mix this up until you get the consistency above, then let it sit for 5 minutes.  I know this sounds counter-intuitive because it would seem like letting it sit would give you less time to work with it – but it’s actually the opposite.  After 5 minutes, mix it up again.  This will give you about 15 minutes of working time, which should be enough to do one coat on about 10-15 sq. ft. of countertop.

Take a trowel (we used a magic trowel – highly recommended!), and spread on a thin layer of concrete.  It’s like icing a cake.  Don’t overthink it, smooth it out the best you can, but remember that small ridges can be sanded after each coat.  The vertical edges are a bit tougher – I found the trick to this is to wait to do these until the countertop itself is covered.  This gives the concrete mix enough time to set up so that you can just grab some in your (gloved) hand at the end and rub it along the sides without it falling off.  Let this coat dry completely, about 1 1/2 – 2 hours.  Then it’s time to sand – we did a rough sanding with an orbital sander and a 120 grit pad in between each coat.  You want to put on at least 3 thin coats of concrete to completely cover the surface.

Once you’ve finished your last coat, give it a once over with the 120 grit, then follow it up with a 220 grit to get it really, really smooth.  (Pro tip: if you’re doing a kitchen countertop with a sink insert, don’t be dumb like us.  Remove the sink before you do this.  We didn’t and I’m not thrilled with the results around this area).
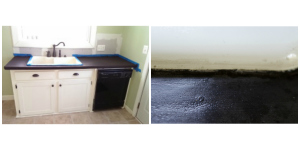
PicMonkey CollageDone!

Just kidding.  You have to seal these bad boys unless you want your every move in the kitchen documented on these porous, easily stainable countertops.  To do this, we chose two different sealers:

511 Impregnator Sealer + Safecoat Acrylacq (Satin Finish)

We did 3 coats of the impregnator/sealer, and 3 coats of Acrylaqc.  Acrylaqc is a food-grade, stain resistant sealer, so we thought this was our best choice.  However, it’s been over 6 months now that we’ve lived with these countertops, and it hasn’t proven to be as stain-resistant as advertised.  We’ve got some spots that are left over from spills which is a HUGE bummer, but it blends well enough (it almost looks like well-worn chalkboard) that I can deal until we save up enough for stone.
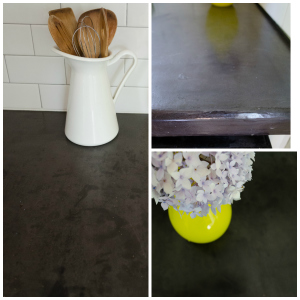
PicMonkey Collage ct

If I could start over, I would have finished everything off with a clear, 2-part epoxy top coat.  I think this really would have made these countertops super stain resistant, however, that is my only regret.  We’ve had no issues with surface scratches or chips.

DSC_1325

It took about a week start to finish, but looks much so much better!

Smied Watermark


Favorites Pregnancy/Baby

First Trimester Favorites

I found out I was pregnant at roughly 4 weeks along.

Anyone who tells you that pregnancy is an amazing, special time is a magical pregnancy unicorn, at least when they’re talking about the first trimester.  I know every pregnancy is different for each woman, but in my case, the first trimester was ROUGH.

the-first-trimester-of-pregnancy-is-one-long-all-day-hangover-except-the-only-thing-you-over-indulged-in-the-night-before-was-netflix--7bf96I spent the first two weeks after I found out, wondering how I got so lucky that I was feeling so “normal”.  Aside from my boobs feeling like overfilled water balloons, and still being shocked by the news, I wasn’t fatigued or feeling sick at all.  I was still able to eat the foods I enjoyed normally, and was able to workout and run 4-5 days a week.  I vividly remember being halfway through a run during week 5 and thinking “I feel so great, I must just be one of the lucky ones!”…I didn’t even have time to knock on wood before week 6 showed up and knocked me right on my ass.  This was right around the time we’d started our bed project – I had to abandon Jeremy halfway through and tell him to finish it himself.  Sorry, honey.

First it started with aversions to foods I normally loved, since my go-to meals strangely just didn’t sound appetizing anymore.  Within a few days, this progressed to complete food aversion.  It got to the point where if I could just go without food of any kind for the foreseeable future and not die of starvation, that would have been my first choice.  Everything sounded, looked, and smelled disgusting, and I wanted to throw a tantrum every time my stomach would growl because DON’T MAKE ME EAT, body!  I was also completely exhausted – there were times when I would have to take a break from walking up the stairs, or brushing my teeth by sitting on the bathroom floor, because it felt like I’d just run 100 miles.  I was feeling so terrible that I had to give my ticket away to a Neil DeGrasse-Tyson talk, an event that I’d been looking forward to for MONTHS.  So sad.

Once the nausea kicked in full-force, it was pretty awful.  So bad in fact, that in an effort to avoid having to call out sick or hide getting sick at work, that I actually kept an oversized Tupperware “puke bowl” in my car.  Gross, I know.  Thankfully, I never actually threw up, but felt like I was on the verge of it 24/7.   I don’t know how women with Hyperemesis do it, you ladies deserve a gold medal for surviving that.  I could barely handle how I was feeling – I would come home from work every evening, try to choke down some mashed potatoes or applesauce, then crawl in bed and just cry about how awful I felt.  The worst part was not knowing if/when my hormones would settle and the sick feeling would end, and suffering alone since we didn’t want to tell anyone until the second trimester.  I remember sitting on the couch one night with Jeremy halfway through week 6, saying “I don’t know how I’m going to do this.  I can’t handle being pregnant and I have 34 weeks to go.”  I felt so miserable, ungrateful and guilty.  I know several women who have had a hard time conceiving, and here I was, complaining about how awful I was feeling while this amazing thing was happening.  It was a confusing time, emotionally.  Luckily, the major nausea tapered off within 4 weeks, my moods leveled out, and food sounds super-appetizing again now that I’m in the second trimester.  And by super-appetizing, I mean I may or may not be turning into a culinary vacuum cleaner.

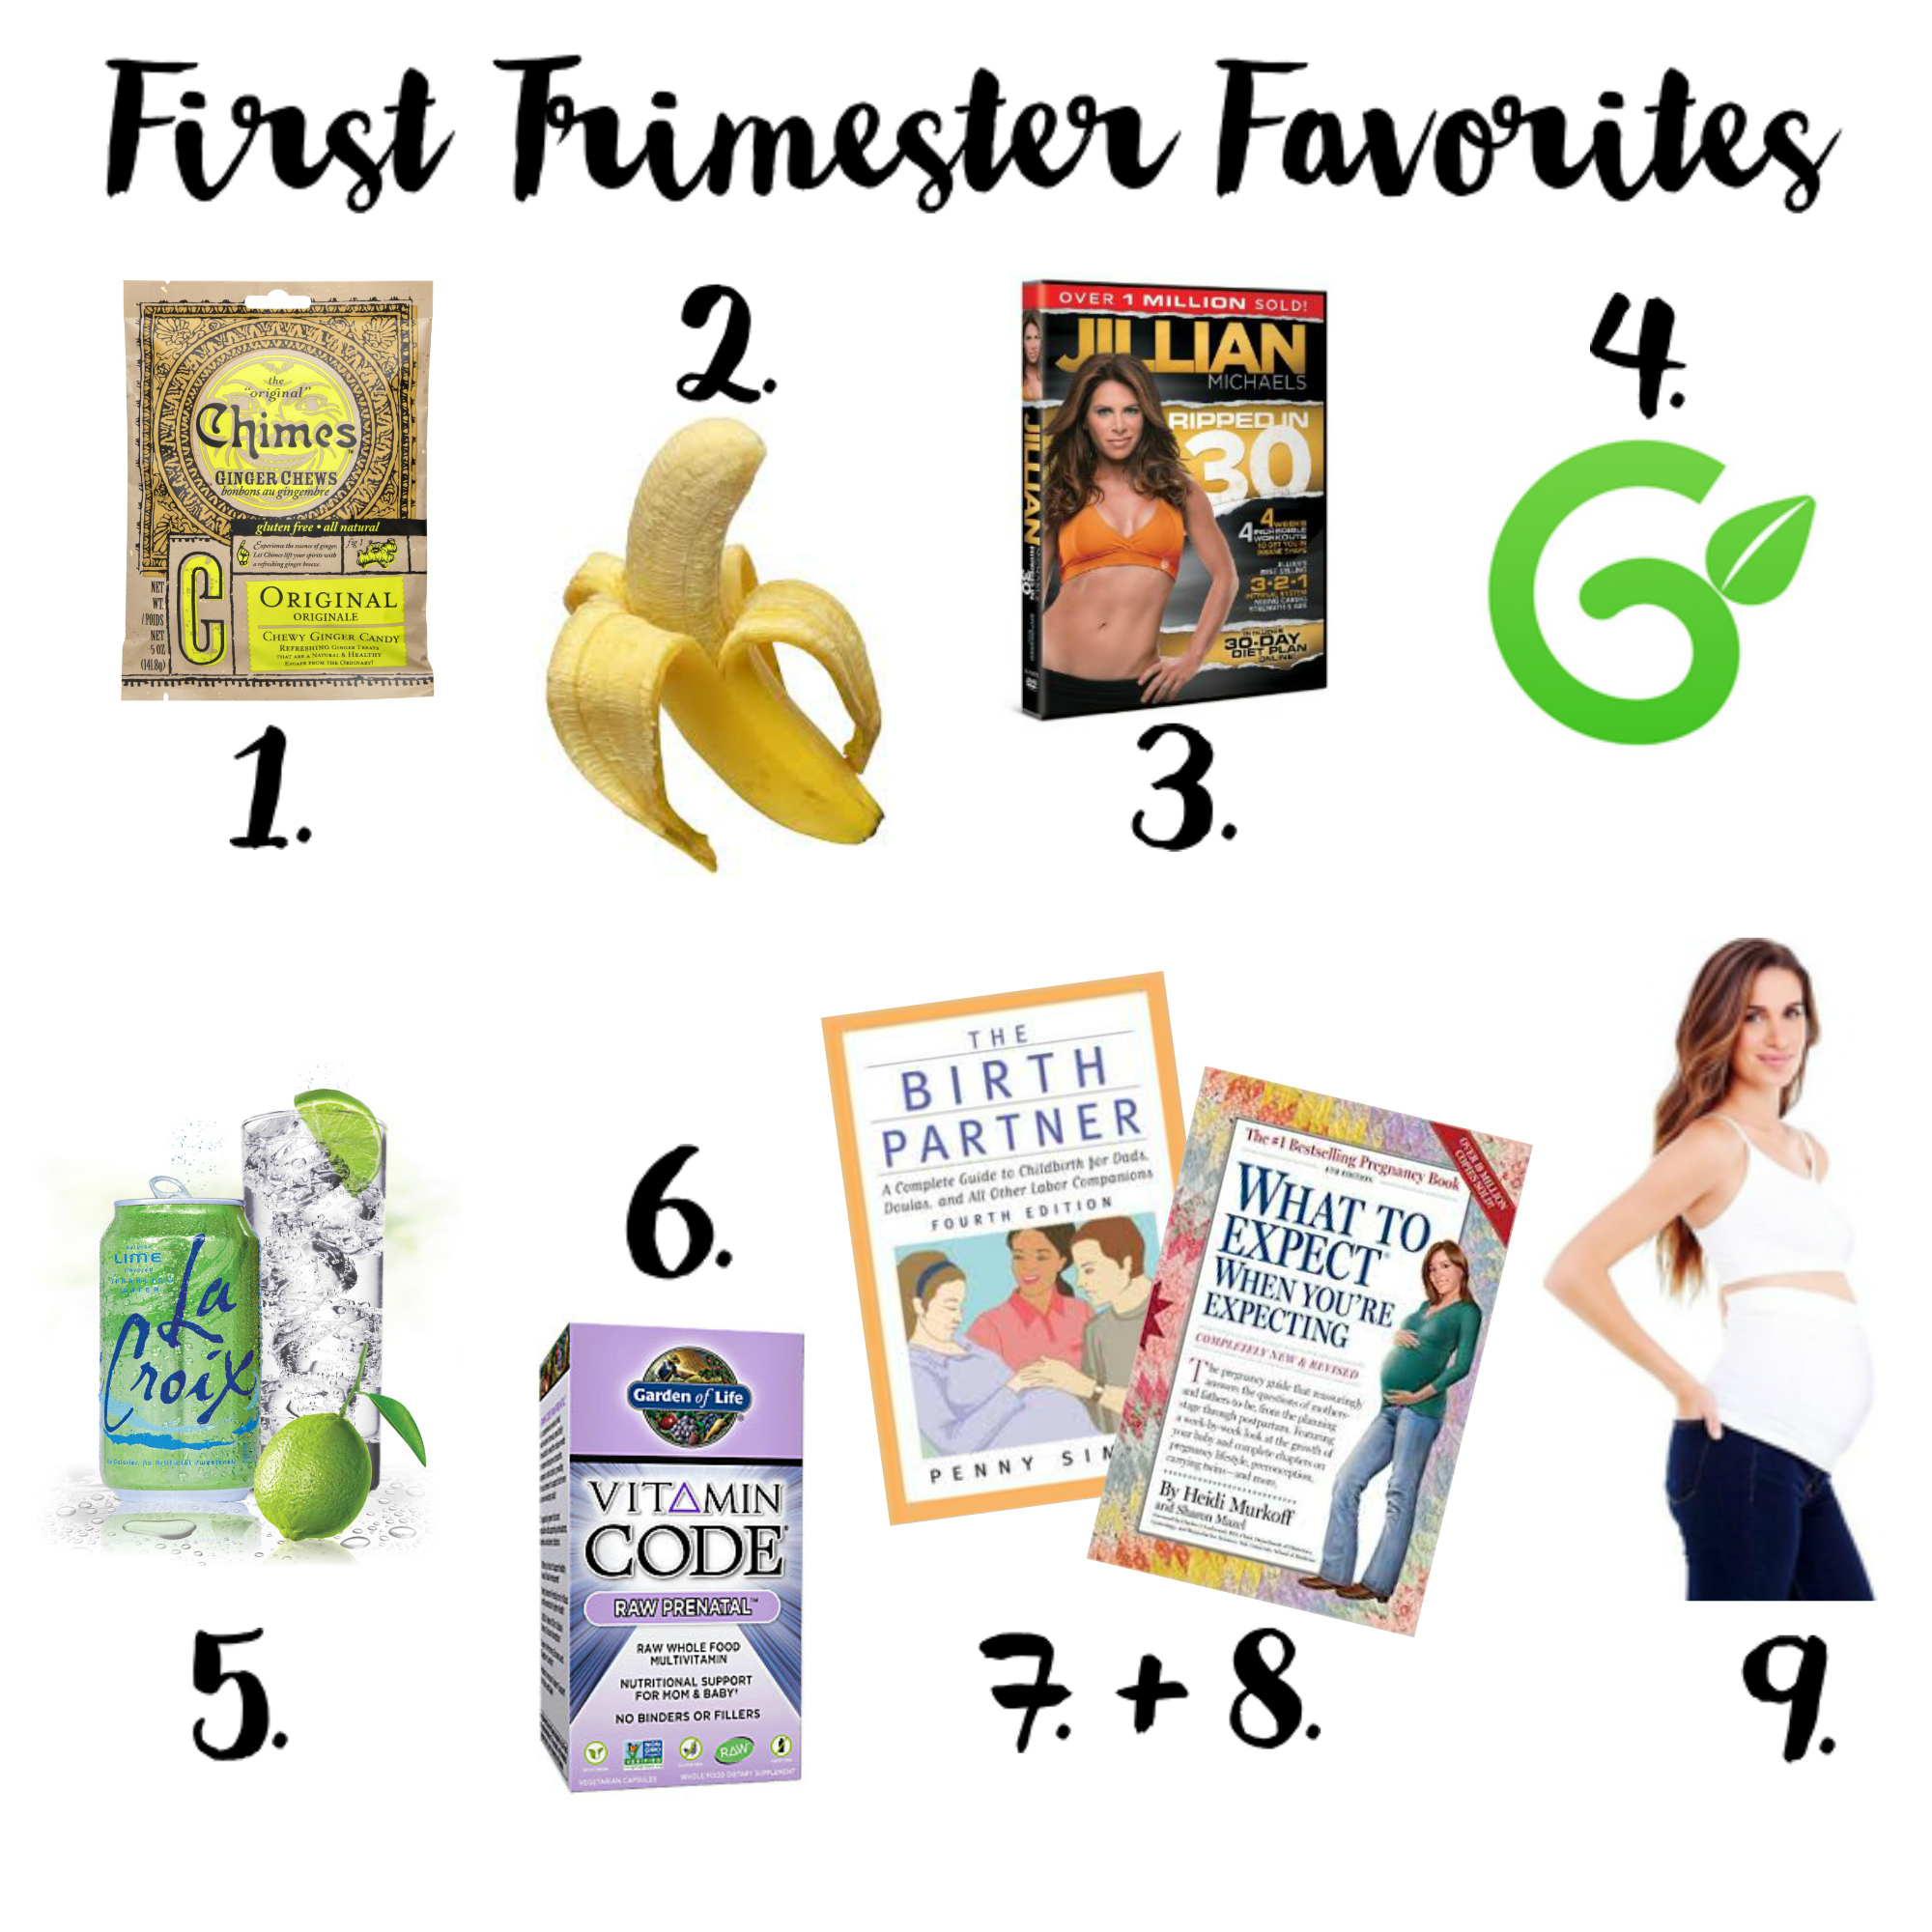
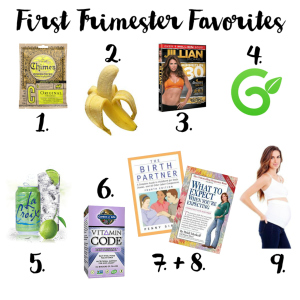
In lieu of this month’s favorites, here are some of my first trimester favorites that helped make the hardest trimester a little bit more bearable.

FTF1.  Chimes Ginger Chews
Jeremy brought home some of these chews from Zingerman’s a while ago, and I never really tried them until I started feeling sick.  I’ve heard lots of good things about ginger for nausea, so I always kept a few of these on hand just in case.  In my purse, in the car, in my pocket, etc…  They’re really spicy without being too sweet, which really helped ease the nausea when I wasn’t sure I could make it through work without getting sick.  Plus, they’re low in sugar which is much better than popping sour candy or Preggie Pop Drops, which I found were just glorified Jolly Ranchers.

2.  Bananas
So, bananas were my saving grace when my blood sugar would dip (because food sounded so gross that I just wouldn’t eat), which would then lead to serious nausea.  I learned the best way to fight the nausea was to never let myself get too hungry, so I always had bananas with me because they were a small amount of food with just enough sugar to keep me going.  I’m surprised I didn’t turn into one considering how many I ate.  I would send Jeremy to the grocery store and ask him to get 2-3 bundles of them, and they’d be gone in less than a week.  My first trimester record was 18 bananas in 5 days….yes, really.

3.  Jillian Michaels Ripped in 30
With the exception of the green haze of weeks 6-10, I was able to get these weekly workouts in when I was feeling good enough.  It was a workout I’d done before I got pregnant, and is a great way to get some endorphins flowing, build muscle, and get a little cardio in.  It was gentle enough that I was able to handle it even when I felt too weak to run or do intense strength training, but I still felt like I got a good workout in when I was done.  Now that I’m in the second trimester and my tiny belly is starting to make an appearance, I’ll have to adapt to another workout program that is easier on my abs (don’t want to get Diastasis Recti!), but this was great for the early days.

4.  Glow Nurture App
I downloaded this app shortly after I found out I was pregnant.  I love data and facts, so being able to see exactly how big the baby was at the moment, and how it was developing was really reassuring in the early days, when you don’t actually feel anything going on down there.  I still haven’t actually felt any movement yet, but I need less reassurance now that I’m out of the danger zone.  It also has a daily health log, and appointment reminders. The community forum can get a little catty, but I otherwise really enjoy the app.   Available on Android and iOs.

5.  La Croix Sparkling Water
This stuff is like the nectar of the gods during pregnancy.  When I couldn’t stomach food, but would get so nauseous from being hungry, this sparkling water would be my first go-to item.  The flavor (my favorites are Lime, and Cran-Raspberry) made it easier to take down than regular water, and the carbonation would fill my stomach up to take the nausea down long enough for me to eat something small.  If this sparkling water were a person, I would be in love with it – it was a life saver!

6.  Garden of Life Vitamin Code Raw Prenatals
I did a ton of research on prenatals before I actually made a purchase, and this one had the best reviews as far as how good they were for you, and how little they aggravated reviewer’s stomachs.  When you already have all day nausea, you don’t want to add anything else into the mix to make it worse.  Thankfully, these prenatals have been great.  They don’t have a strong (read: gag-inducing) taste, and never upset my stomach even when I couldn’t stomach food along with them.  I also think they may have played a role in me never actually getting sick.

7.  The Birth Partner by Penny Simkin
We were gifted this book by one of Jeremy’s coworkers, and I read through it just out of curiosity.  If you’re hoping for a more natural birth (hope is a strong word, since you can’t really plan much of it), this is a great read even for expectant mothers.  I’ve learned a ton about the actual stages of labor, and what to expect every step of the way.  Jeremy has recently picked it up as well, and it’s helped him to learn about the process of birth, and the best ways to be supportive during that time.  Because of this book, we’re in the process of interviewing Birth Doulas — even if you’re not interested in hiring a doula, this is a MUST read for anyone you want in the delivery room as your support.

8.  What to Expect When You’re Expecting
I know this book is the gold standard of pregnancy reading material, and I’m so glad I have it.  It is super-detailed, and extremely thorough without being cheesy, or biased as some prenatal books can be.  It is a great reference to have on hand when you’re experiencing weird symptoms, or are just curious about what should be happening during your current week of pregnancy.  I highly recommend it for first-time moms who don’t know what they’re in for, it’s been a great resource for me!

9.  Ingrid & Isabel Bellaband
As a first time soon-to-be mom, I’m definitely not naive to the fact that at some point my normal clothes (or at least some of them) won’t work for me when my bump grows to beached-whale proportions.  However, that didn’t stop me from trying to prevent spending money on maternity clothing just yet.  Tops were not an issue in the first trimester, but bottoms are a whole different story.  PREGNANCY BLOAT IS A REAL PROBLEM, guys.  By roughly week 8 or 9, it was too uncomfortable to try to button pants, but I was able to get by on the hair tie trick.  However by week 11, that wasn’t cutting it anymore.  Insert the Bellaband – it is a super-soft, smoothing band that you can wear over almost any unbuttoned/unzipped bottom, and it comes in several colors.  I picked mine up at Target, in the color “Natural” to see if I liked it.  Well, the verdict is in, and I LOVE it.  This has allowed me to stretch the use of my pre-pregnancy clothing since the only thing growing right now is my belly.  This is a MUST have, and I will definitely be picking it up in the other colors soon.

So, what were some of your first trimester favorites (or survival items)?  If you’re reading this and you’re in the middle of the first trimester, good luck to you – you can do it!  It gets so much better for most women, I promise!

Smied Watermark

DIY Decor

DIY Simple Chalkboard Welcome Sign

We’ve had a stretch of seriously gorgeous weather here in Michigan over the last week – sunny, 70-80 degrees, and I love it!  When the weather is nice, I can’t stay inside, so we’ve been focusing on mostly outdoor projects for the time being.  One of the areas that’s been in desperate need of some love is our three season front porch, it is the cutest area that totally sold me on the house the first time we came to look at it.

Ever since we moved in a few years ago, I’ve dreamed of turning our little porch into a cozy seating area where we can sit and have breakfast, drink coffee, and people watch on pretty spring/summer/fall mornings.  I can also picture snuggling out here with Baby Smied someday 🙂  My inspiration has always been this photo: blue beadboard ceiling (so southern!), wicker furniture + white cushions.

eb94910d243c9d4da06818e0f68e62bd

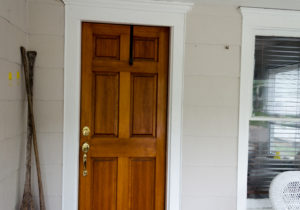
We have a seating area in the works thanks to my mother-in-law who gifted us Jeremy’s Grandma’s old wicker furniture, that we repaired/refinished and will be featuring in an upcoming post!  First though, I wanted a little curb appeal.  I’ve always loved oversized signs on porches that can be read from the street, I find them so welcoming and charming, and we had just the perfect blank wall space right next to our front door.

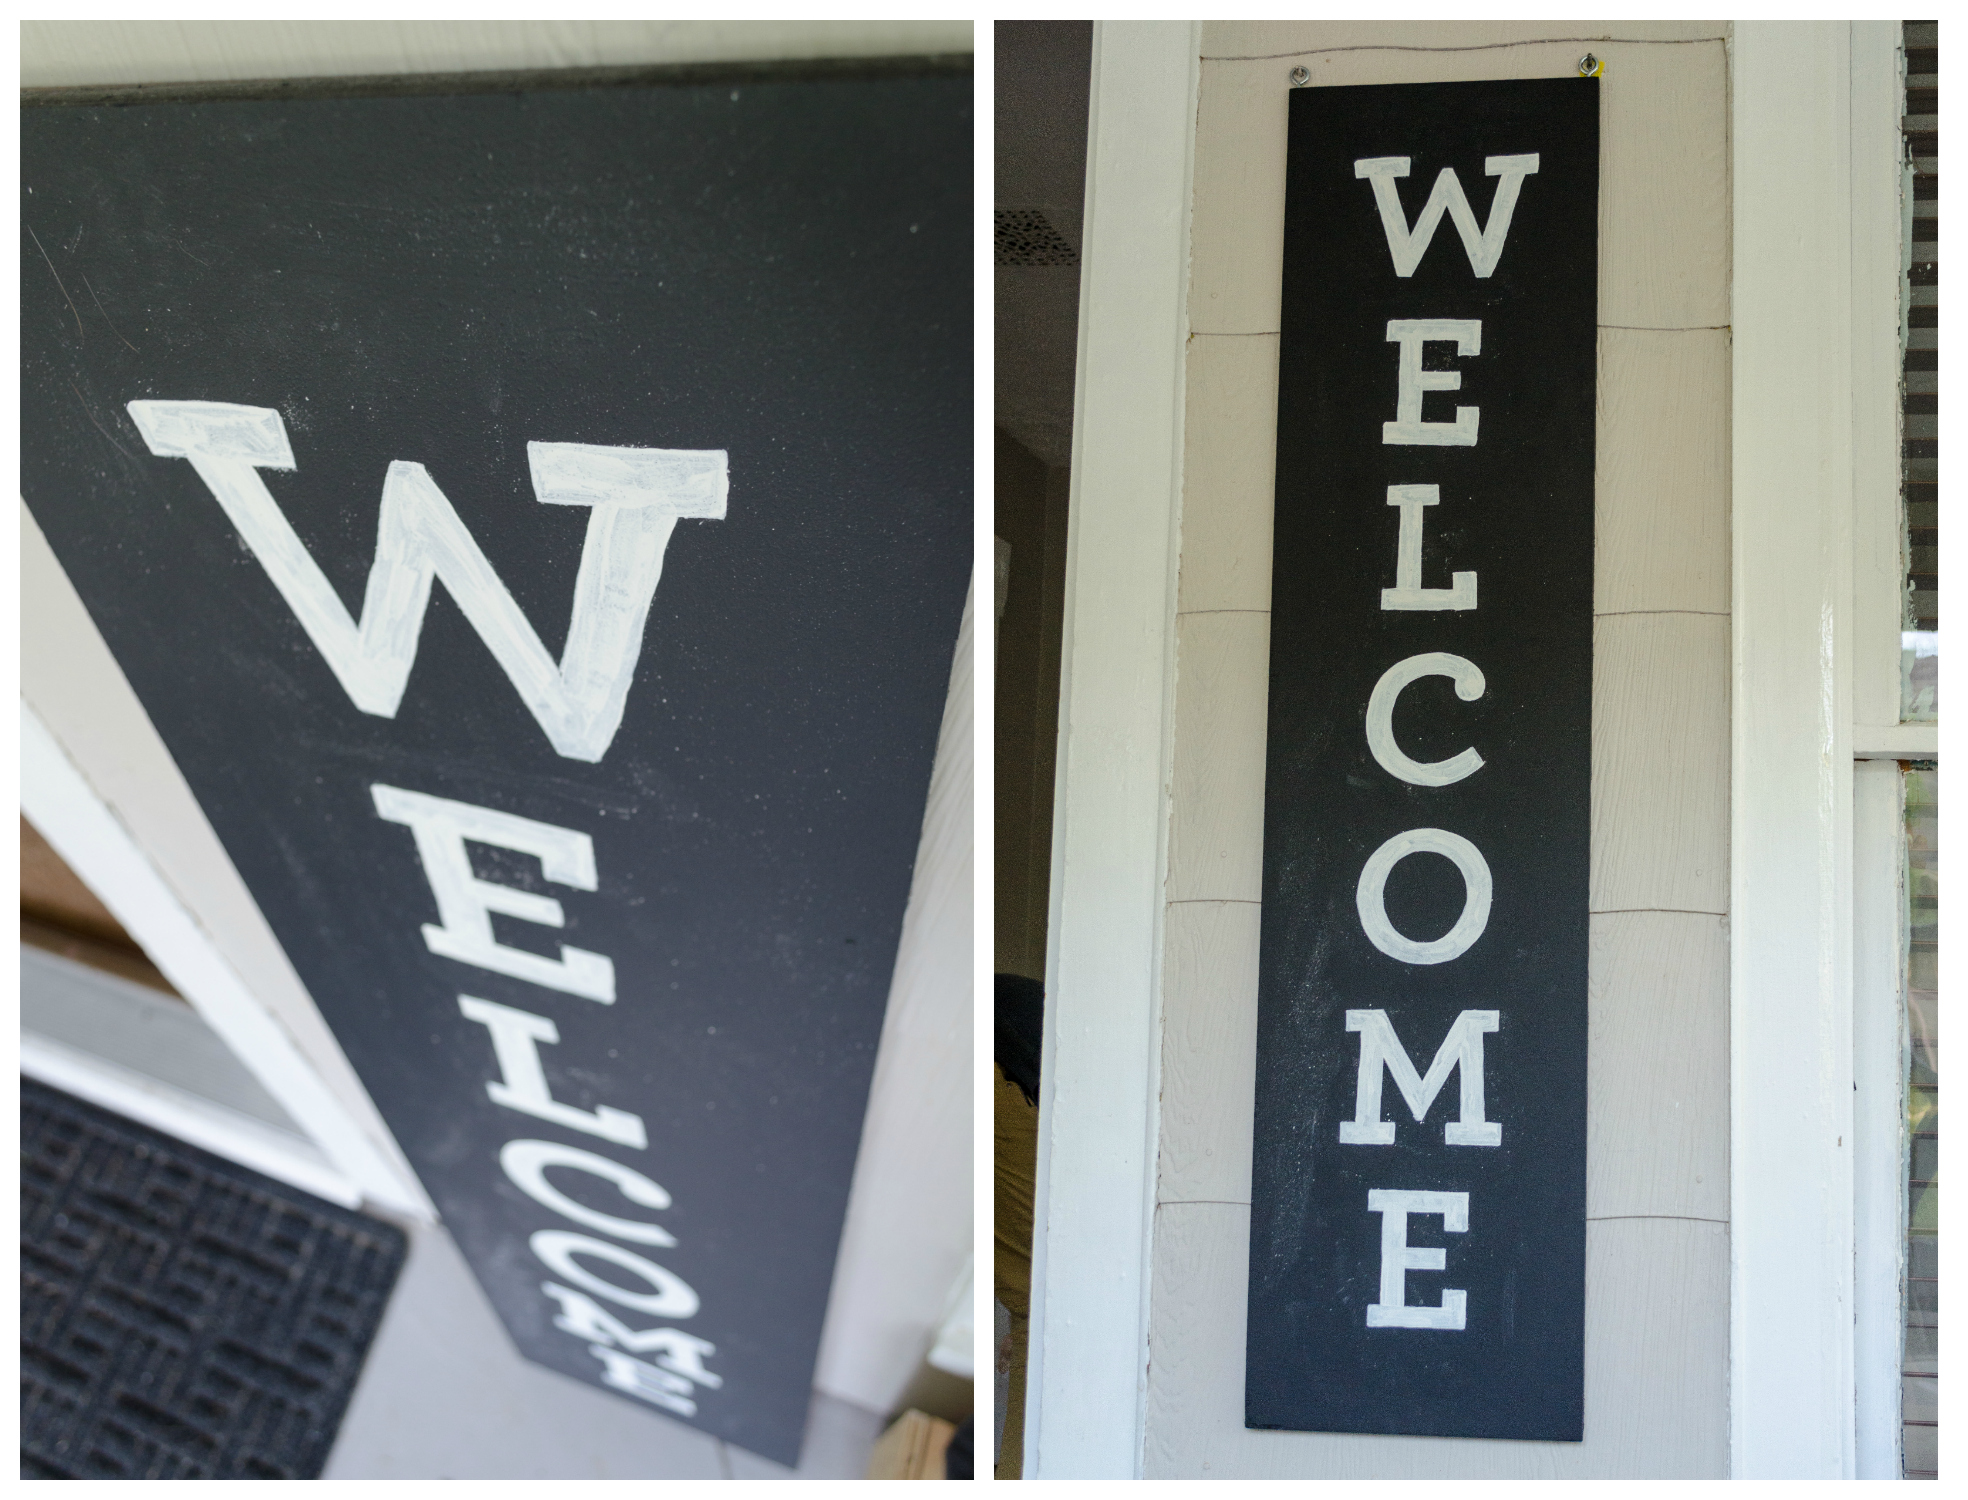
DSC_0962My original inspiration for this piece was this sign I found online – I often see things like this and think “I can make that myself!”
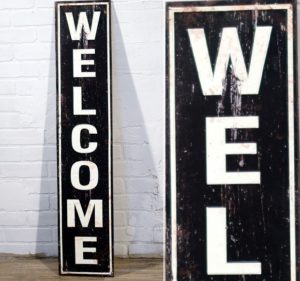
Rustic Metal Welcome Sign from Antique Farmhouse

Rustic Metal Welcome Sign from Antique Farmhouse

So, let’s make a sign!

Materials List
1/4″ piece of plywood (we used birch leftover from our bed project)
Chalkboard Paint
White Paint
Small Foam Roller
Small Paintbrush (fine tip)
White Chalk (I used my trusty old Crayola)
Pencil
Dropcloth
2 Wall Screws
2 Eyelet Screws
Drill

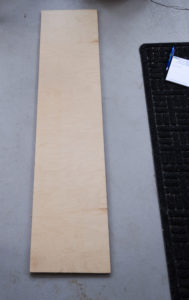
I used a piece of scrap birch plywood from our bed project for this, that just happened to be the right size for the space.  You’ll need to cut the plywood down to 12″ x 48″ if you want a sign this size.

DSC_0964

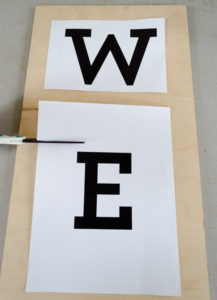
For the letters, I printed out each letter of “welcome” in the Archer Bold font, size 500.  Trim the letters down and lay them out to be sure they fit, and you’re happy with the font size.

DSC_0971
DSC_0973

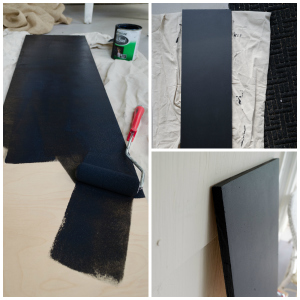
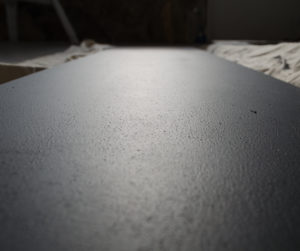
Lay out your dropcloth, place the birch on top, and paint with 2-3 coats of chalkboard paint.  I didn’t prime beforehand, and find that I get the nicest finish by using a foam roller – don’t forget to paint the sides!

painting collage

DSC_1041

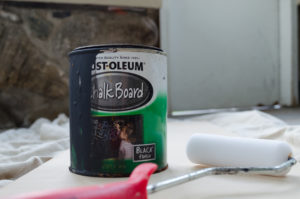
As you can see, I’ve gotten a LOT of use out of this little quart of chalkboard paint.  I may or may not have also spilled some on the basement floor at one time…oops.

DSC_1019

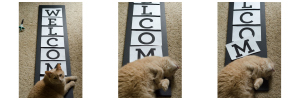
For chalkboard lettering, I often freehand, but I’m going to share a little secret with you if you don’t love your handwriting: the Transfer Method.  For this sign I wanted the spacing to be as uniform as possible, which can be really hard to freehand, especially with a vertical orientation.  Lay your letters out on the board exactly where you want them.  Tape each piece to the board on the left side to hold it in place.  For extra precision, have a cat come give it a second look to ensure it’s laid out correctly.

Cat

Perfect.  Thanks, Murph.

Next, follow these steps for each letter:

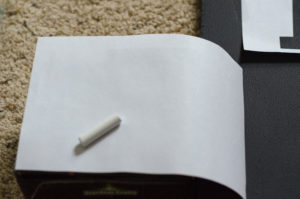
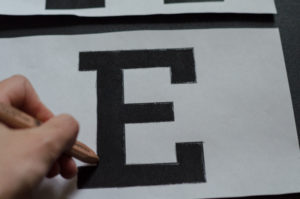
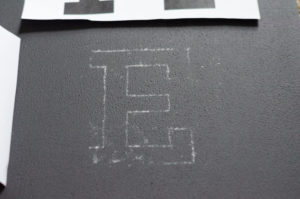
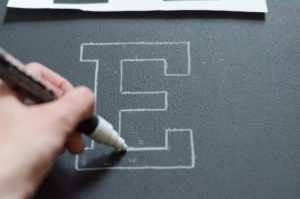
While keeping the paper taped to the board, flip the page over and smear chalk on the back side of the paper.  Flip the paper back over, and firmly trace the letter with a sharpened pencil.  This will transfer the chalk outline to your sign – easy peasy.

DSC_1096

DSC_1100

DSC_1101

DSC_1102

I used a spare white chalk marker to darken the outline so I could ensure a really clean edge before painting – this step is optional.  There will be leftover chalk dust on the sign, but you can wipe that off with a damp towel once the paint has dried.  Once all of the outlines are done, it’s time to paint!

DSC_1104-2

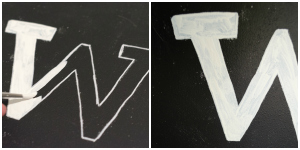
For the letters, I used some spare Benjamin Moore White Dove (my favorite white of all time) that we had lying around.  This step is simple – with a small artist’s paintbrush, just stay within the lines!  I only did one coat because I wanted this sign to have a handmade/imperfect feel, and one coat will leave just enough of an uneven finish for that.  Once you’re done painting, let it dry for a few hours (I left mine overnight).

letter

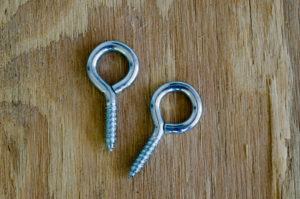
Now it’s time to hang your sign!  I wanted mine to hang from eyelet screws, it reminds me of old gas station/Americana signs which are just adorable.  Thankfully, we had two old screws in just the right place from some swag hooks we tried to remove when we moved in.  I’m not exaggerating when I say there were no fewer than 5 swag hooks in each room of this house when we moved in…I would post photos for proof, but that would require a blog post of it’s own.  Let’s just say that no one needs that many swag hooks.  EVER.

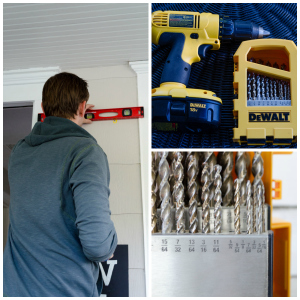
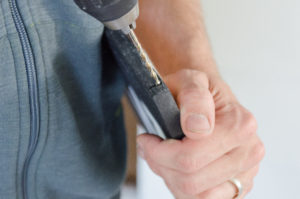
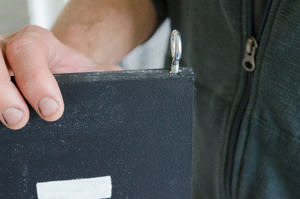
Measure where you’d like your wall screws and eyelet screws to match up, and drill pilot holes to avoid splitting the wood.  We used a 5/32 bit for this.  Then slowly screw in the eyelets.  Hang on the wall screws, ensuring everything is level.  You can adjust the eyelet screws by a few turns if you need to adjust to make it level.

DSC_1179
toolsThis handsome fella has a serious love for everything Dewalt.
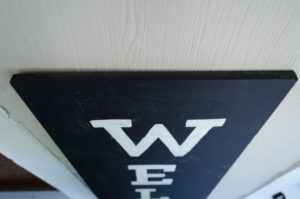
DSC_1184

DSC_1206

DSC_1212PicMonkey Collage

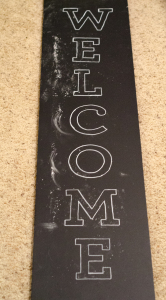
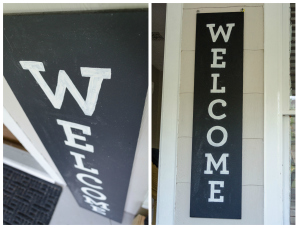
Now you’re done: instant curb appeal!  It was such a short and simple project (my favorite kind!), that cost $0 because I was able to use materials I already had lying around.  What a cute result!  What do you think?  Hopefully this will inspire you to make your own!

Smied Watermark


Recipes

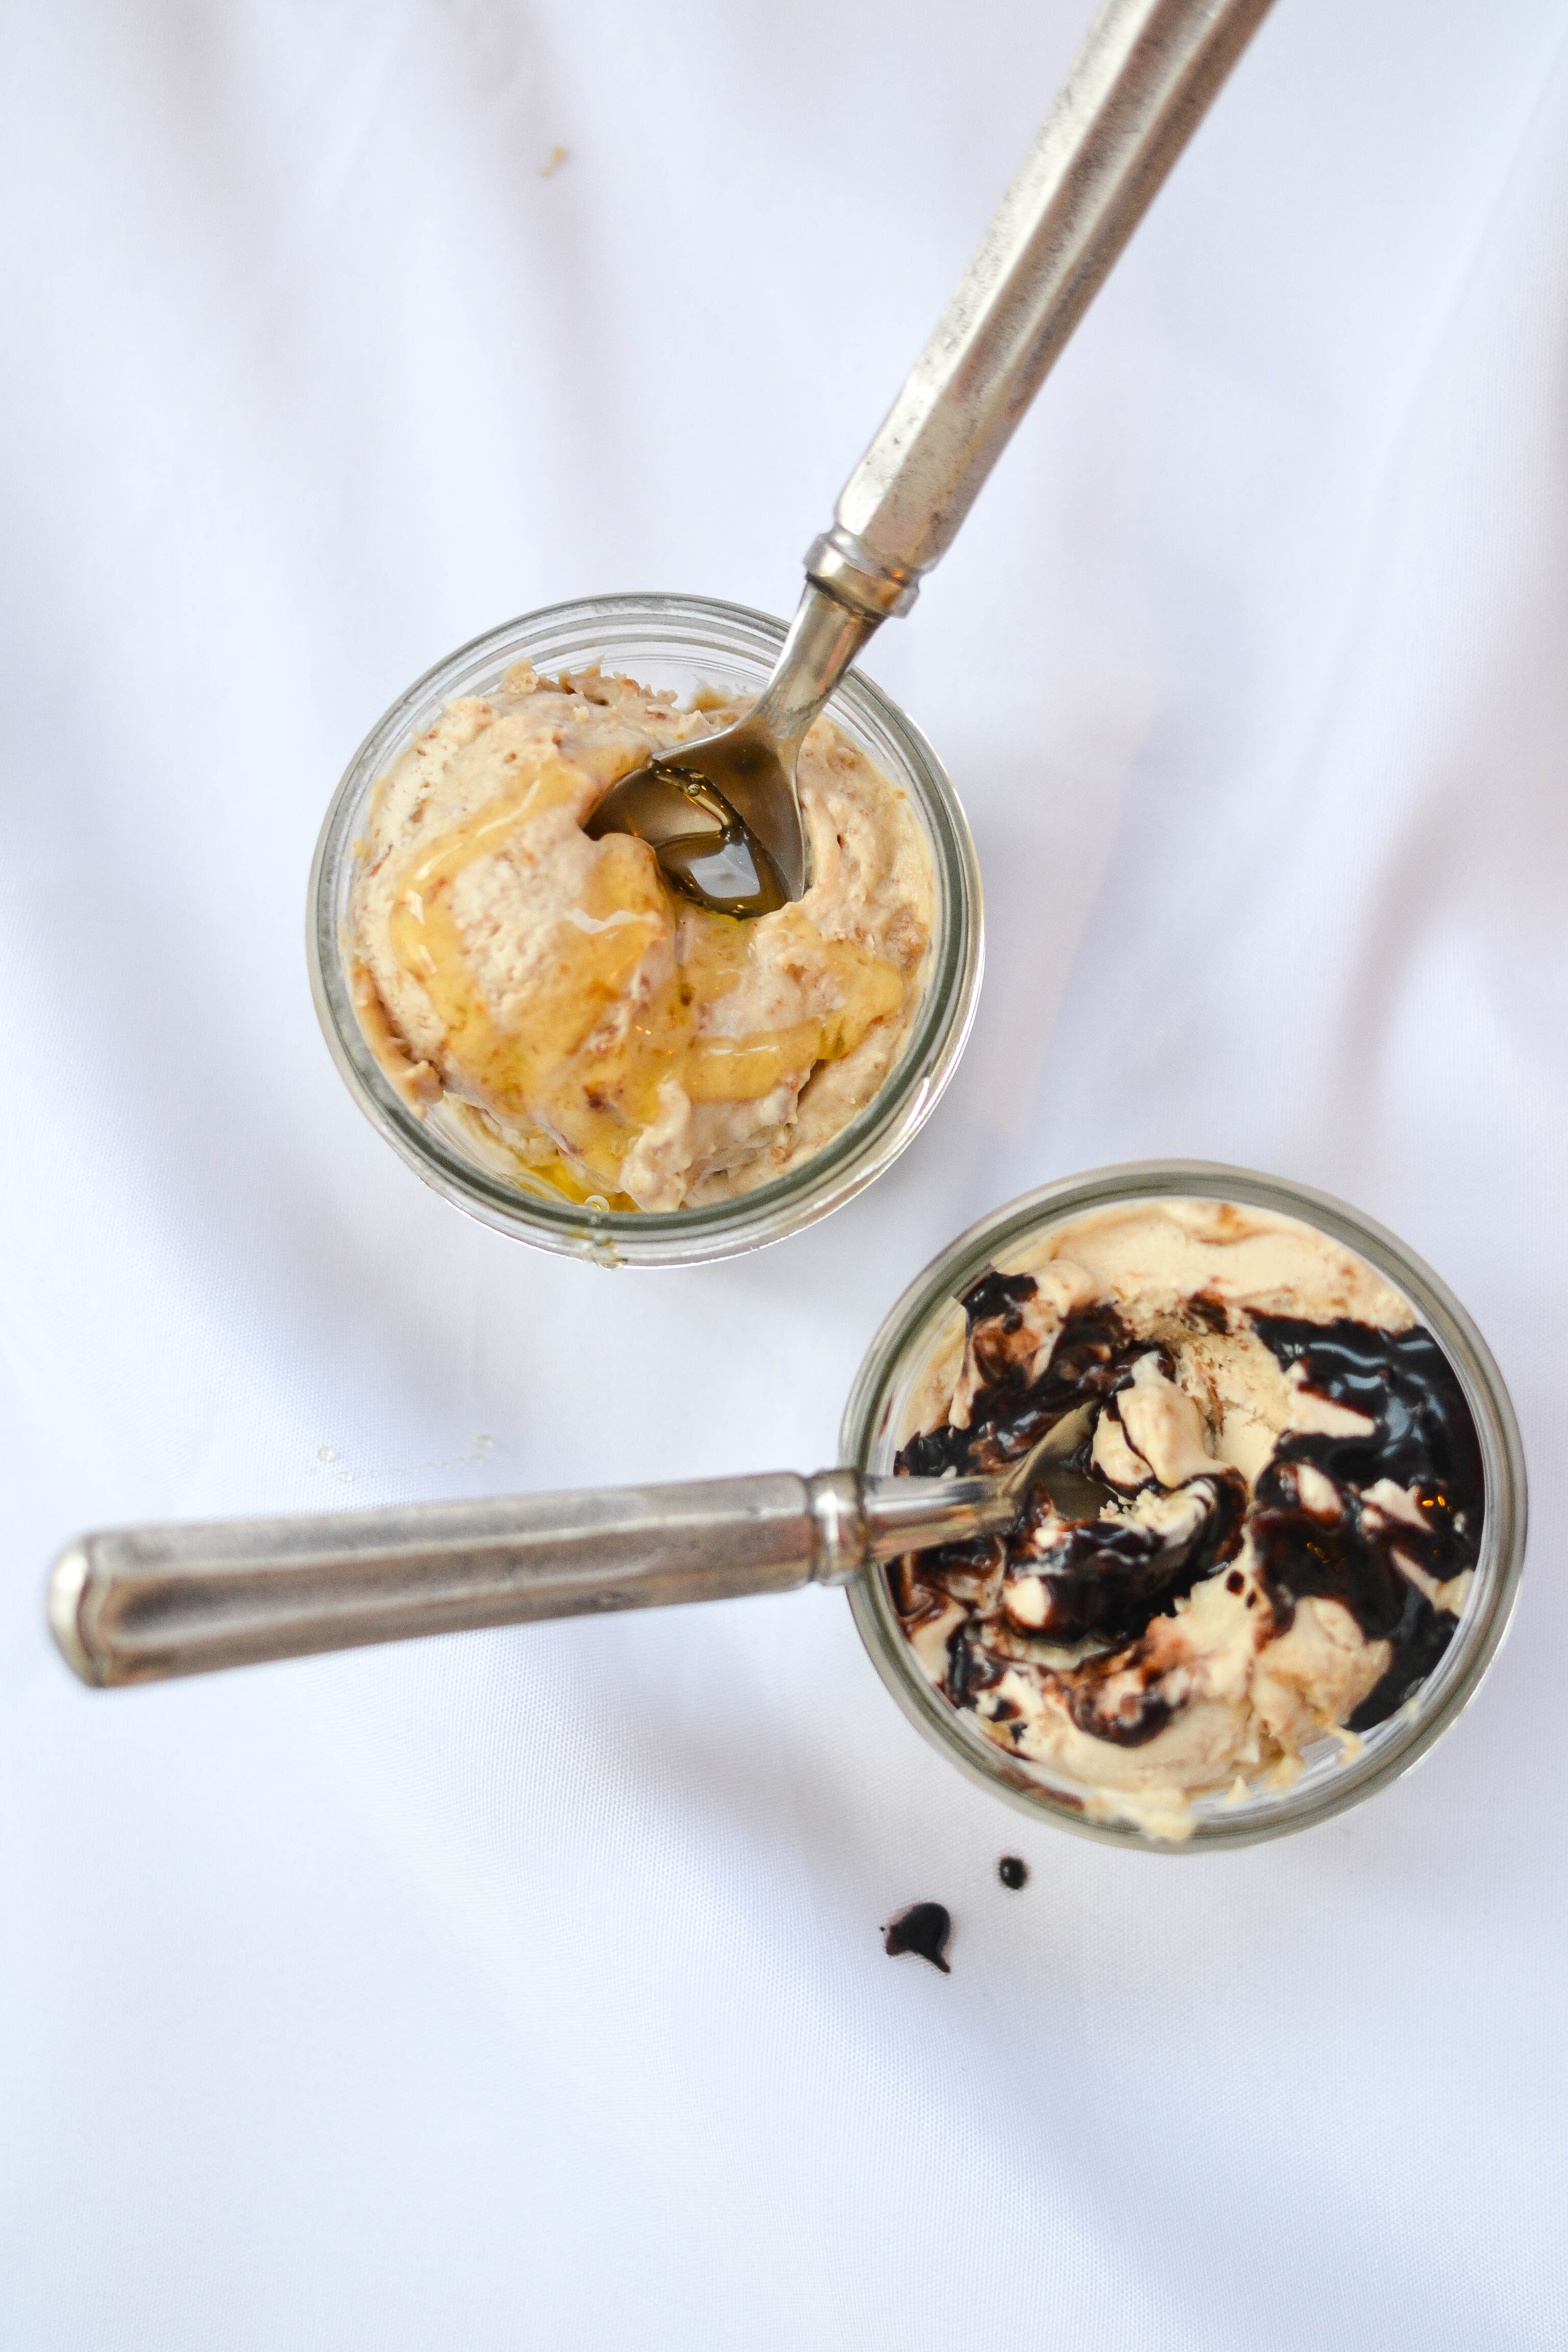
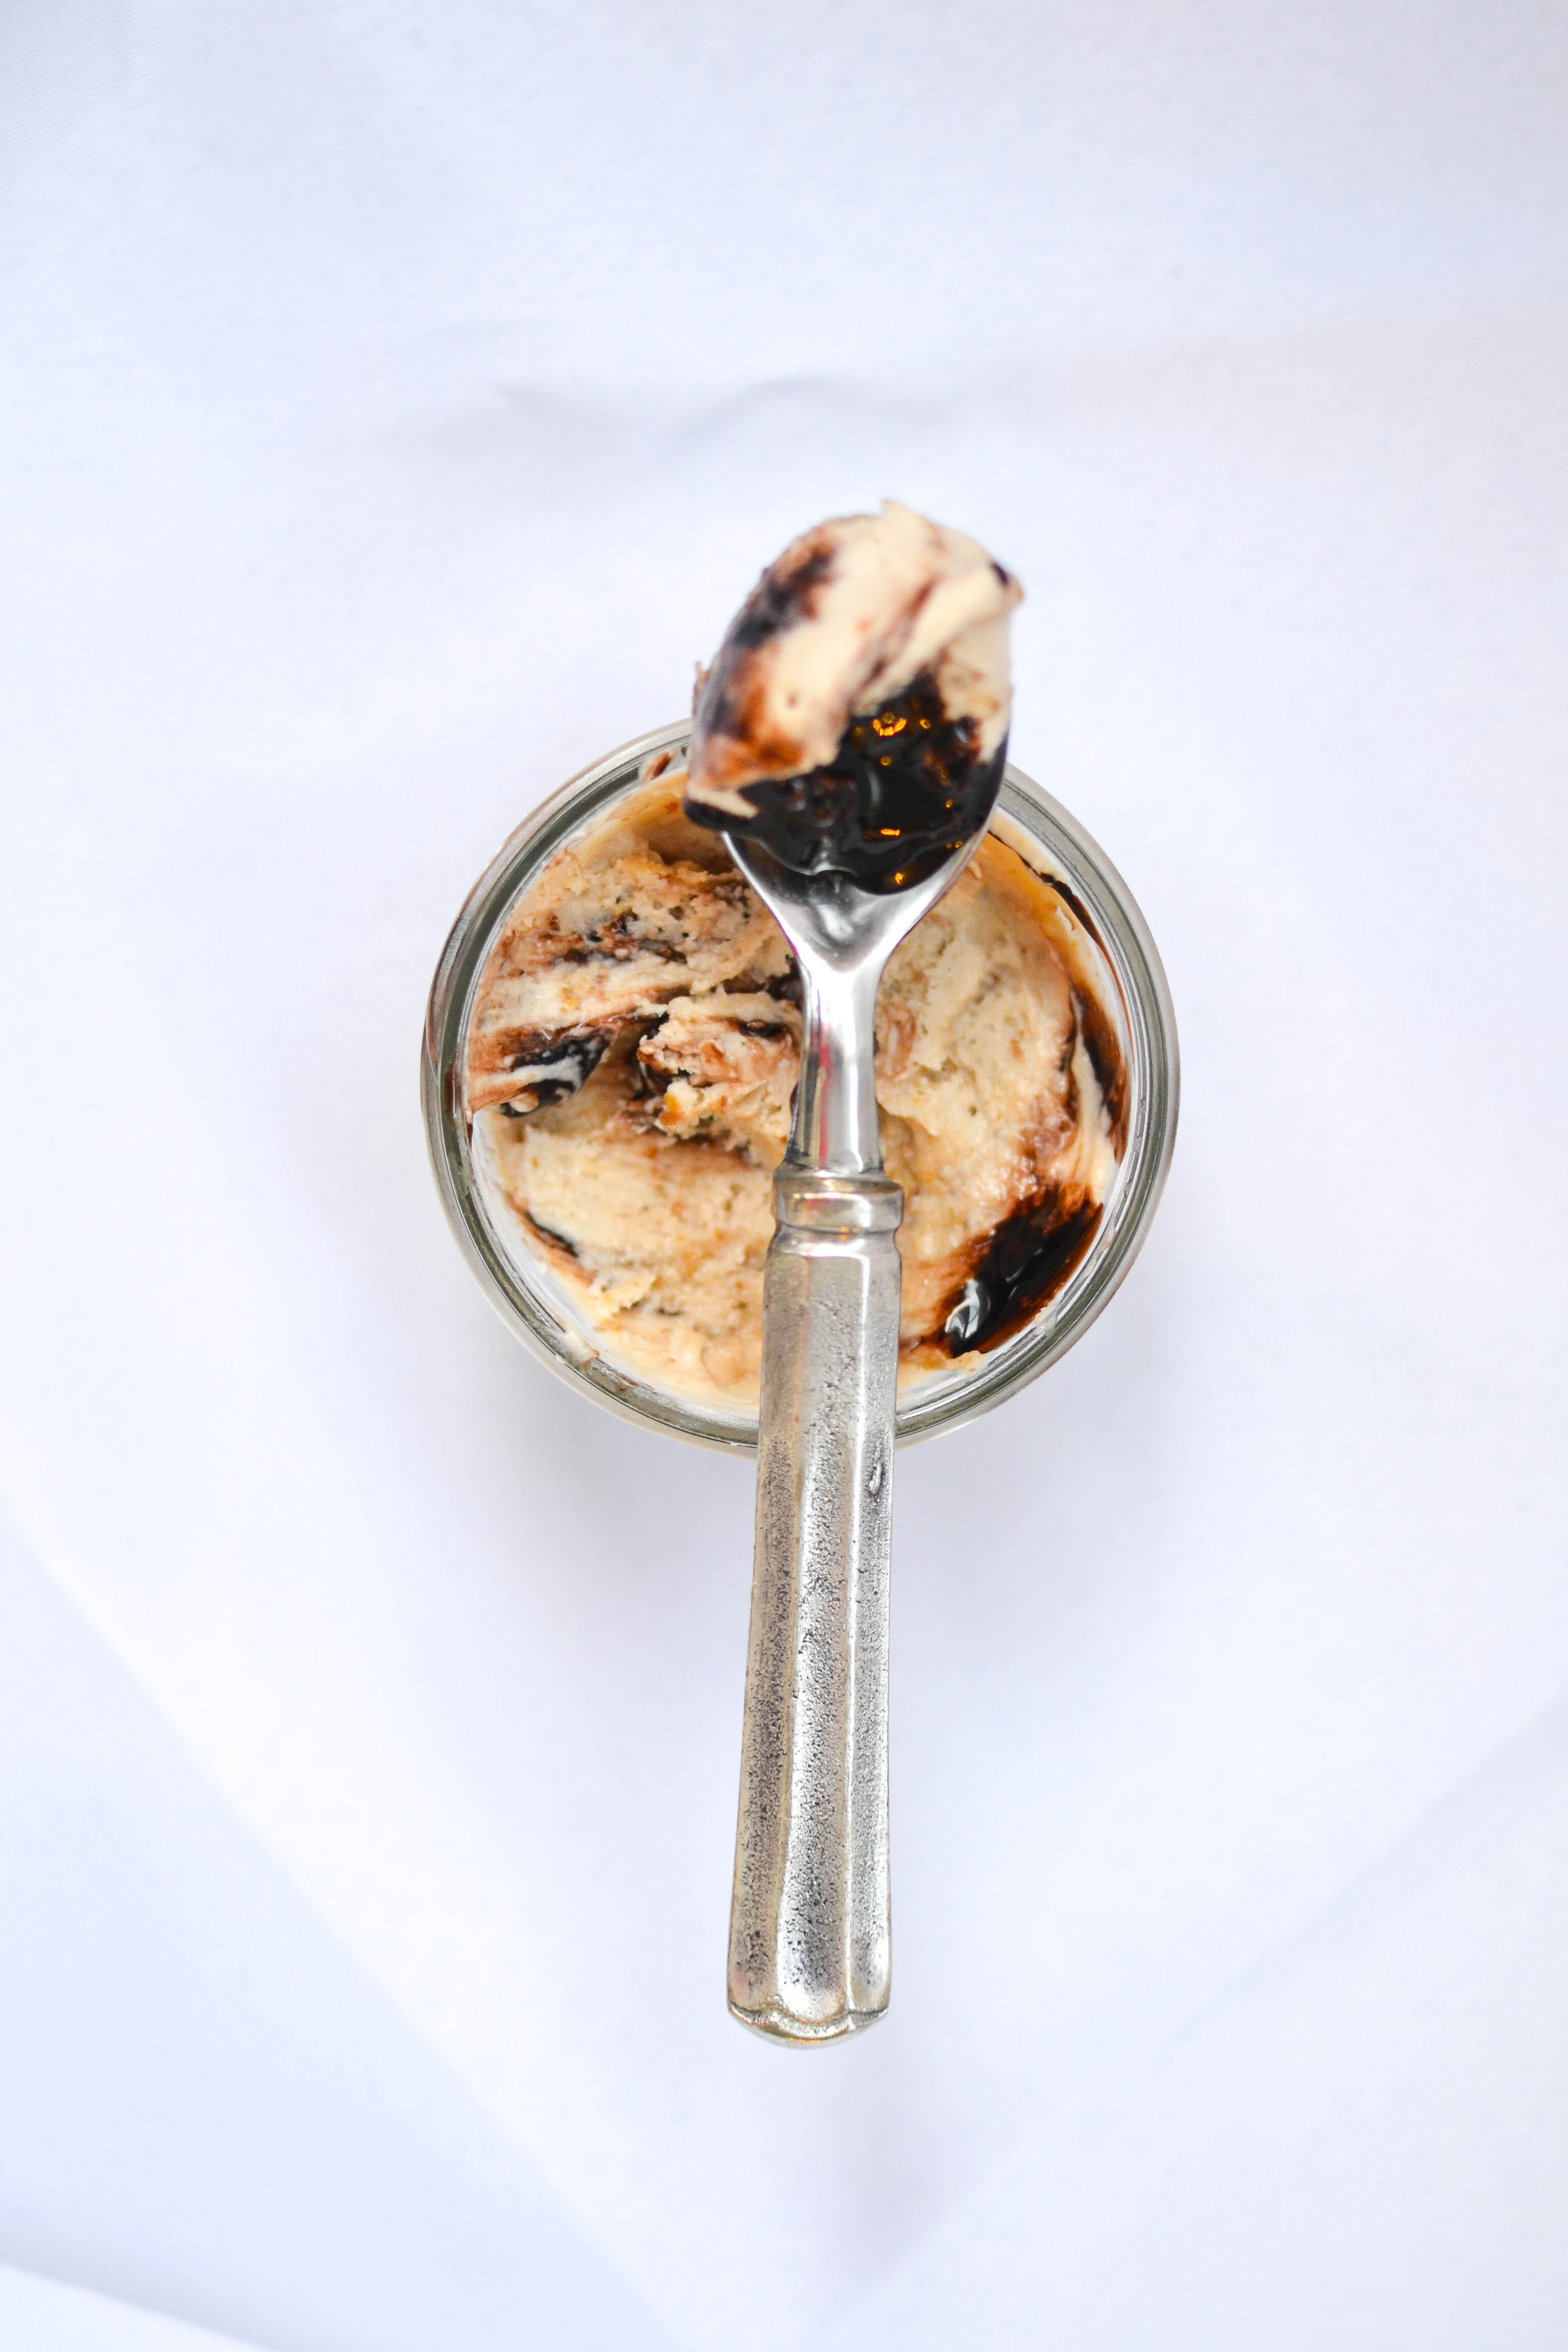
Dairy-free Date Honey Caramel Vanilla Ice Cream: A (delicious!) recipe from Appetites Anonymous

Okay, so if you’ve been following along you already know that I have a serious will-power issue with dairy-free ice cream.  In fact, I think it might contribute to me needing that forgiving elastic band in maternity pants sooner rather than later 🙂  Whoops.

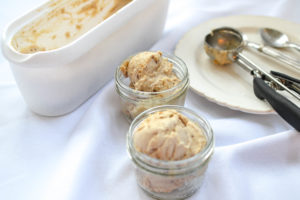
It just so happens that my friend Adrienne is a food blogger and also a dairy-free ice cream wizard, so I’m super excited to share this guest post from her blog Appetites Anonymous today!  This ice cream is TO DIE FOR.  Adrienne was sweet enough to drop off an adorable mason jar full of it for me to try, and it was so cute that I wanted to photograph it, but then I accidentally ate it all!  If you love today’s recipe, click on over to Appetites Anonymous and subscribe to see what other amazing creations she’s shared.  Enjoy!

Smied Watermark


static1.squarespace.com

Hi internet friends and maybe some real life friends!  Adrienne here from Appetites Anonymous!  I am a pretty normal and busy (working and paying off student loans) 20-something-year-old who decided one day that I should probably learn to cook something other than a PB&J…if that even counts as cooking!  My blog started as a place to document the fun process behind learning how to cook!  I am by no means a chef, just someone who loves food, cooking, baking, and photography and hopes to inspire others!!

Like Becky, I don’t eat dairy so when she asked me to come up with a dairy-free ice cream post I was like HELLO YES PLEASE.  So here we are!  Let’s be friends and eat delicious dairy-free ice cream :).

28
37

Sooo I’m pretty sure that as a child I used up all my lactose “fighting” enzyme (lactase) by eating the family size box of mac n’ cheese as a snack…

Seriously though guys… I used to inhale all things cheesy and then I got older and my tummy was like…

Cheese you can’t sit with us!

When I first discovered that dairy and I weren’t besties, I thought it would be so hard to maintain a dairy-free lifestyle… But it’s totally not. There are so many dairy alternatives these days which, in my opinion, are better than the real thing.  Coconut milk, for example, is omg so much better than real milk. Sorry cows… I’m on team coconut.

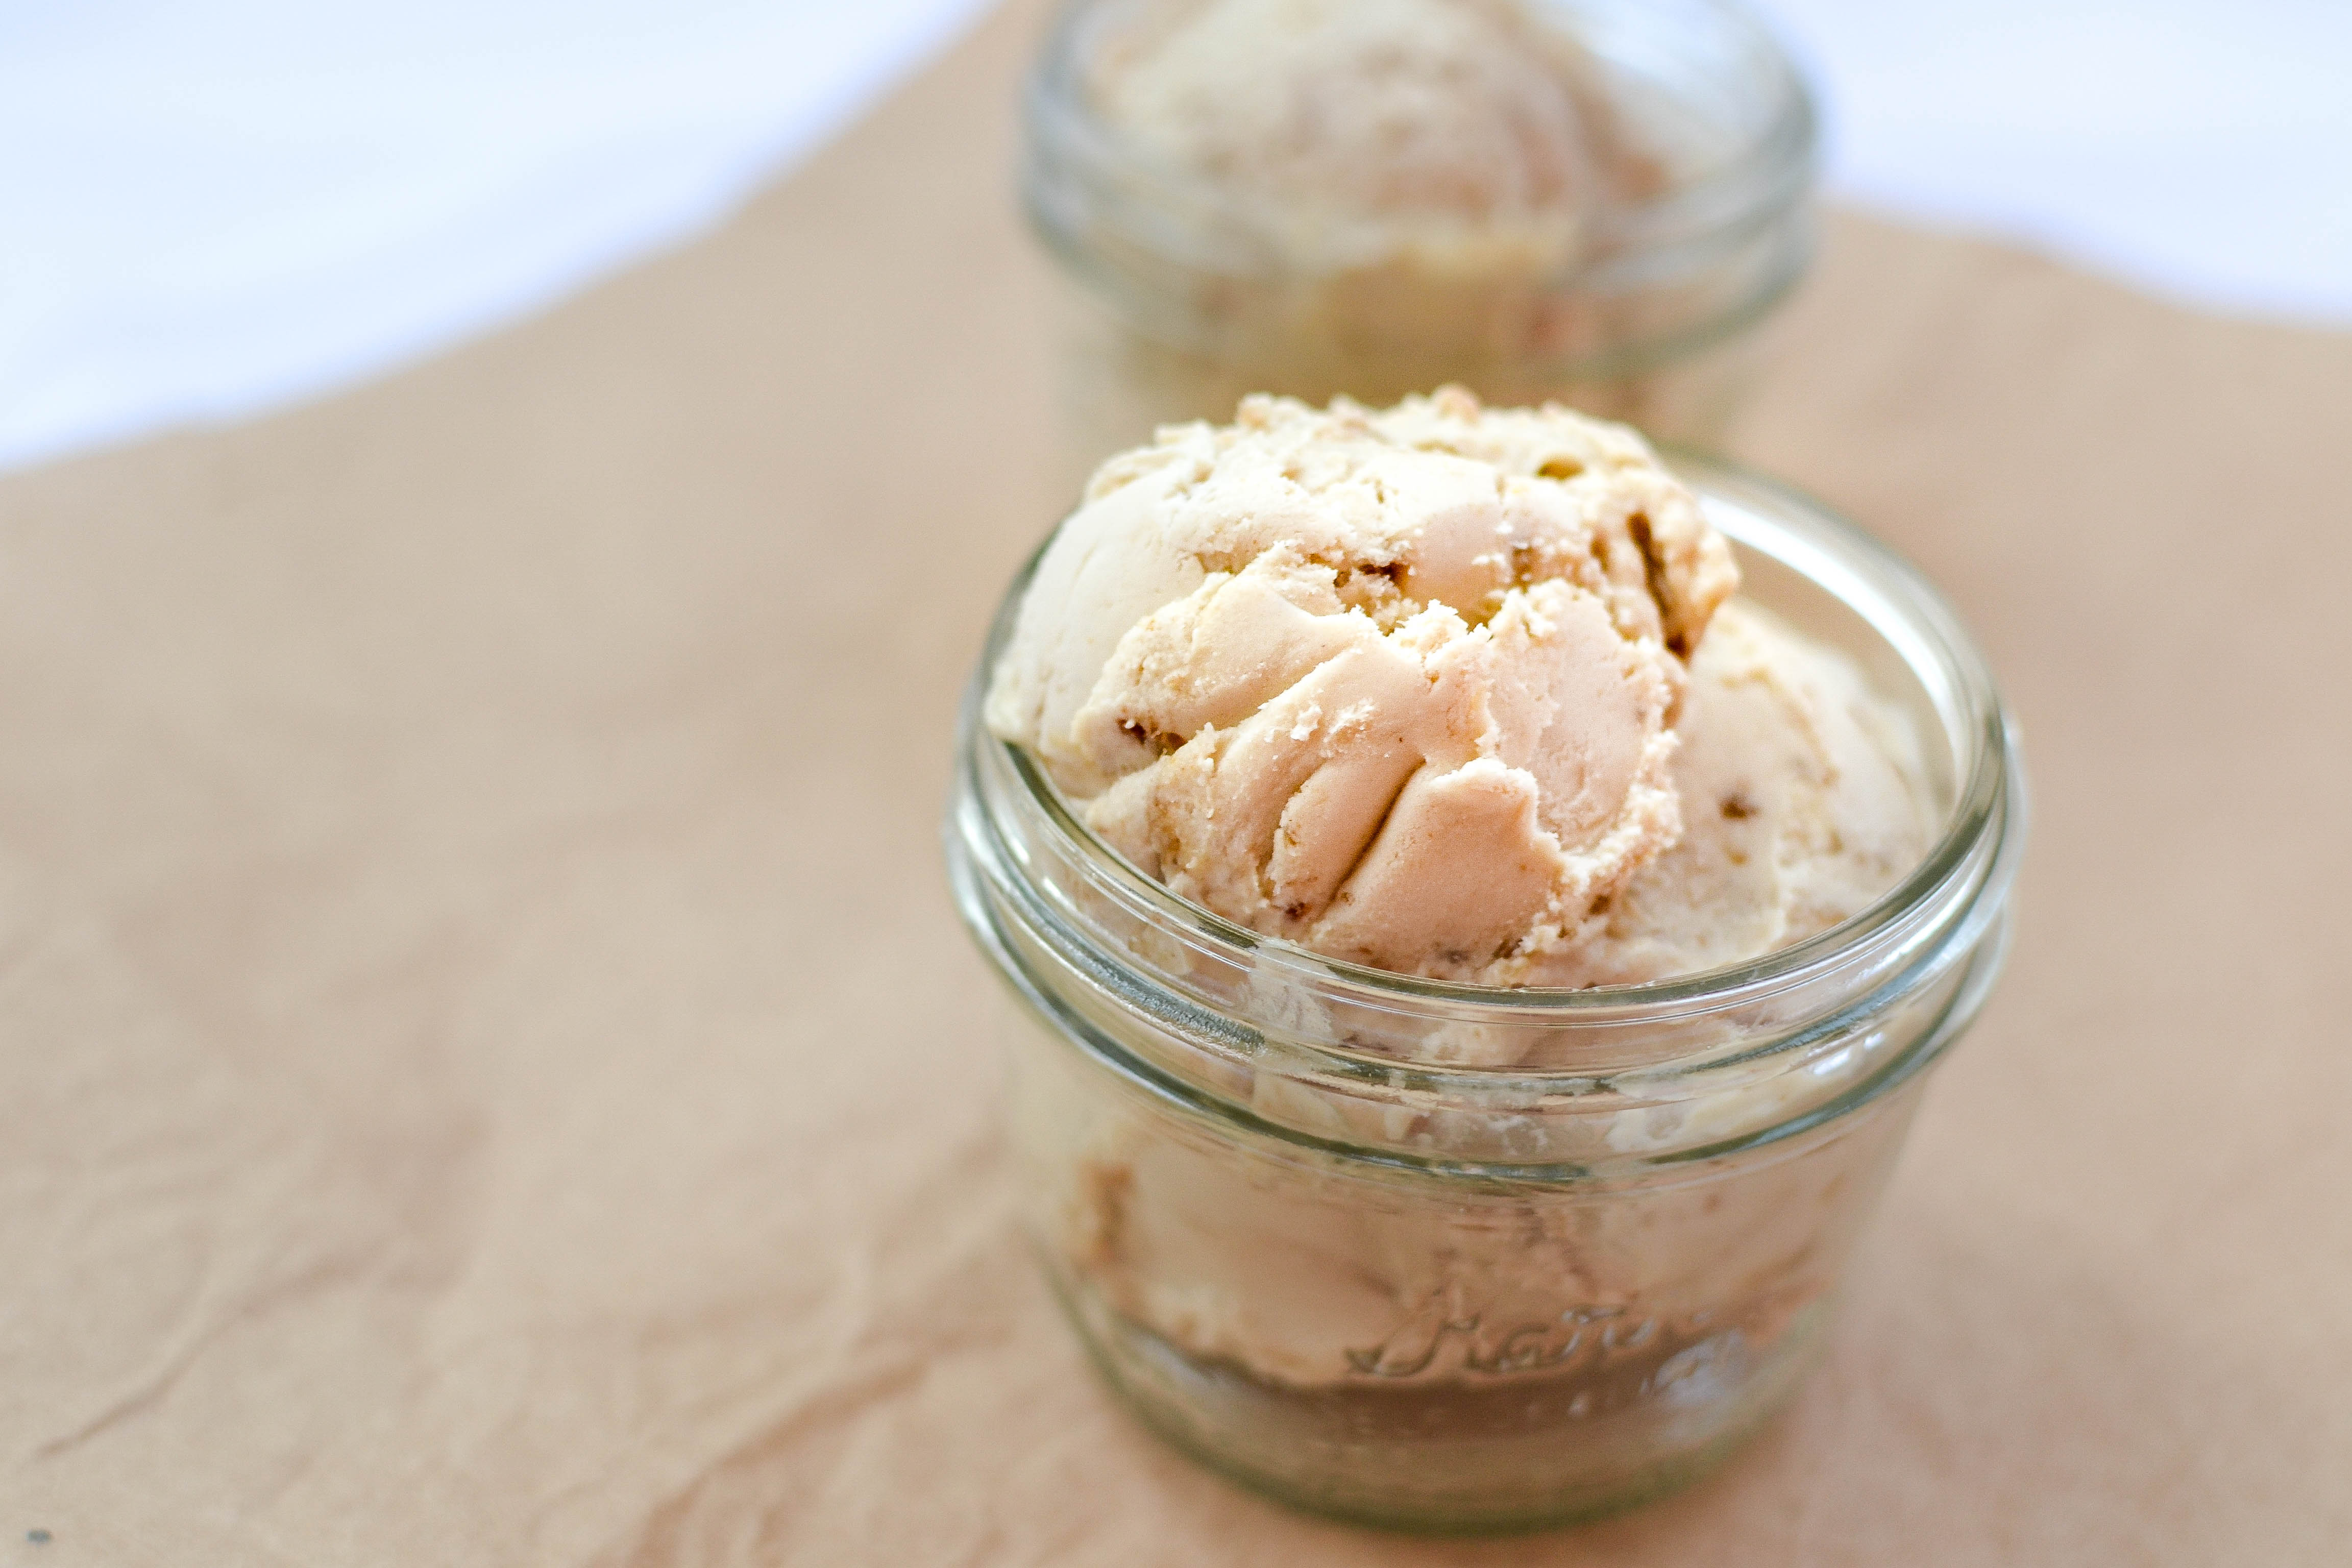
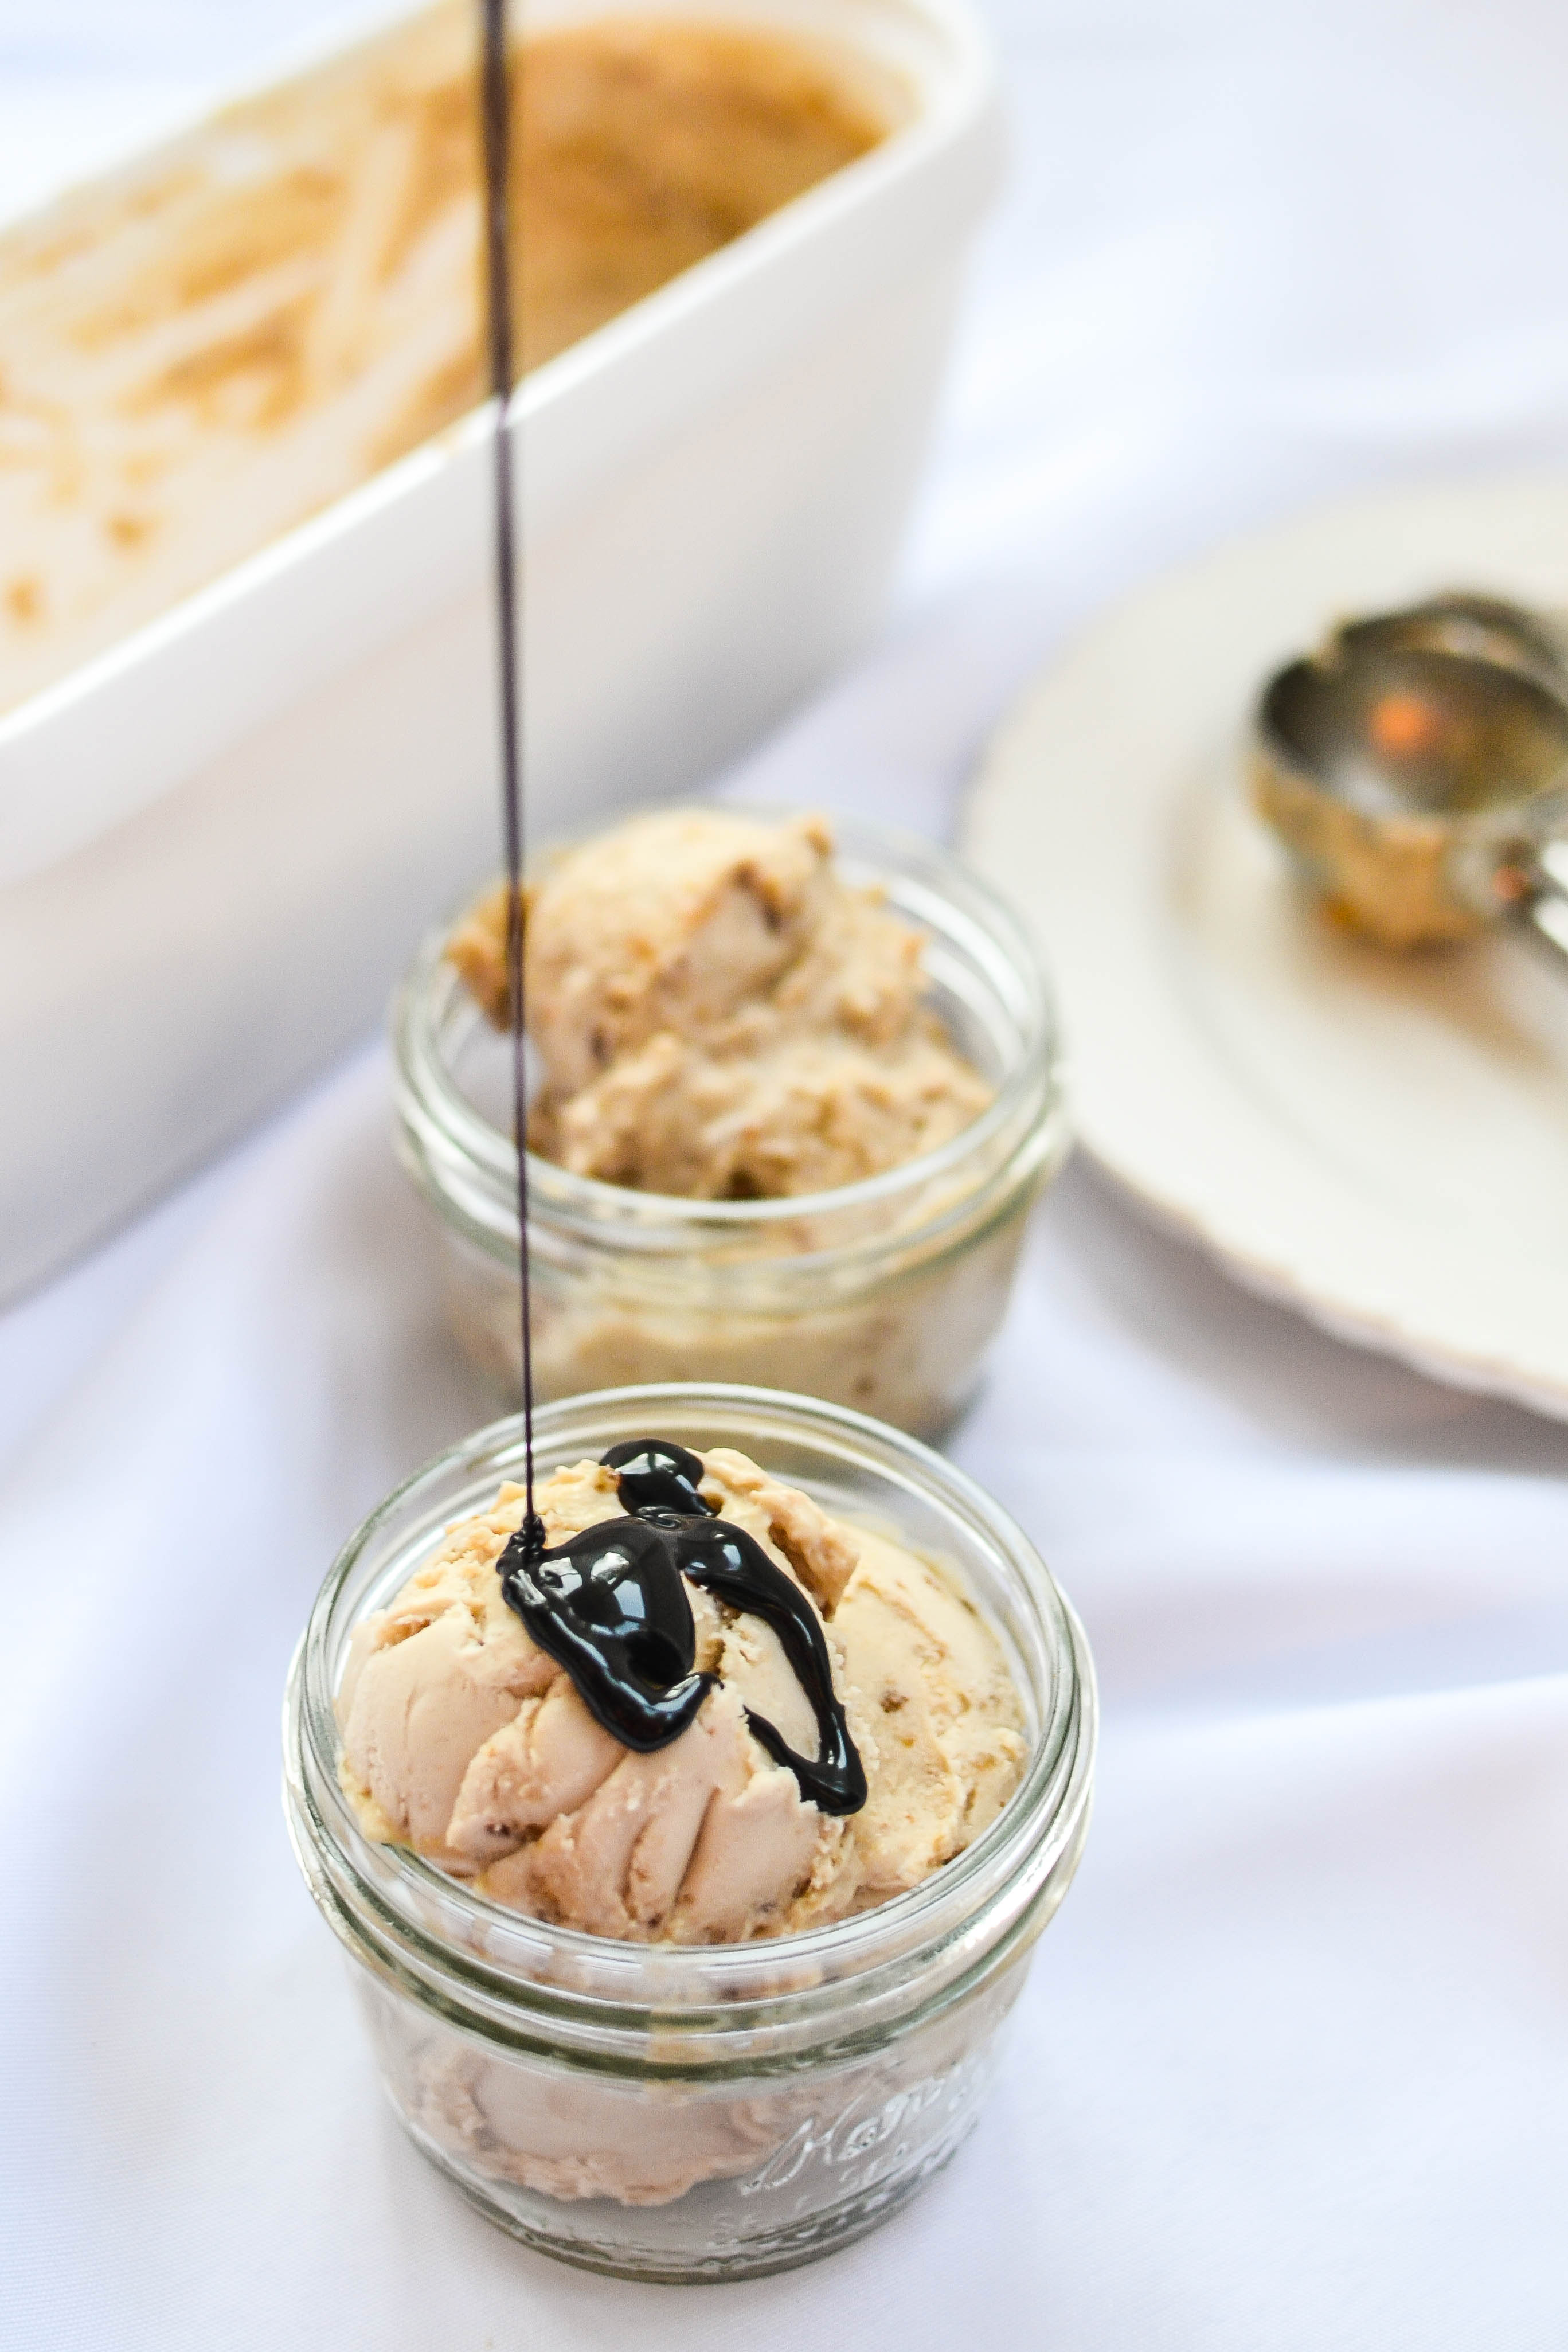
Speaking of coconut… This ice cream’s base is made from full fat and fully delicious coconut milk!  It’s so ridiculously creamy, silky, and smooth that you won’t even be able to tell this ice cream is not made with heavy cream. A scoop of this amazing ice cream is just plain luscious with a bit of heaven (in the form of date honey caramel) mixed in. You know you want to try it…


Dairy-free Date Honey Caramel Vanilla Ice Cream

yield: about 4 cups

calories: about 395 calories per 1/2 cup…whoops

total time: about 9 hours…(prep time: a little over 1 hour | soak/chill time: 6-8 hours)

Printable Recipe


special equipment:

ice cream maker (make sure to chill your churning bowl according to the manufacturer’s instructions; usually 12-24 hours before you want to make ice cream)

freezer safe container

[other not super special equipment: food processor and high-speed blender]

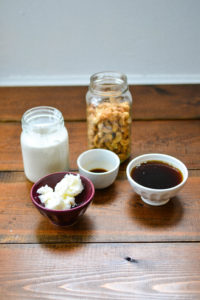
ingredients:

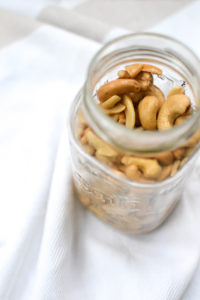
1 ¾ cup raw cashews, soaked for 6 hours (or overnight) in warm water then drained

1 (15 oz) can full fat coconut milk

½ cup raw agave nectar

2 teaspoons vanilla extract

3 teaspoons sea salt, divided

3 tablespoons coconut oil, melted

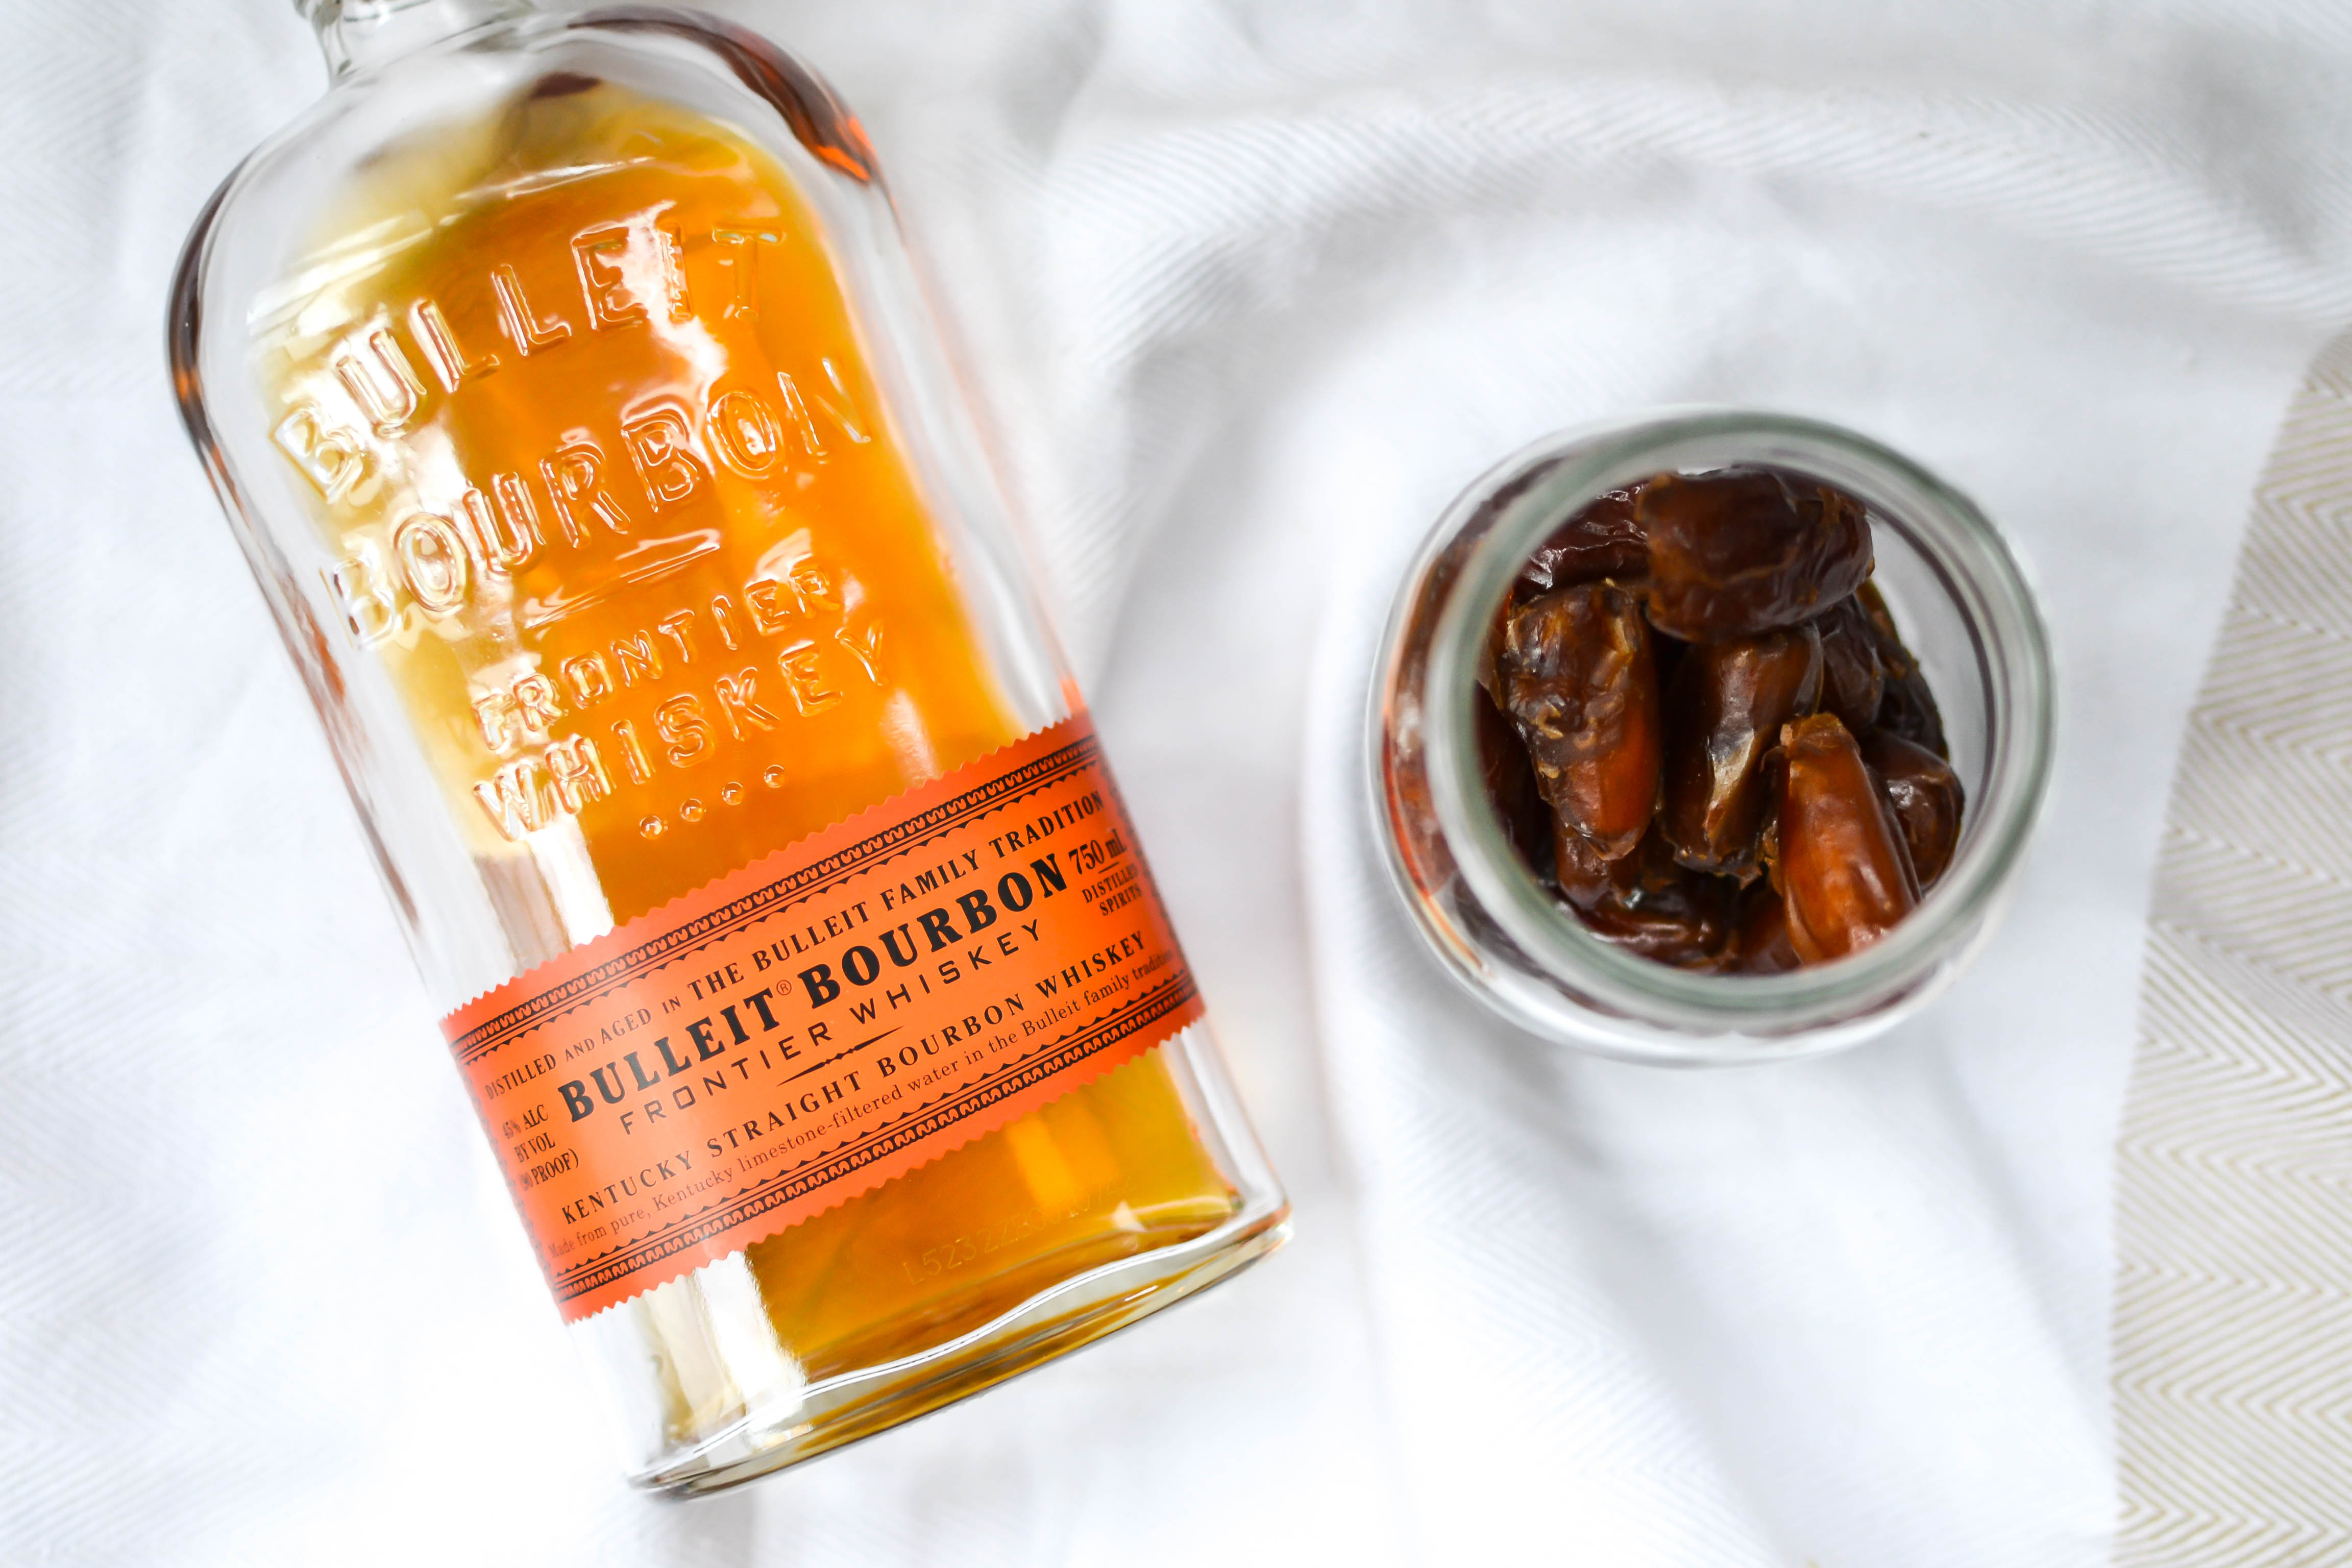
20 pitted medjool dates, soaked for 10 minutes in hot water then drained

2 tablespoons honey

1 tablespoon bourbon (optional – included in calorie count; if not using, add one more tablespoon of water)

2 tablespoons warm water

directions:

  1. prep all things that need chilling and soaking: i recommend soaking your cashews and placing your ice cream churning bowl in the freezer the night before you want to make the ice cream! note: this step is not counted in the total time…
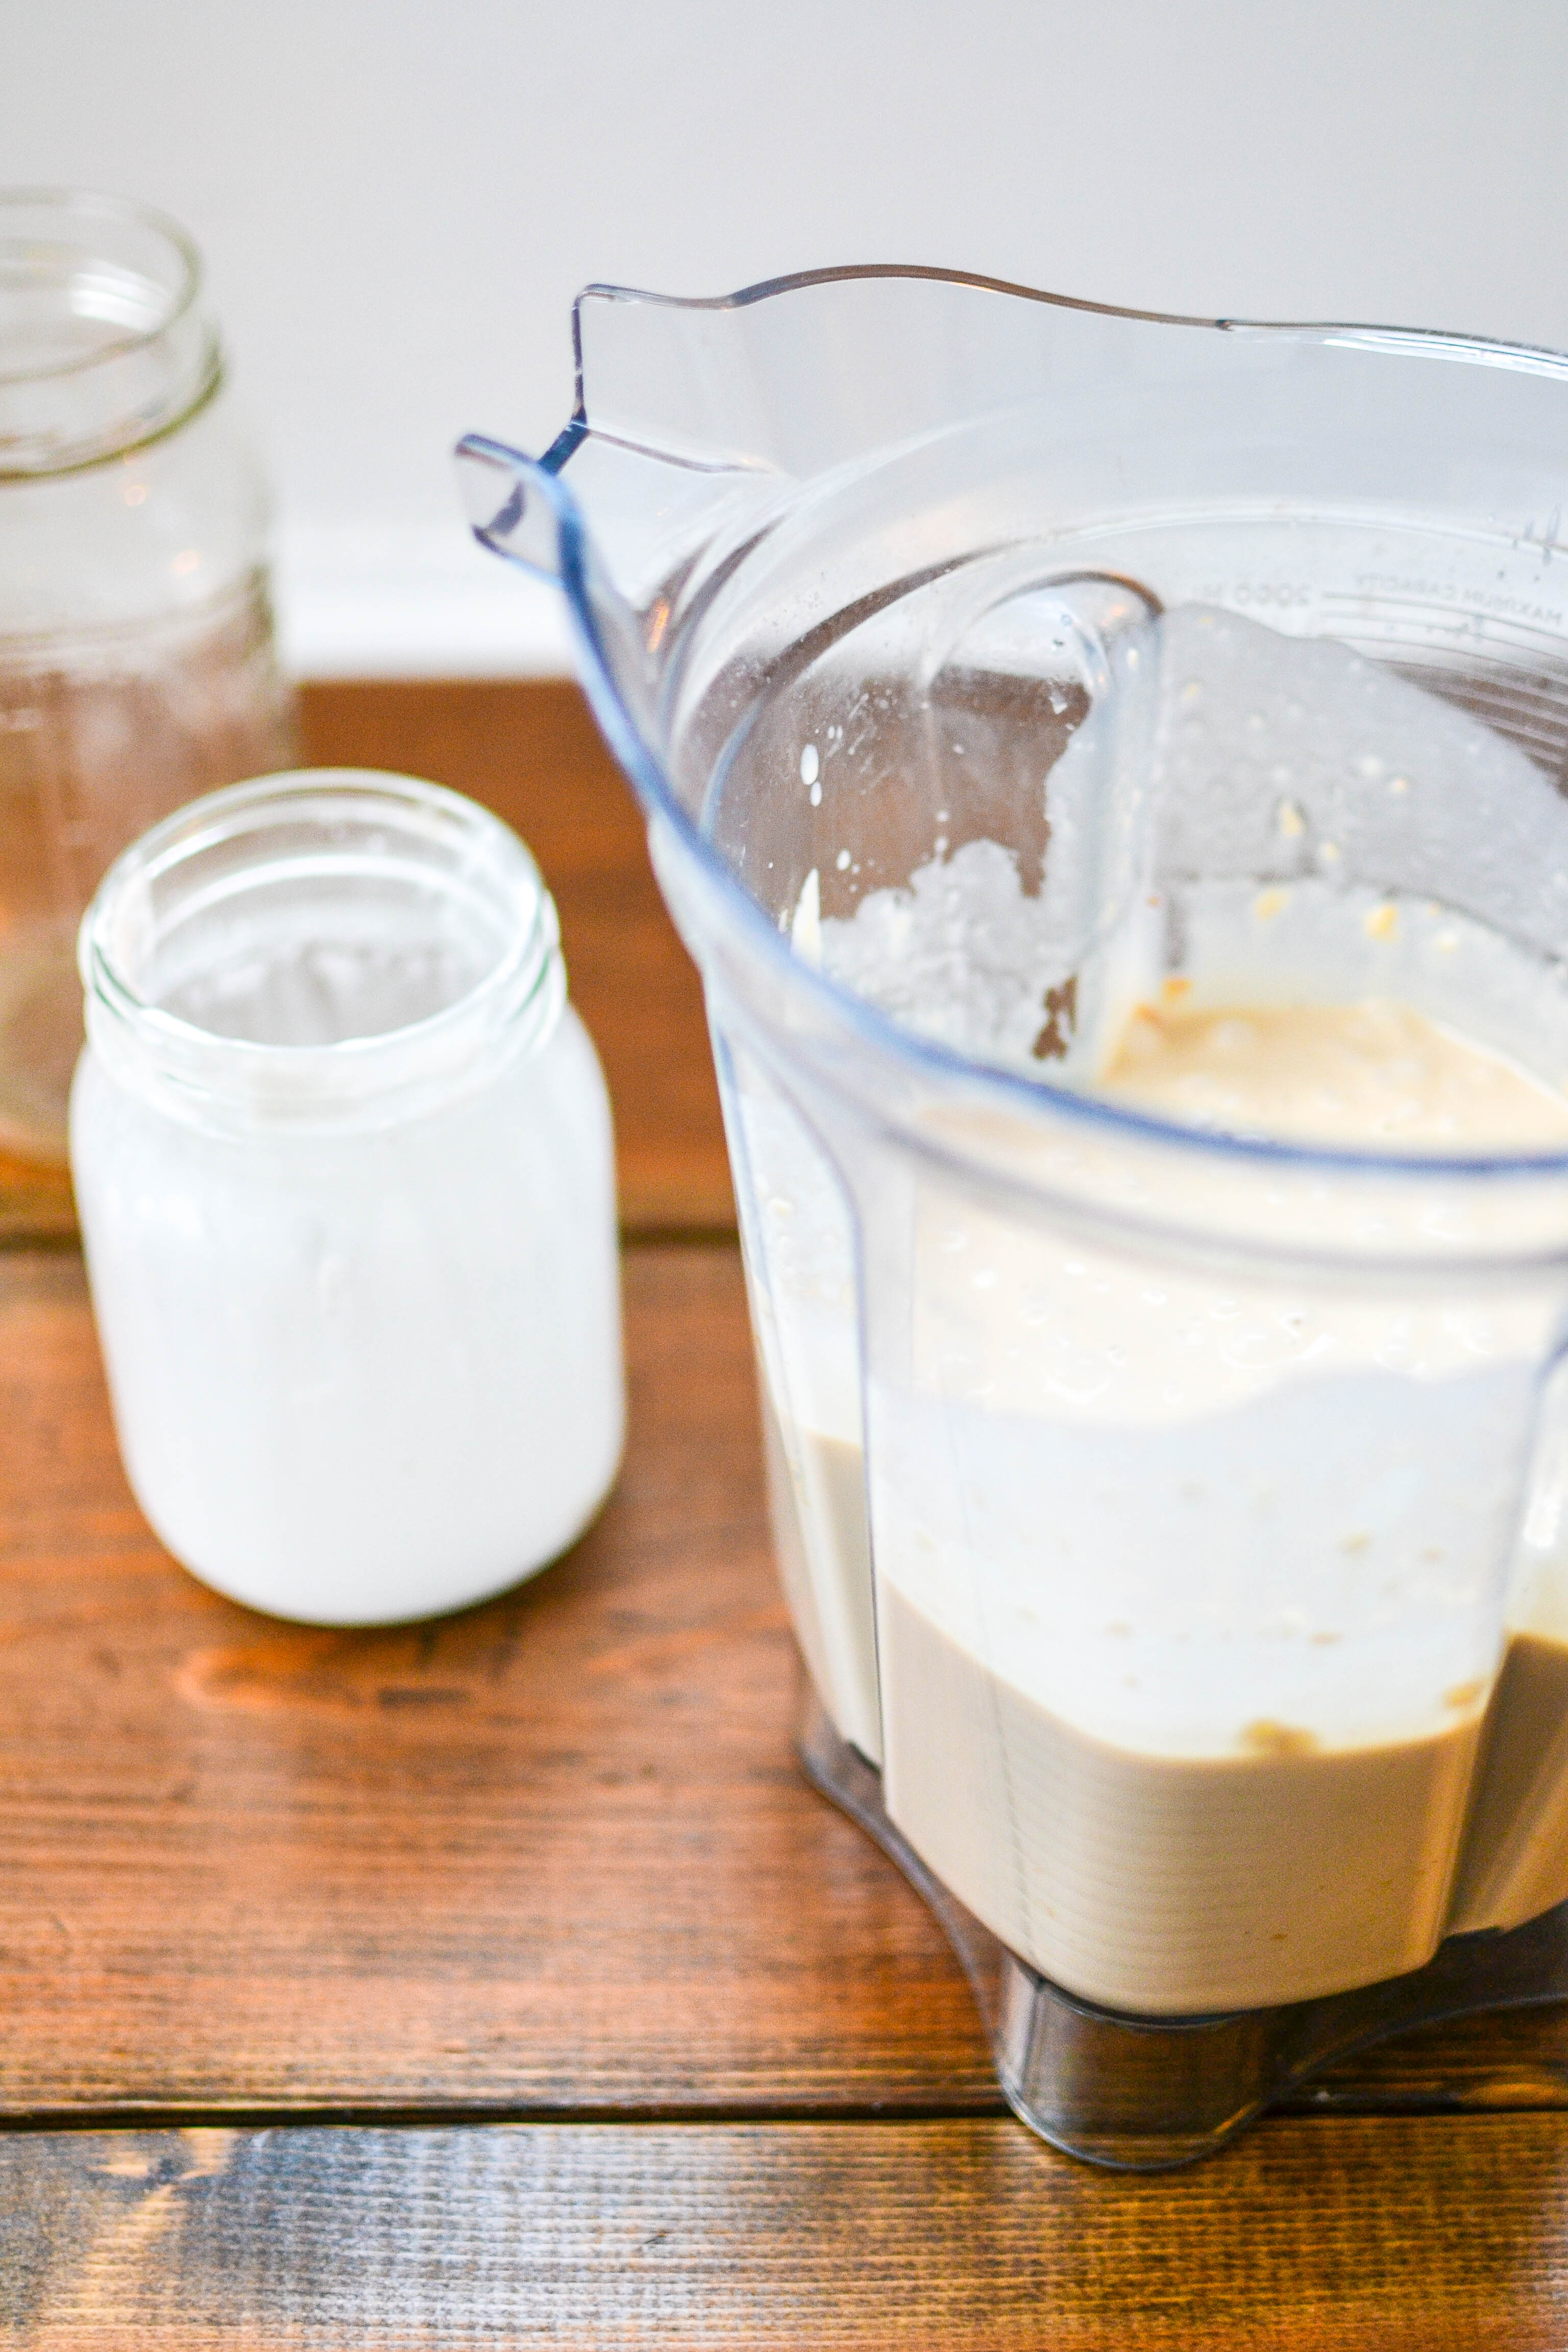
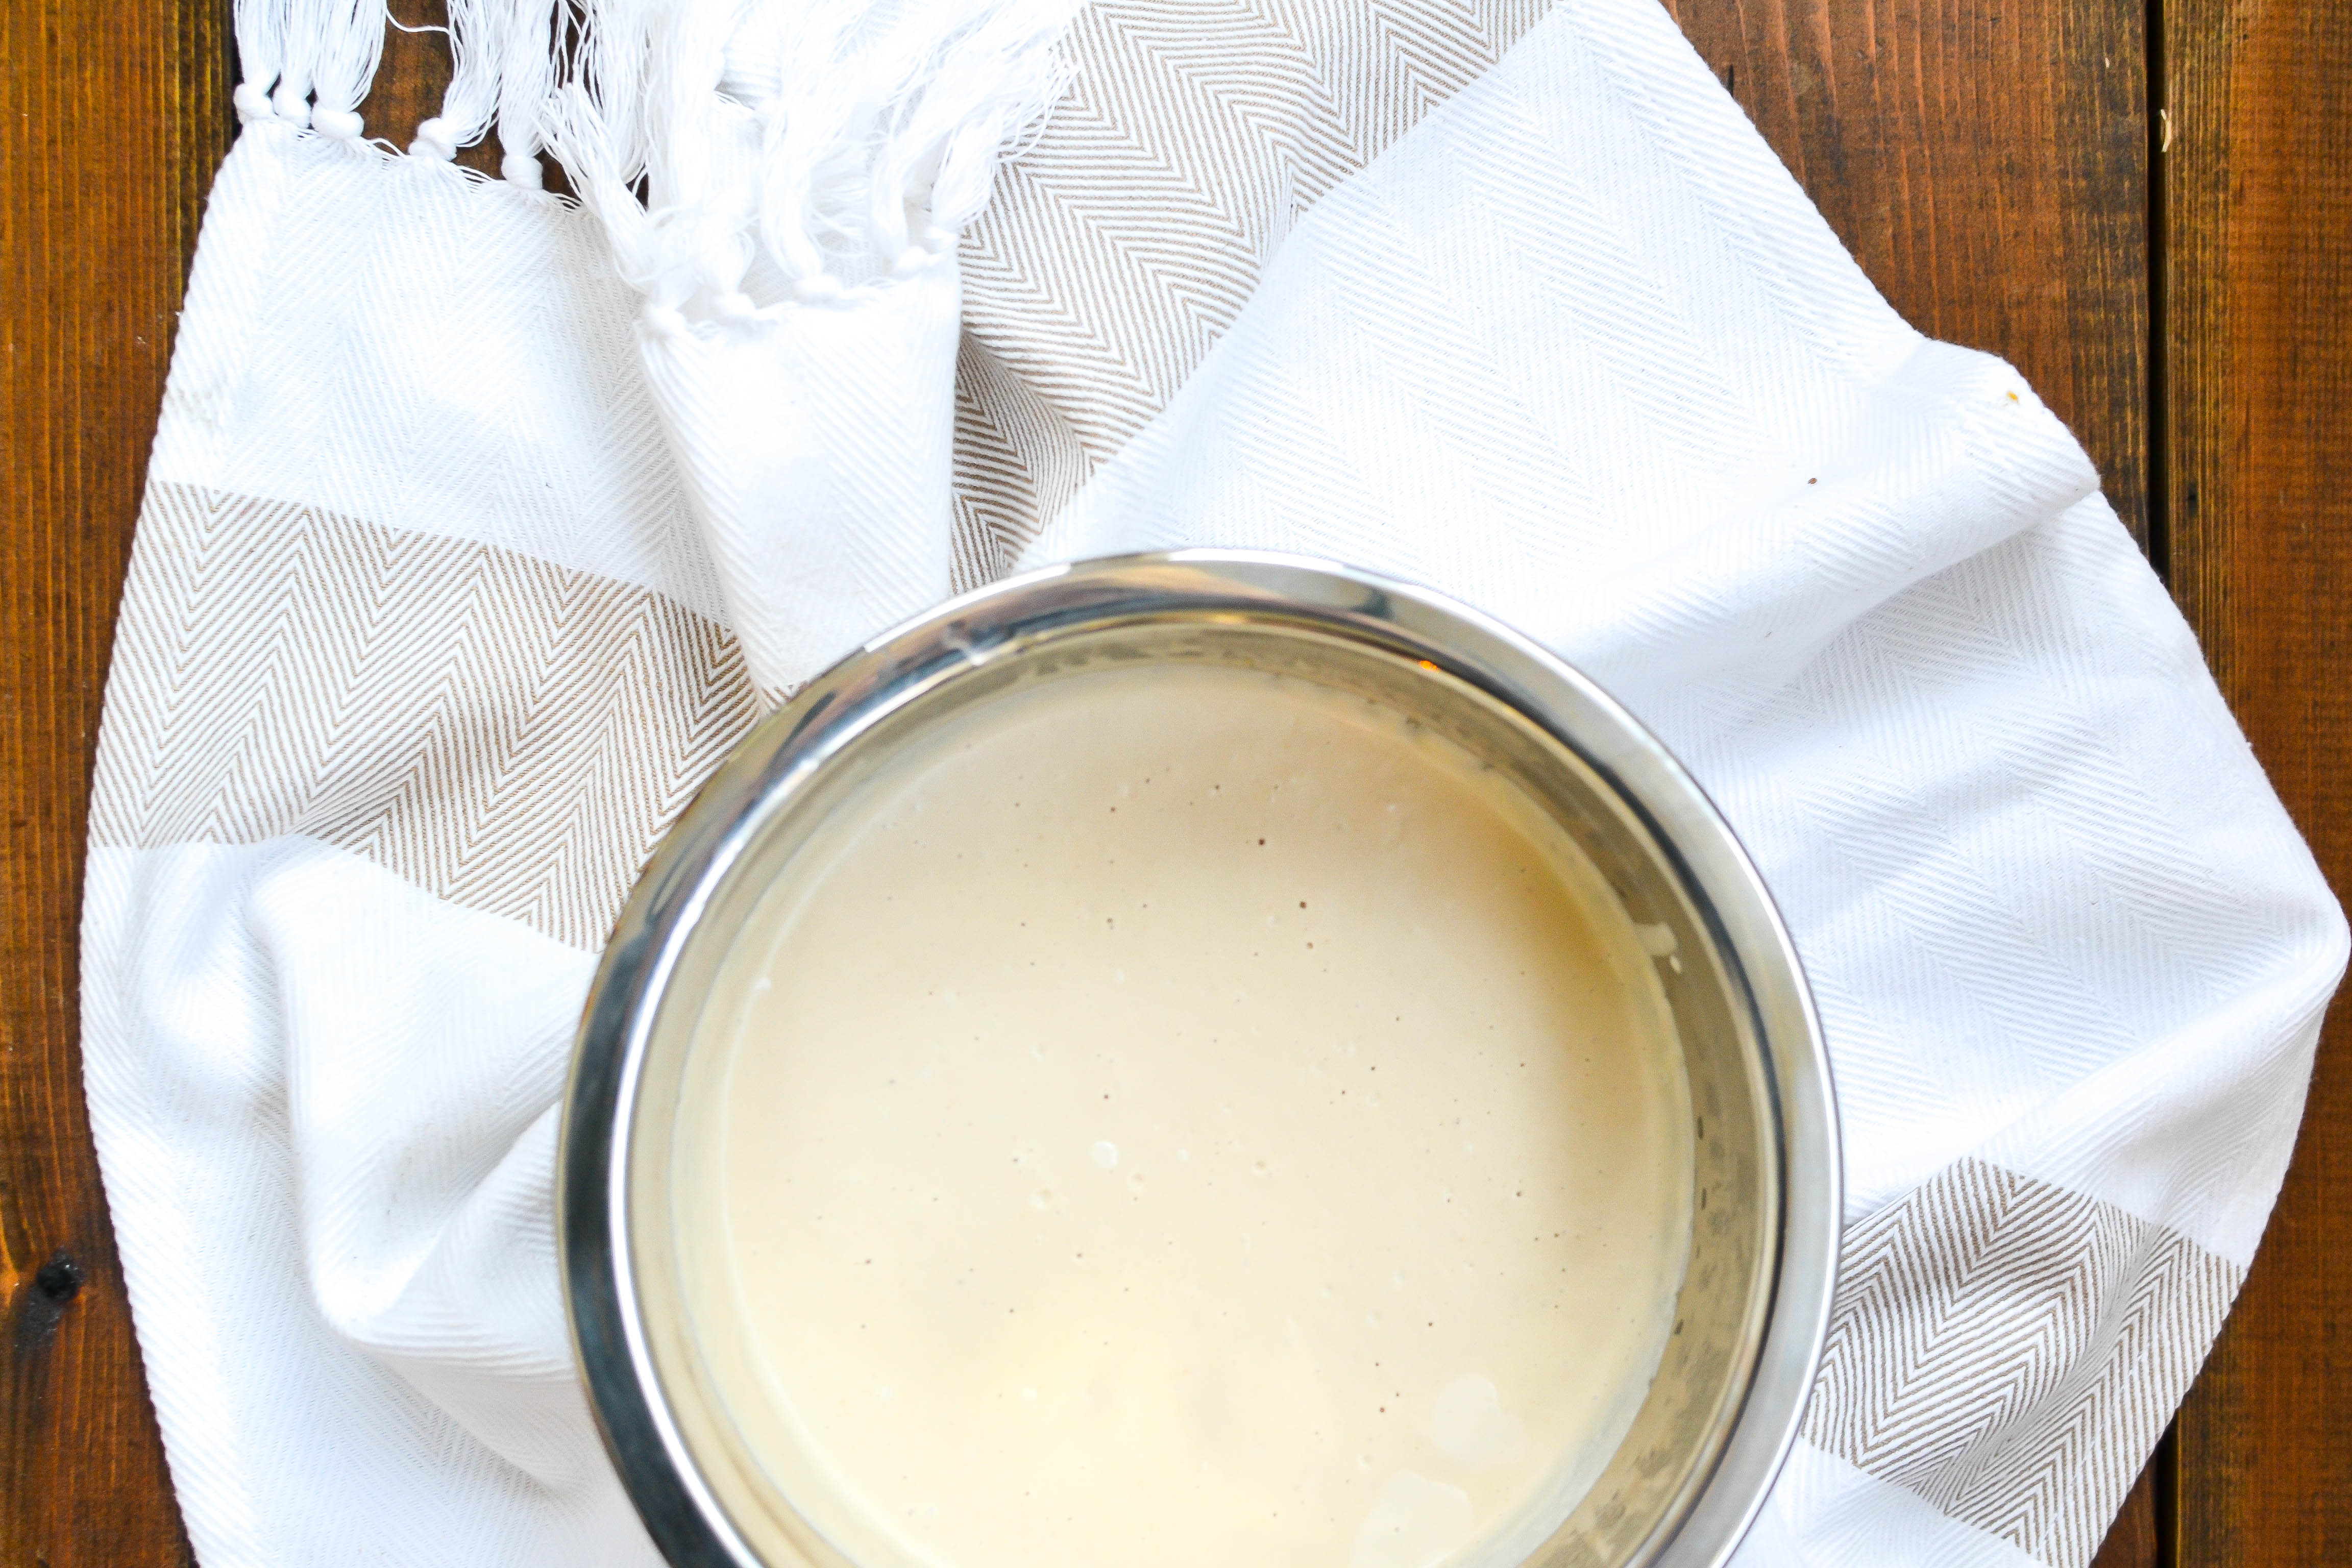
  2. add cashews (soaked and drained), full fat coconut milk, agave nectar, vanilla extract, one teaspoon sea salt, and melted coconut oil to a blender then blend on high until completely smooth, creamy, and liquidity.
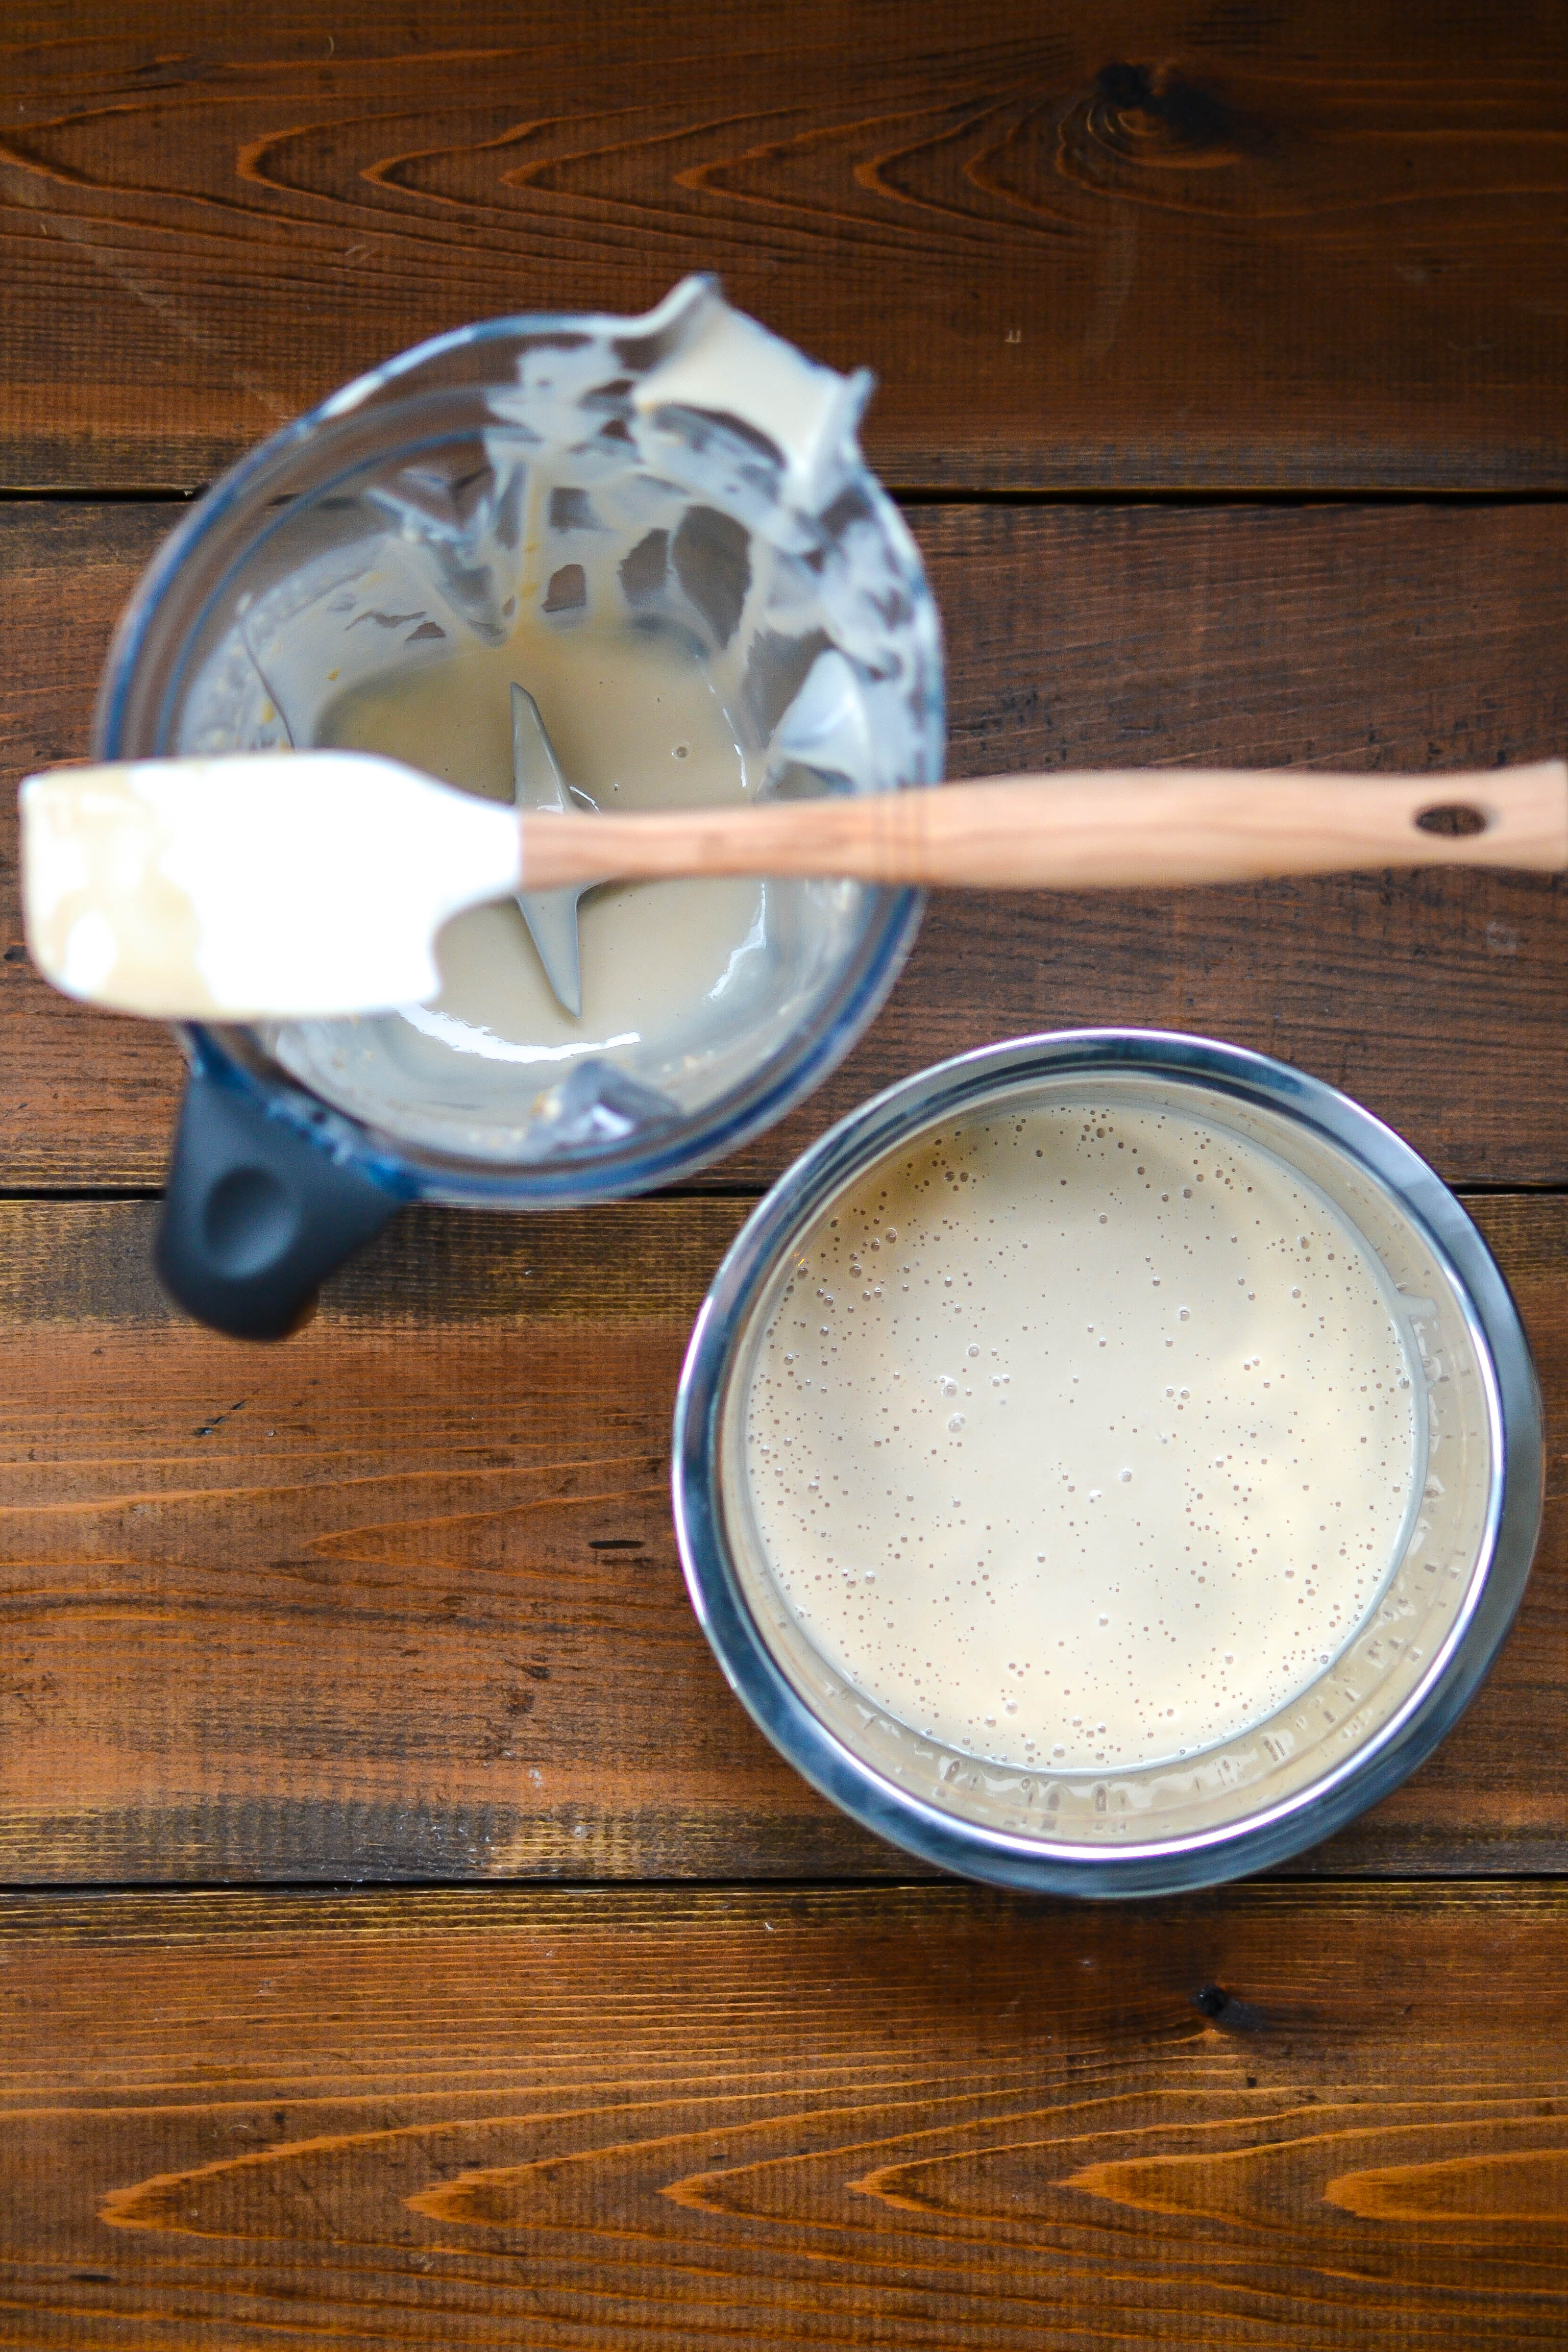
  3. using a rubber spatula, scrape the contents of the blender into a bowl (cover with lid or plastic wrap) and chill mixture in the fridge for at least 4-6 hours (best option is overnight if you have the time). you want this mixture to be very firm before churning otherwise it will not churn properly (and not be super ice cream like).
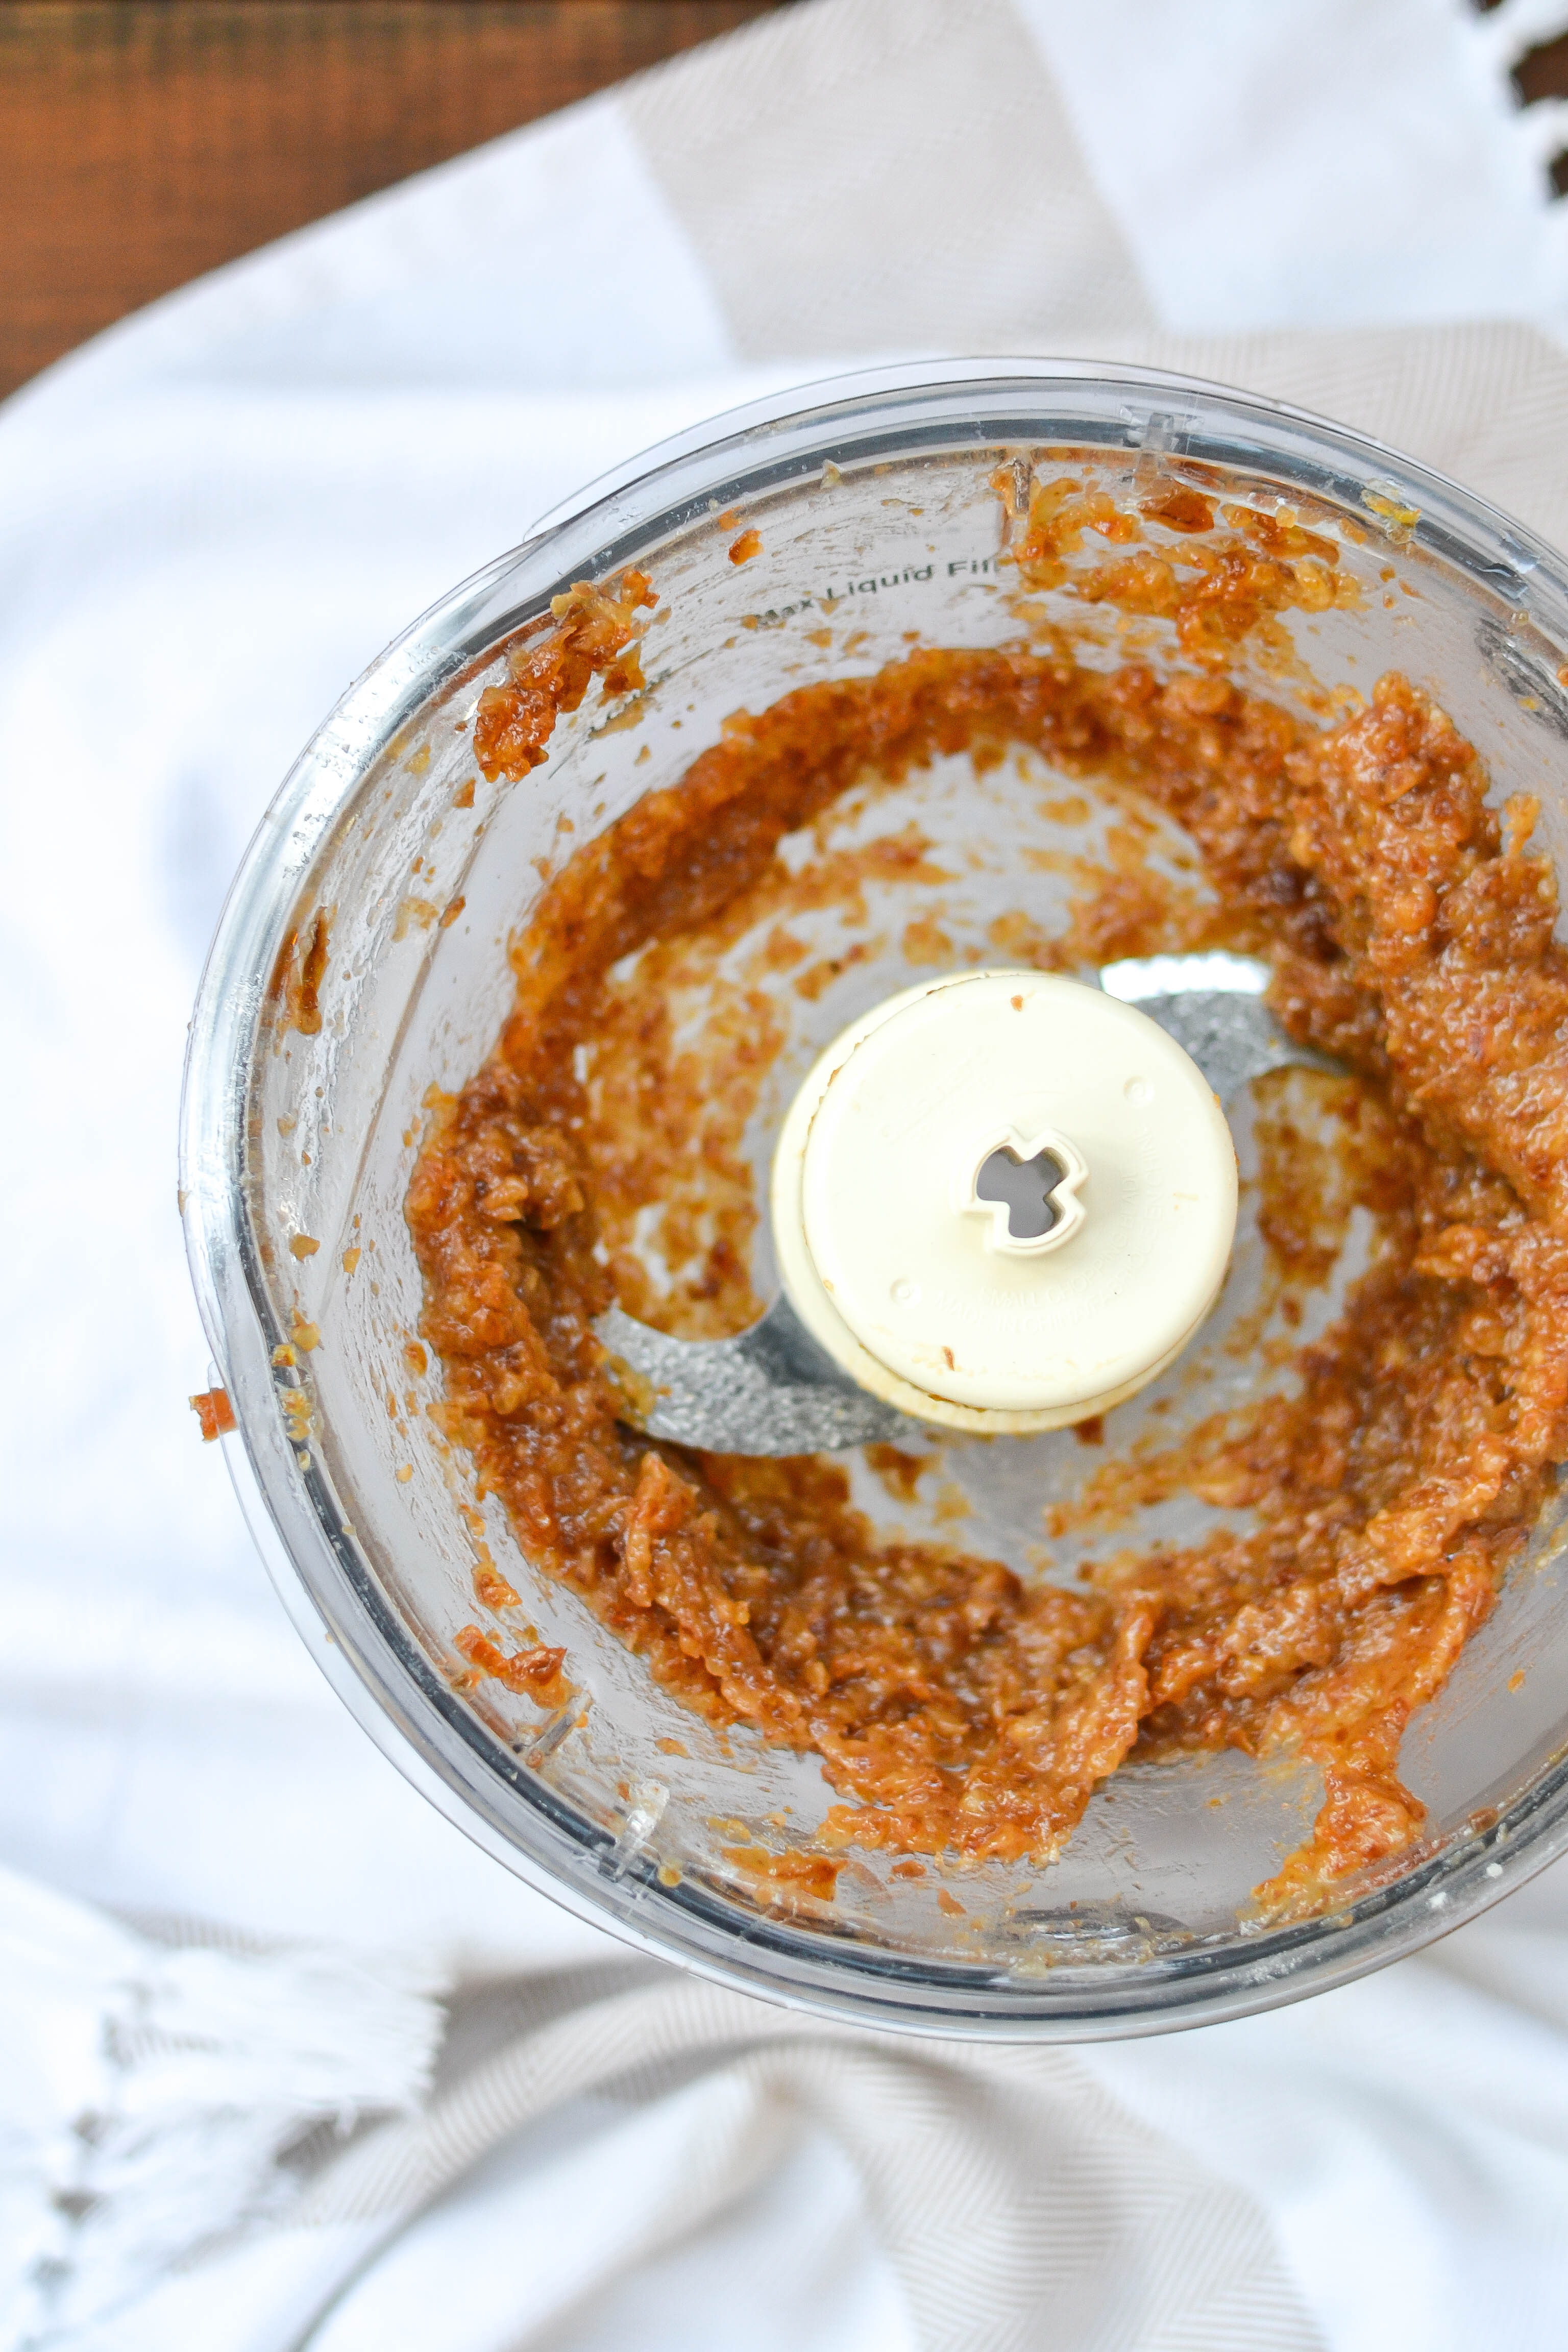
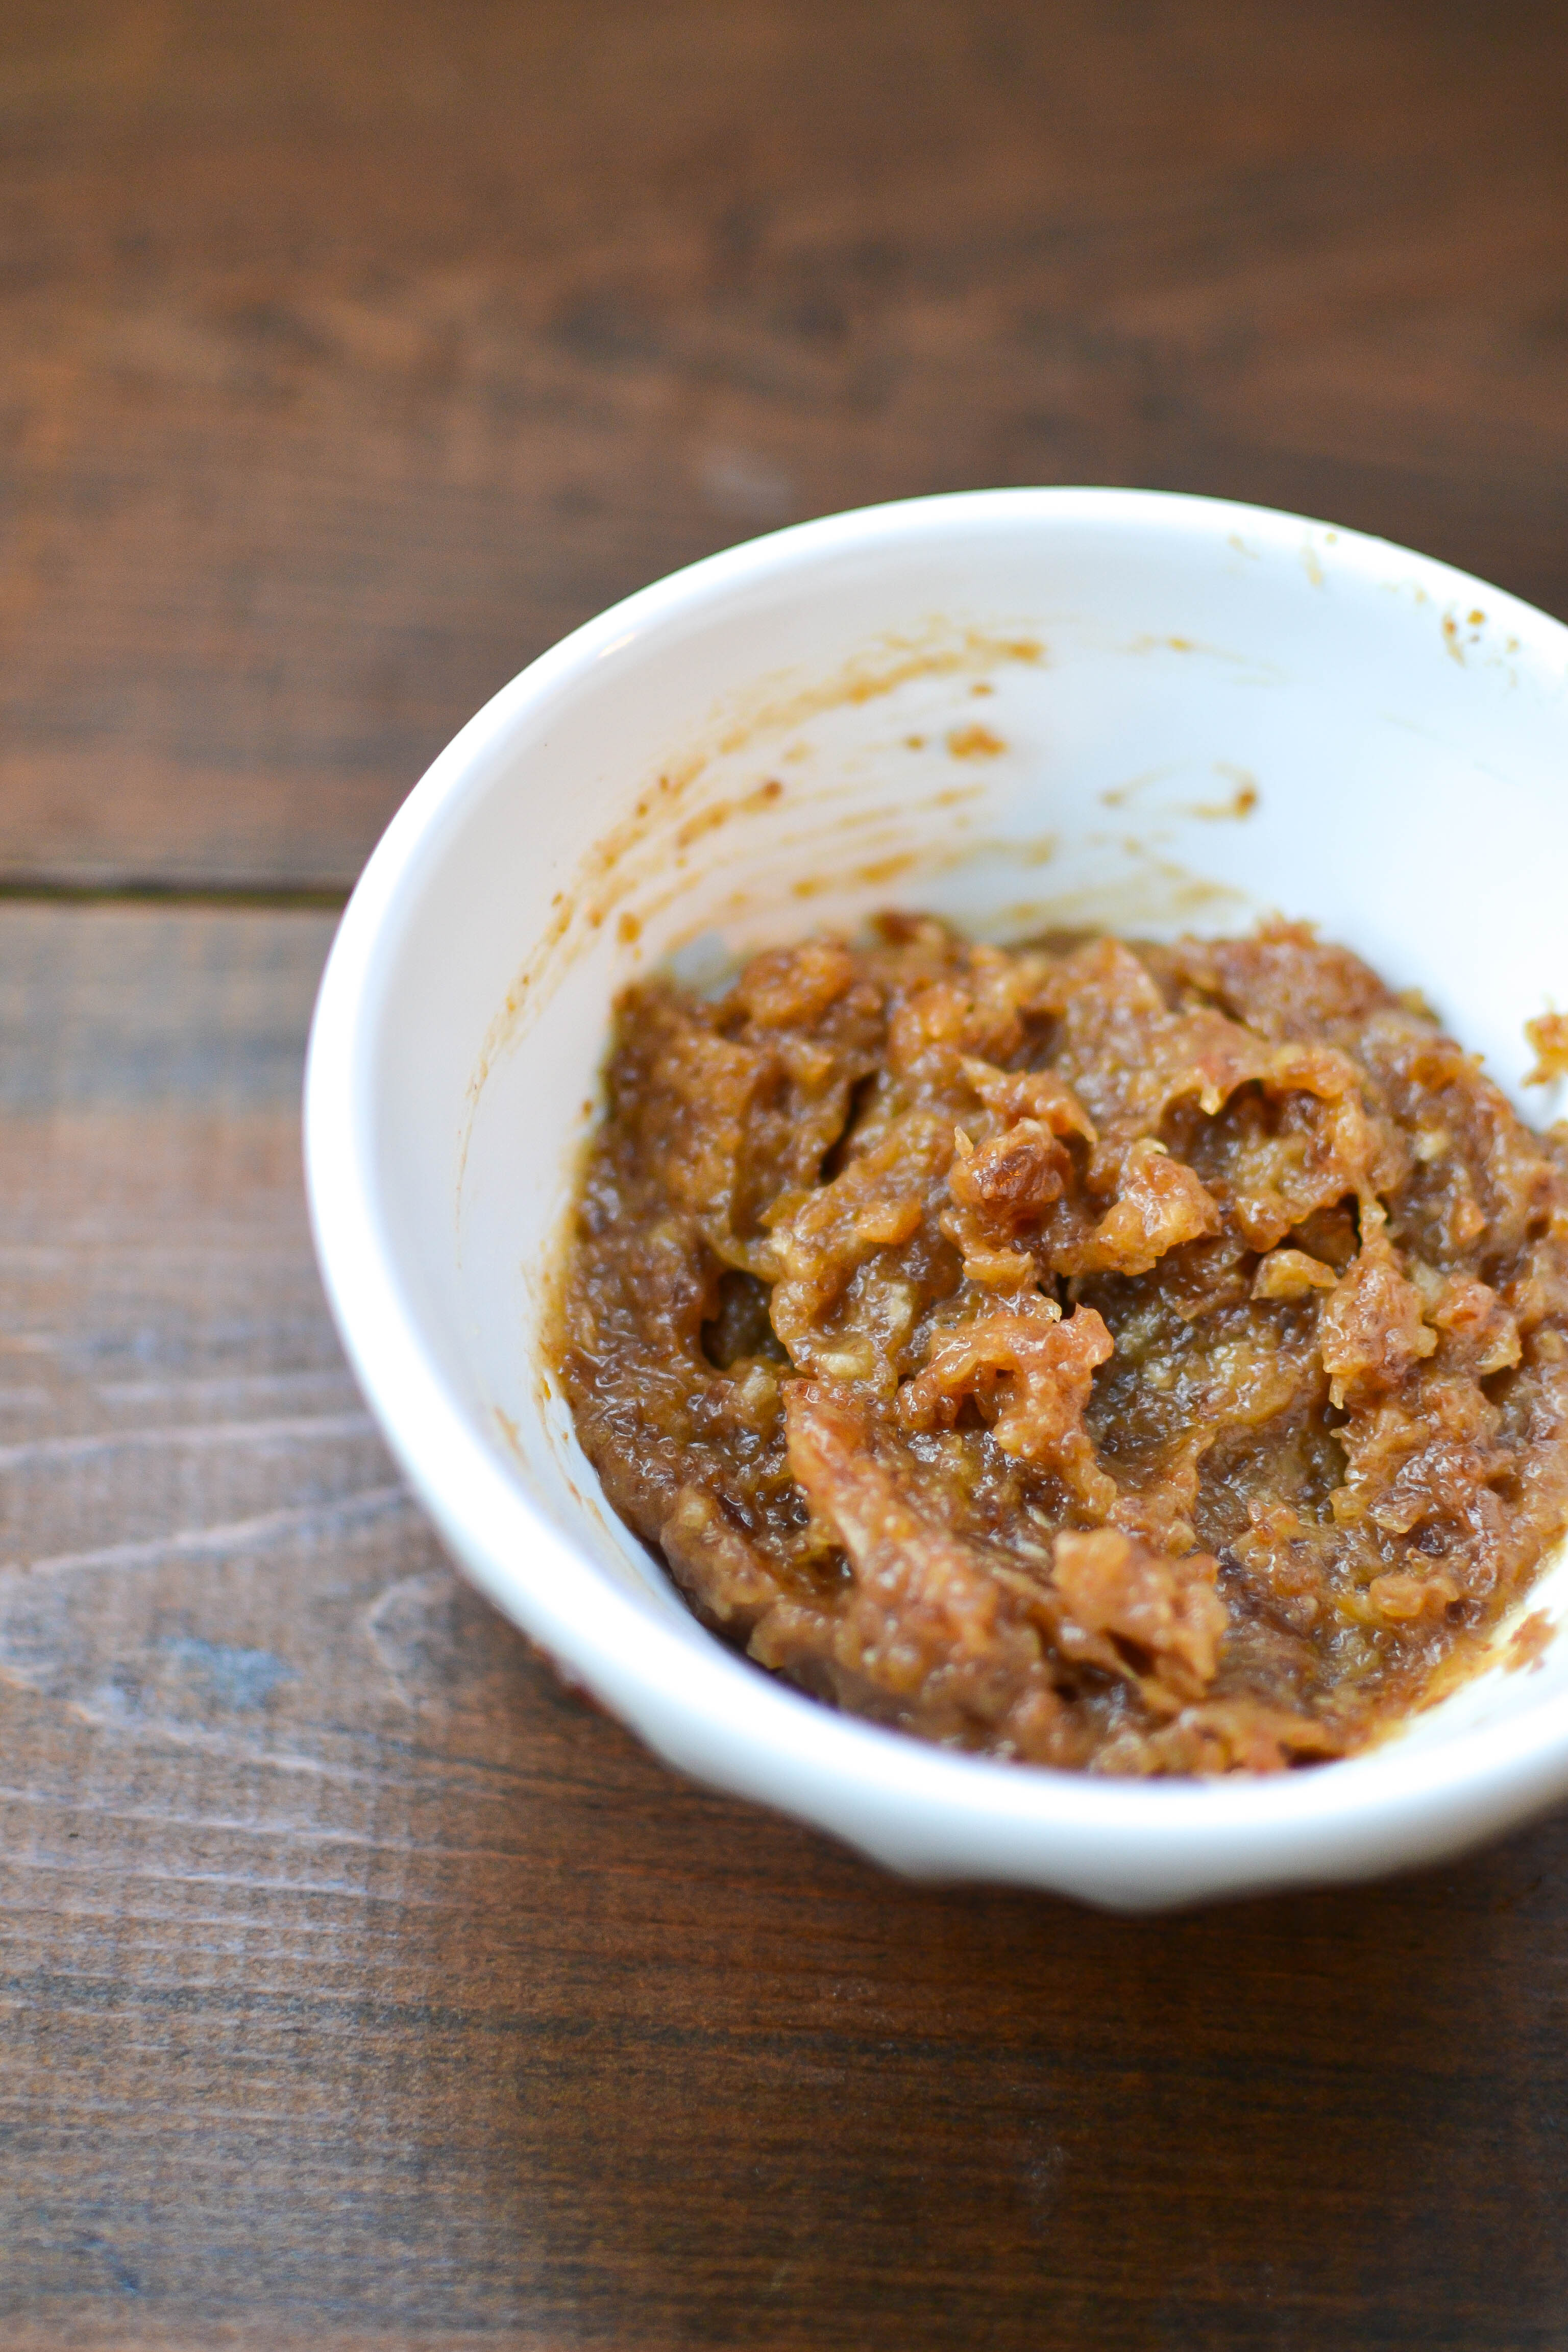
  4. during the 4-6 hours while you are waiting for your ice cream base to chill, make the date honey caramel! soak dates for at least ten minutes in hot water then drain. place soaked and drained dates in the bowl of a food processor and pulse until only small bits remain. next, add in honey, bourbon, water, and remaining two teaspoons of sea salt to the food processor bowl then pulse until mixture becomes fully incorporated and looks gooey – like caramel!!!
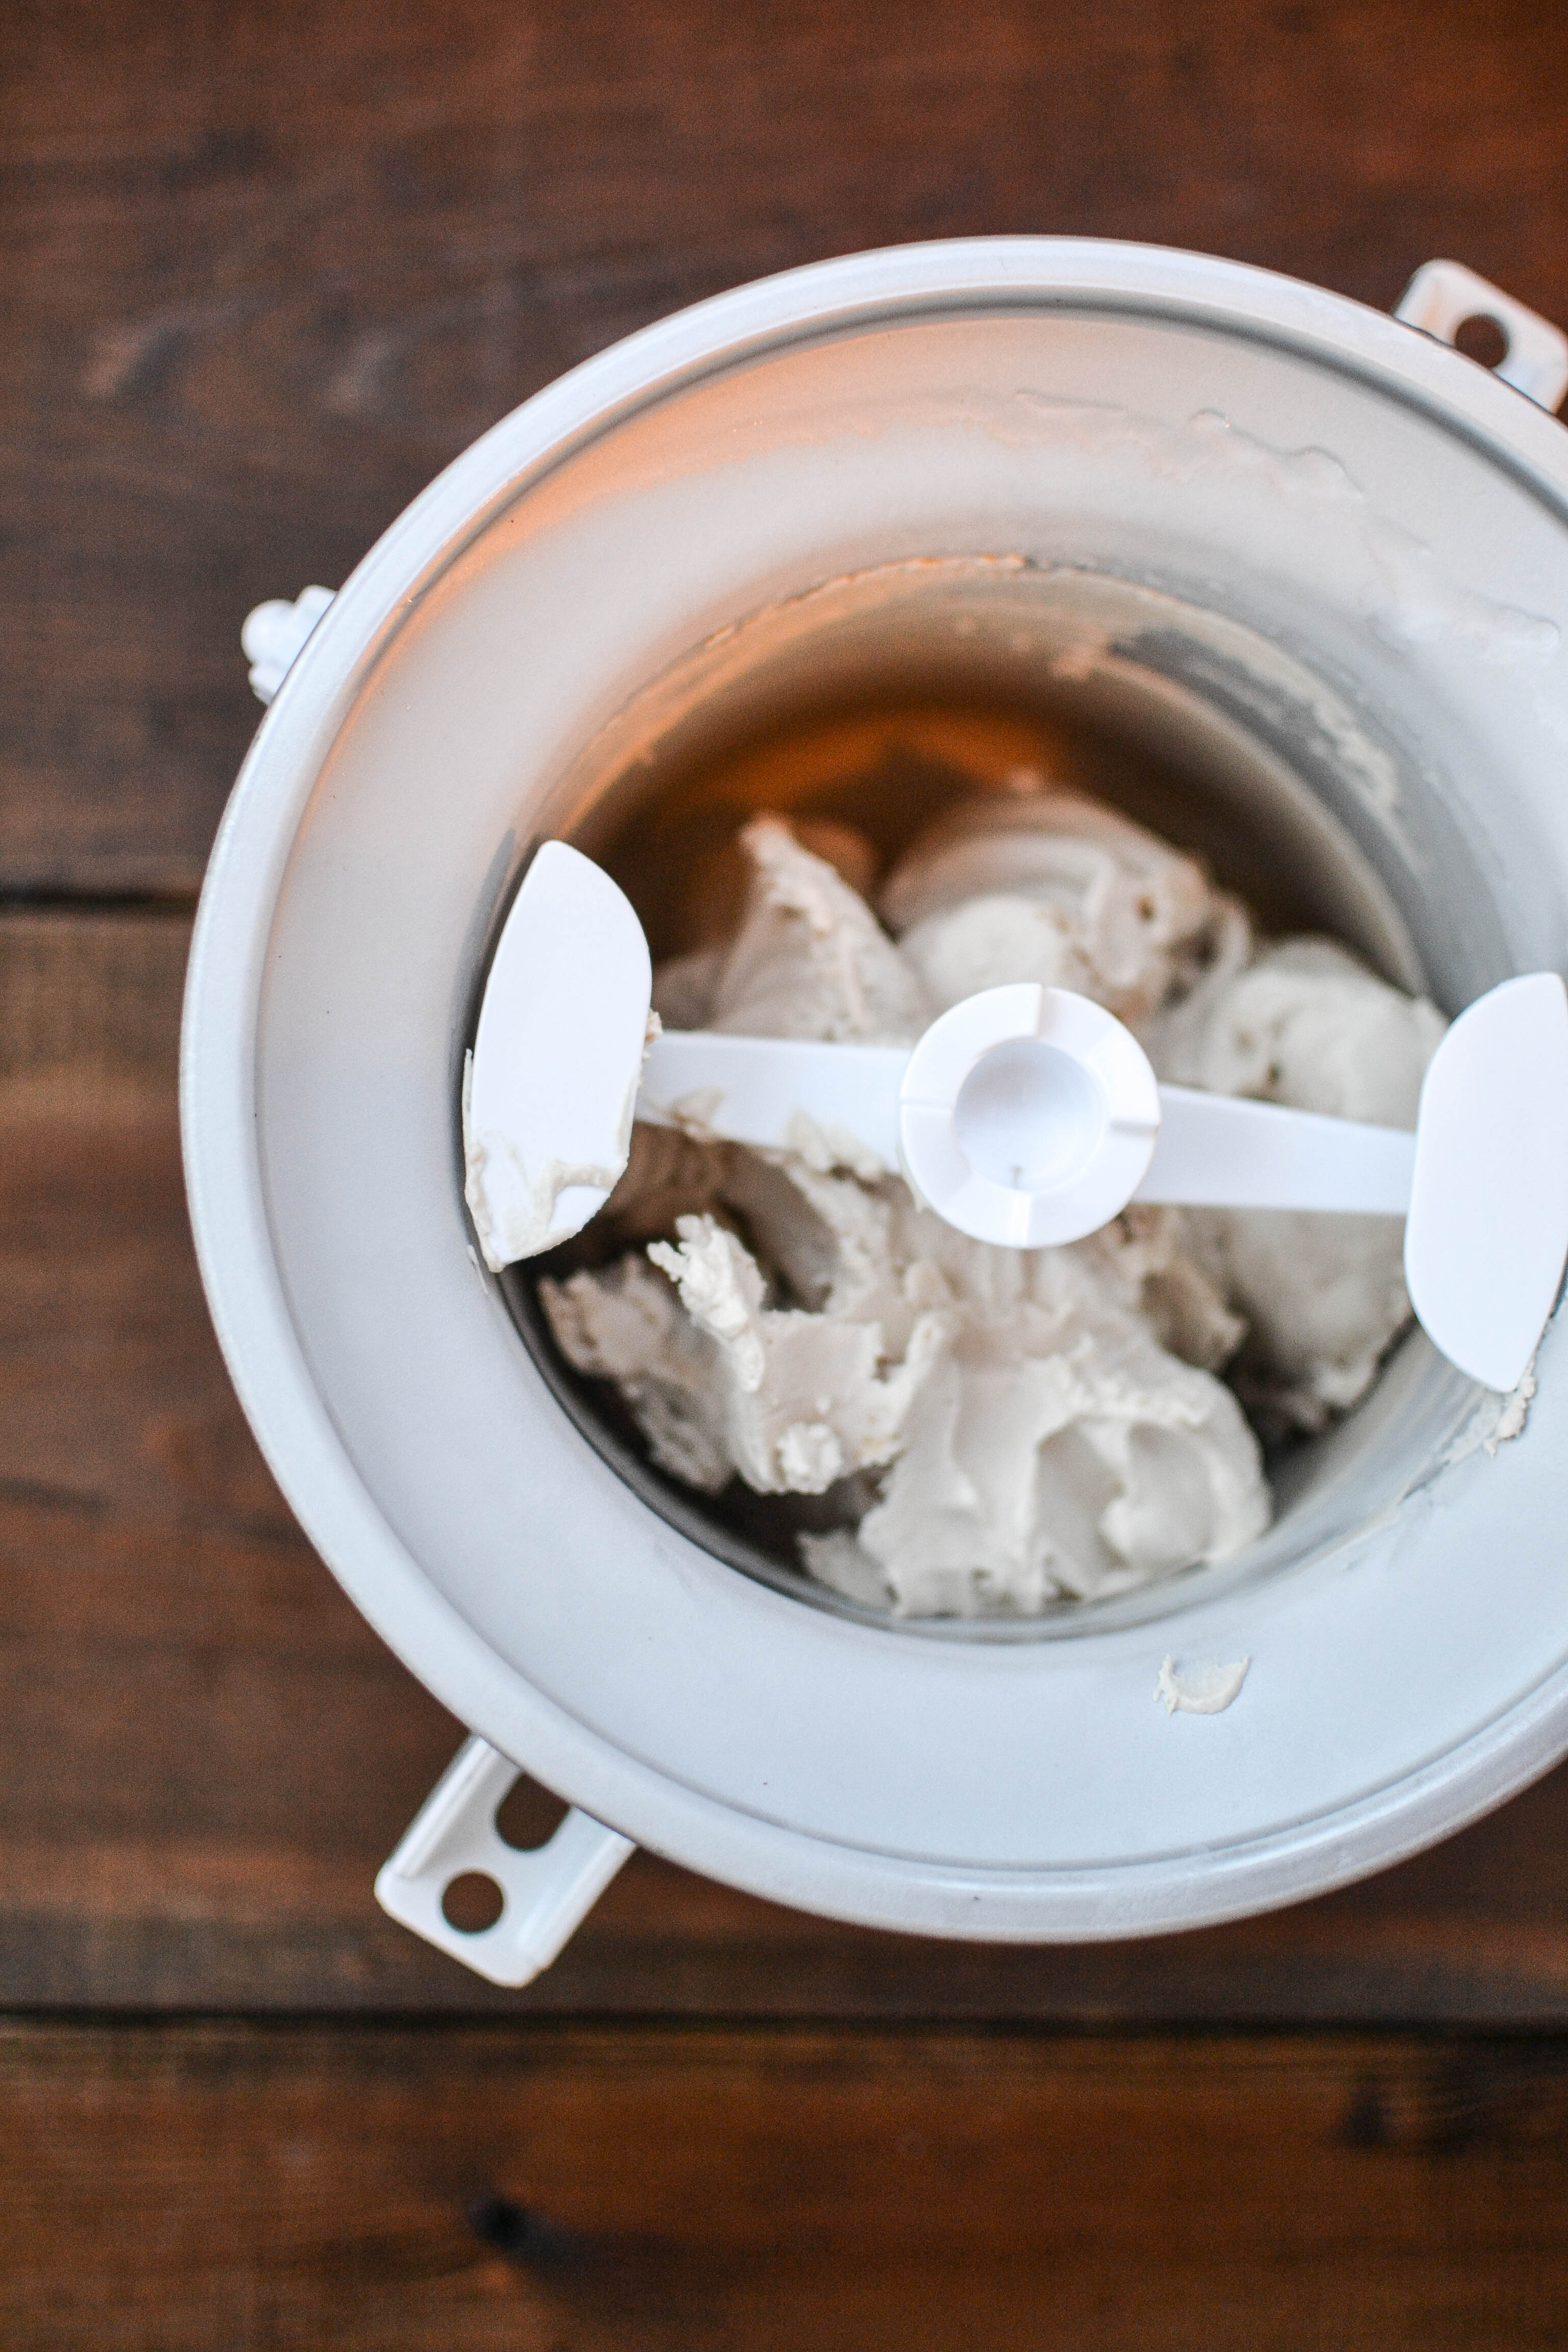
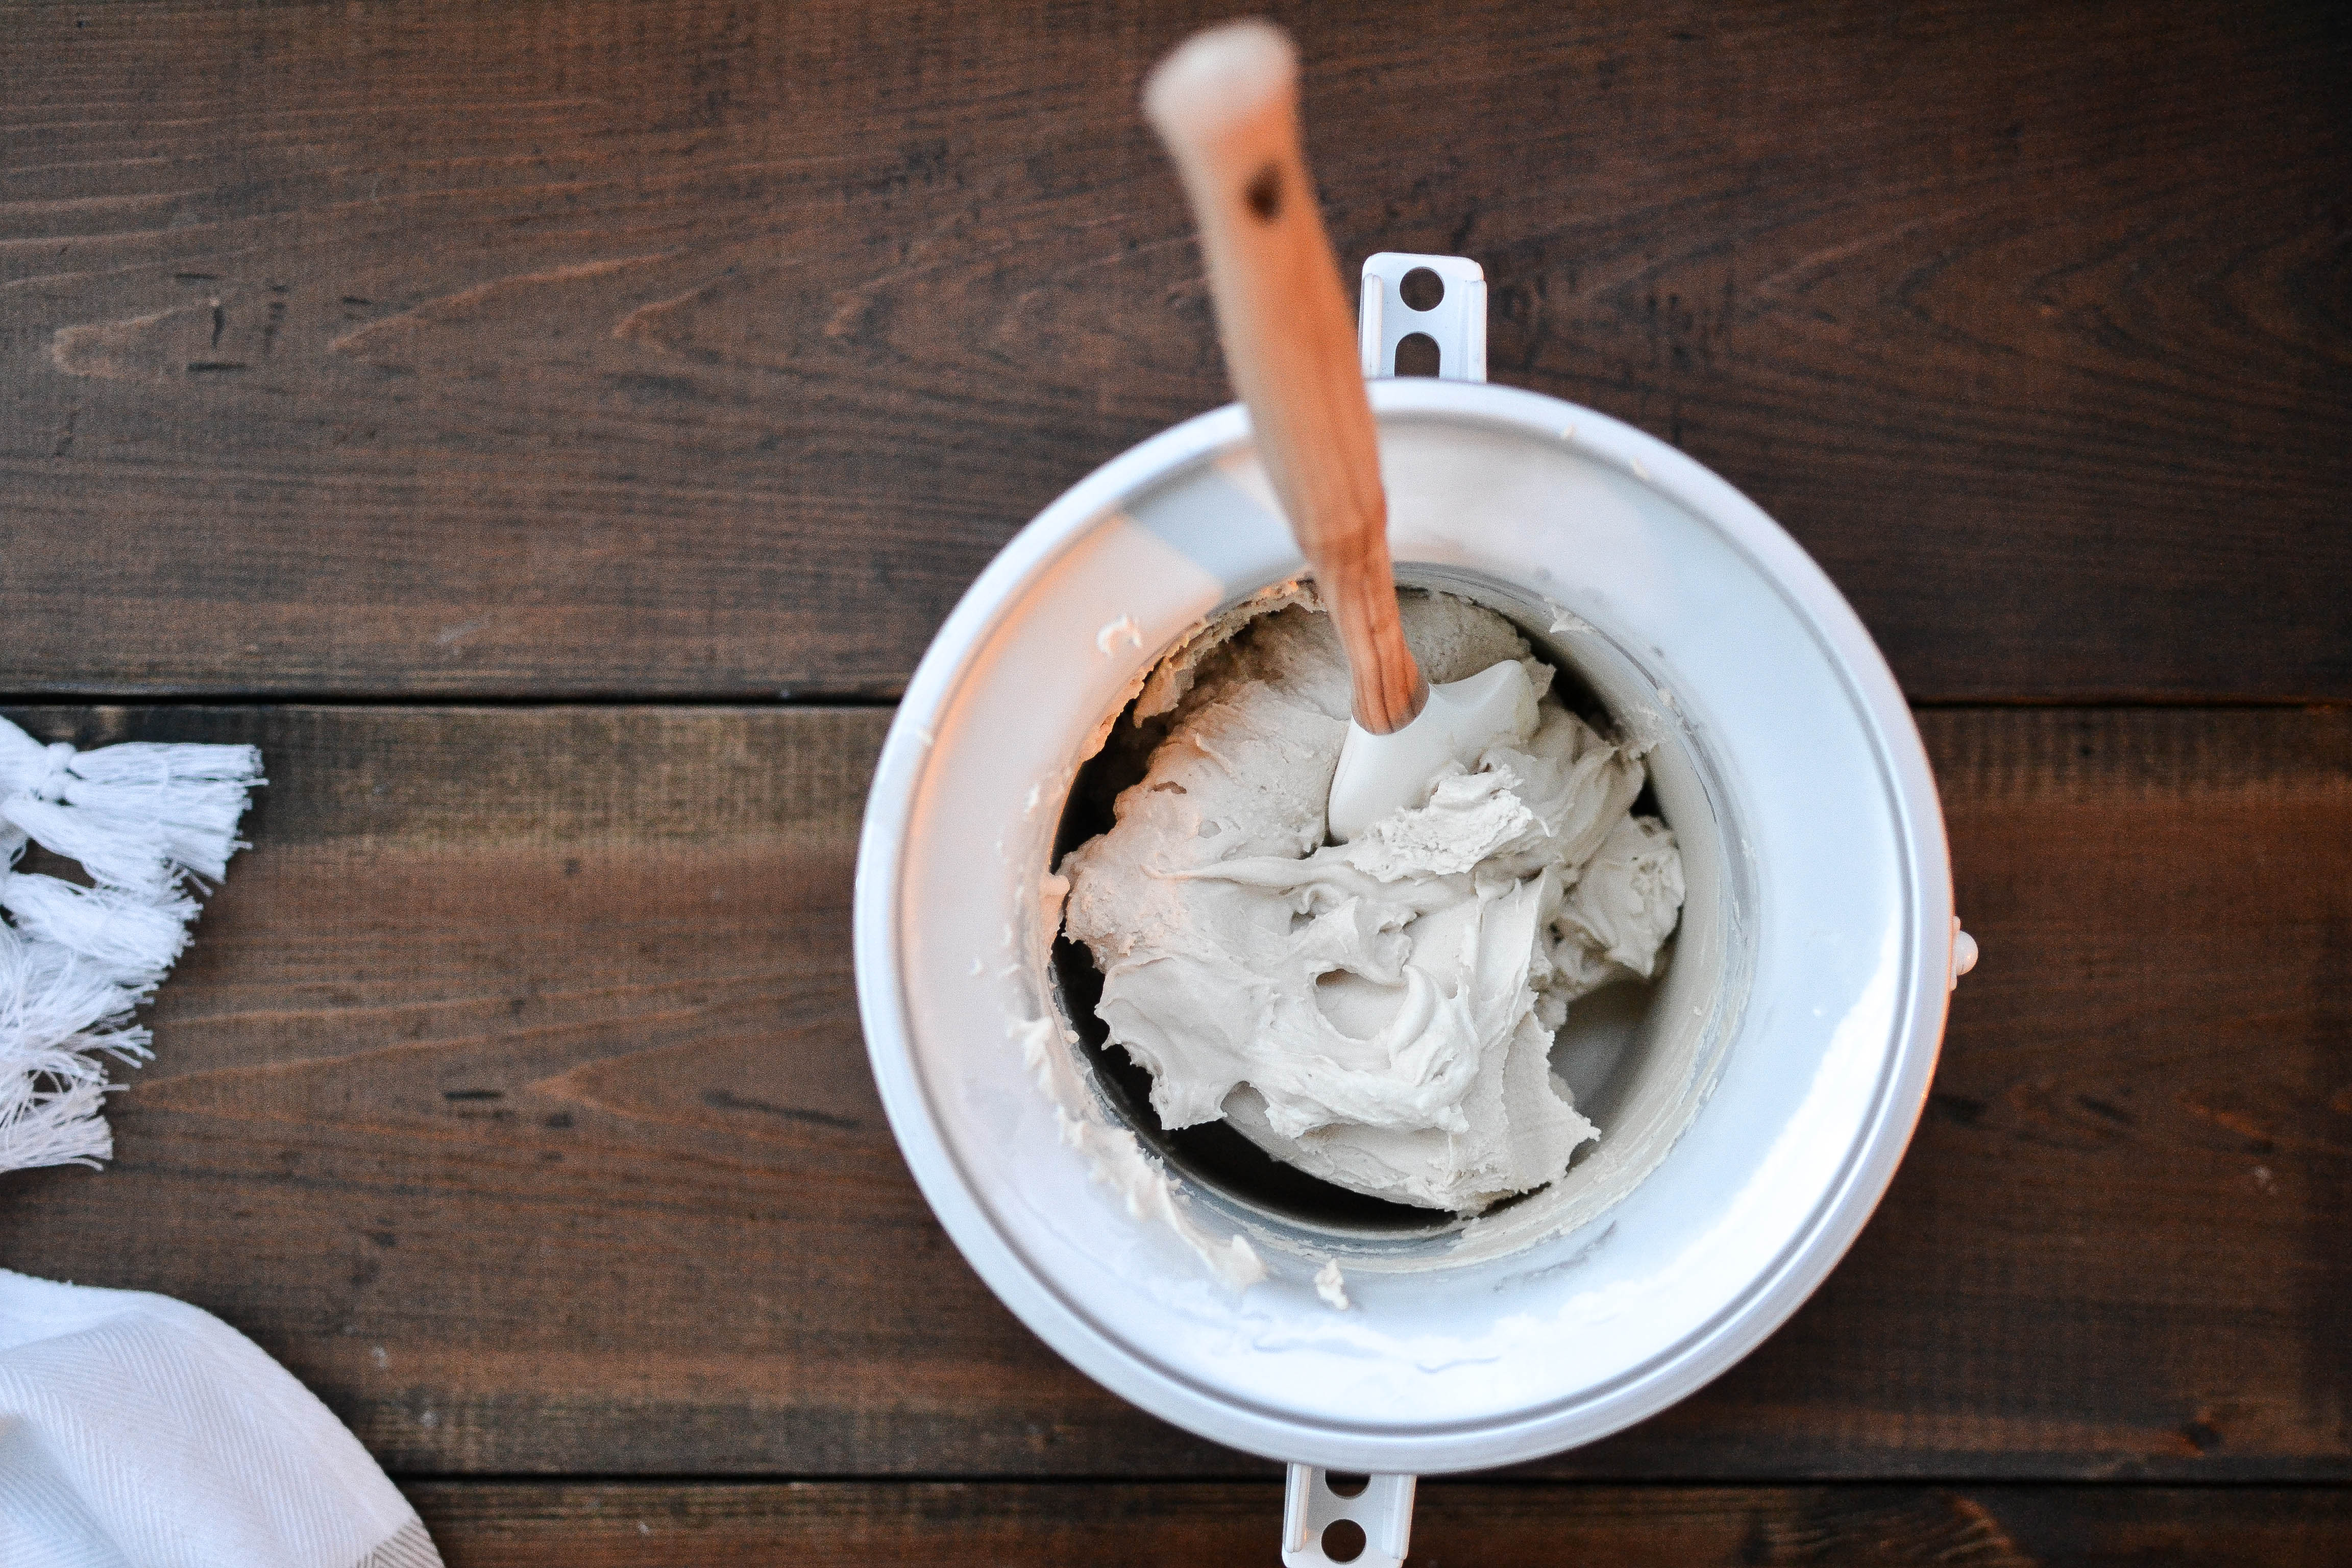
  5. once the mixture is thoroughly chilled, scoop it into the ice cream churning bowl and churn for at least 45 minutes (or according to manufacturer’s recommended time; mine is the Kitchen Aid mixer ice cream maker attachment). if you find that after 45 minutes the ice cream is not looking like thick and creamy ice cream, place the ice cream churning bowl (with the ice cream) back into the freezer for about 1-2 hours then churn again until the ice cream looks like… ice cream!!!! J
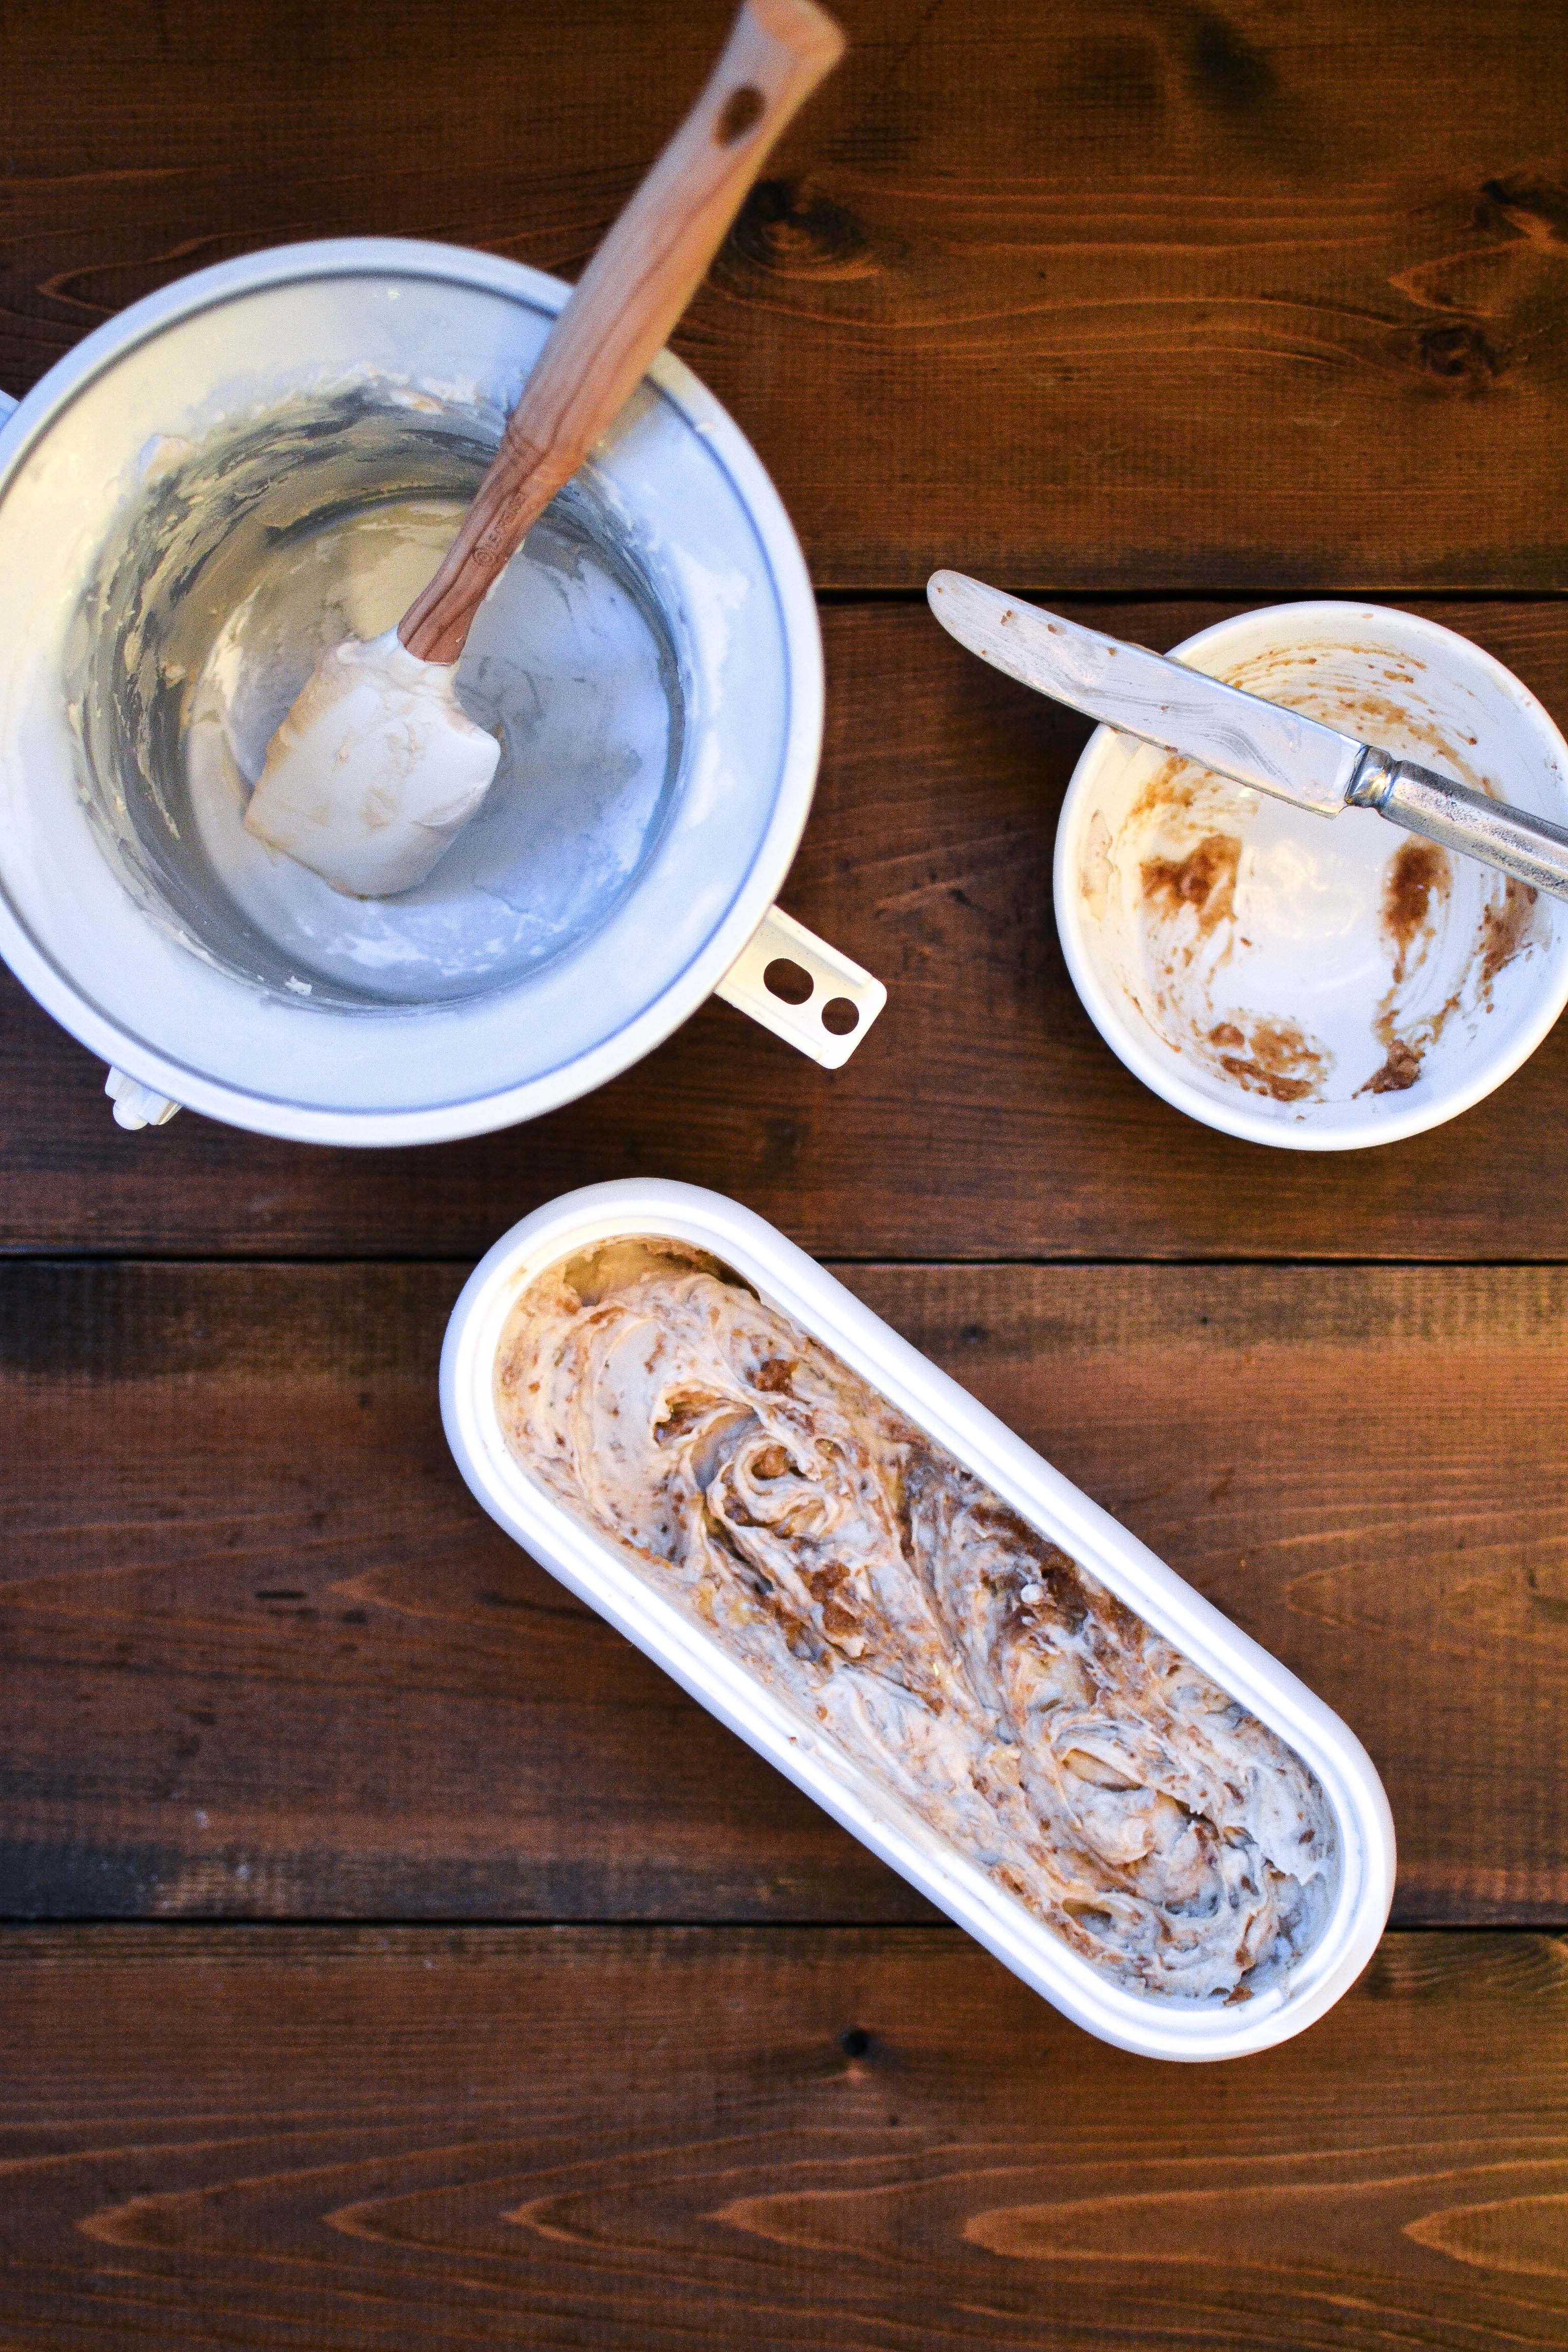
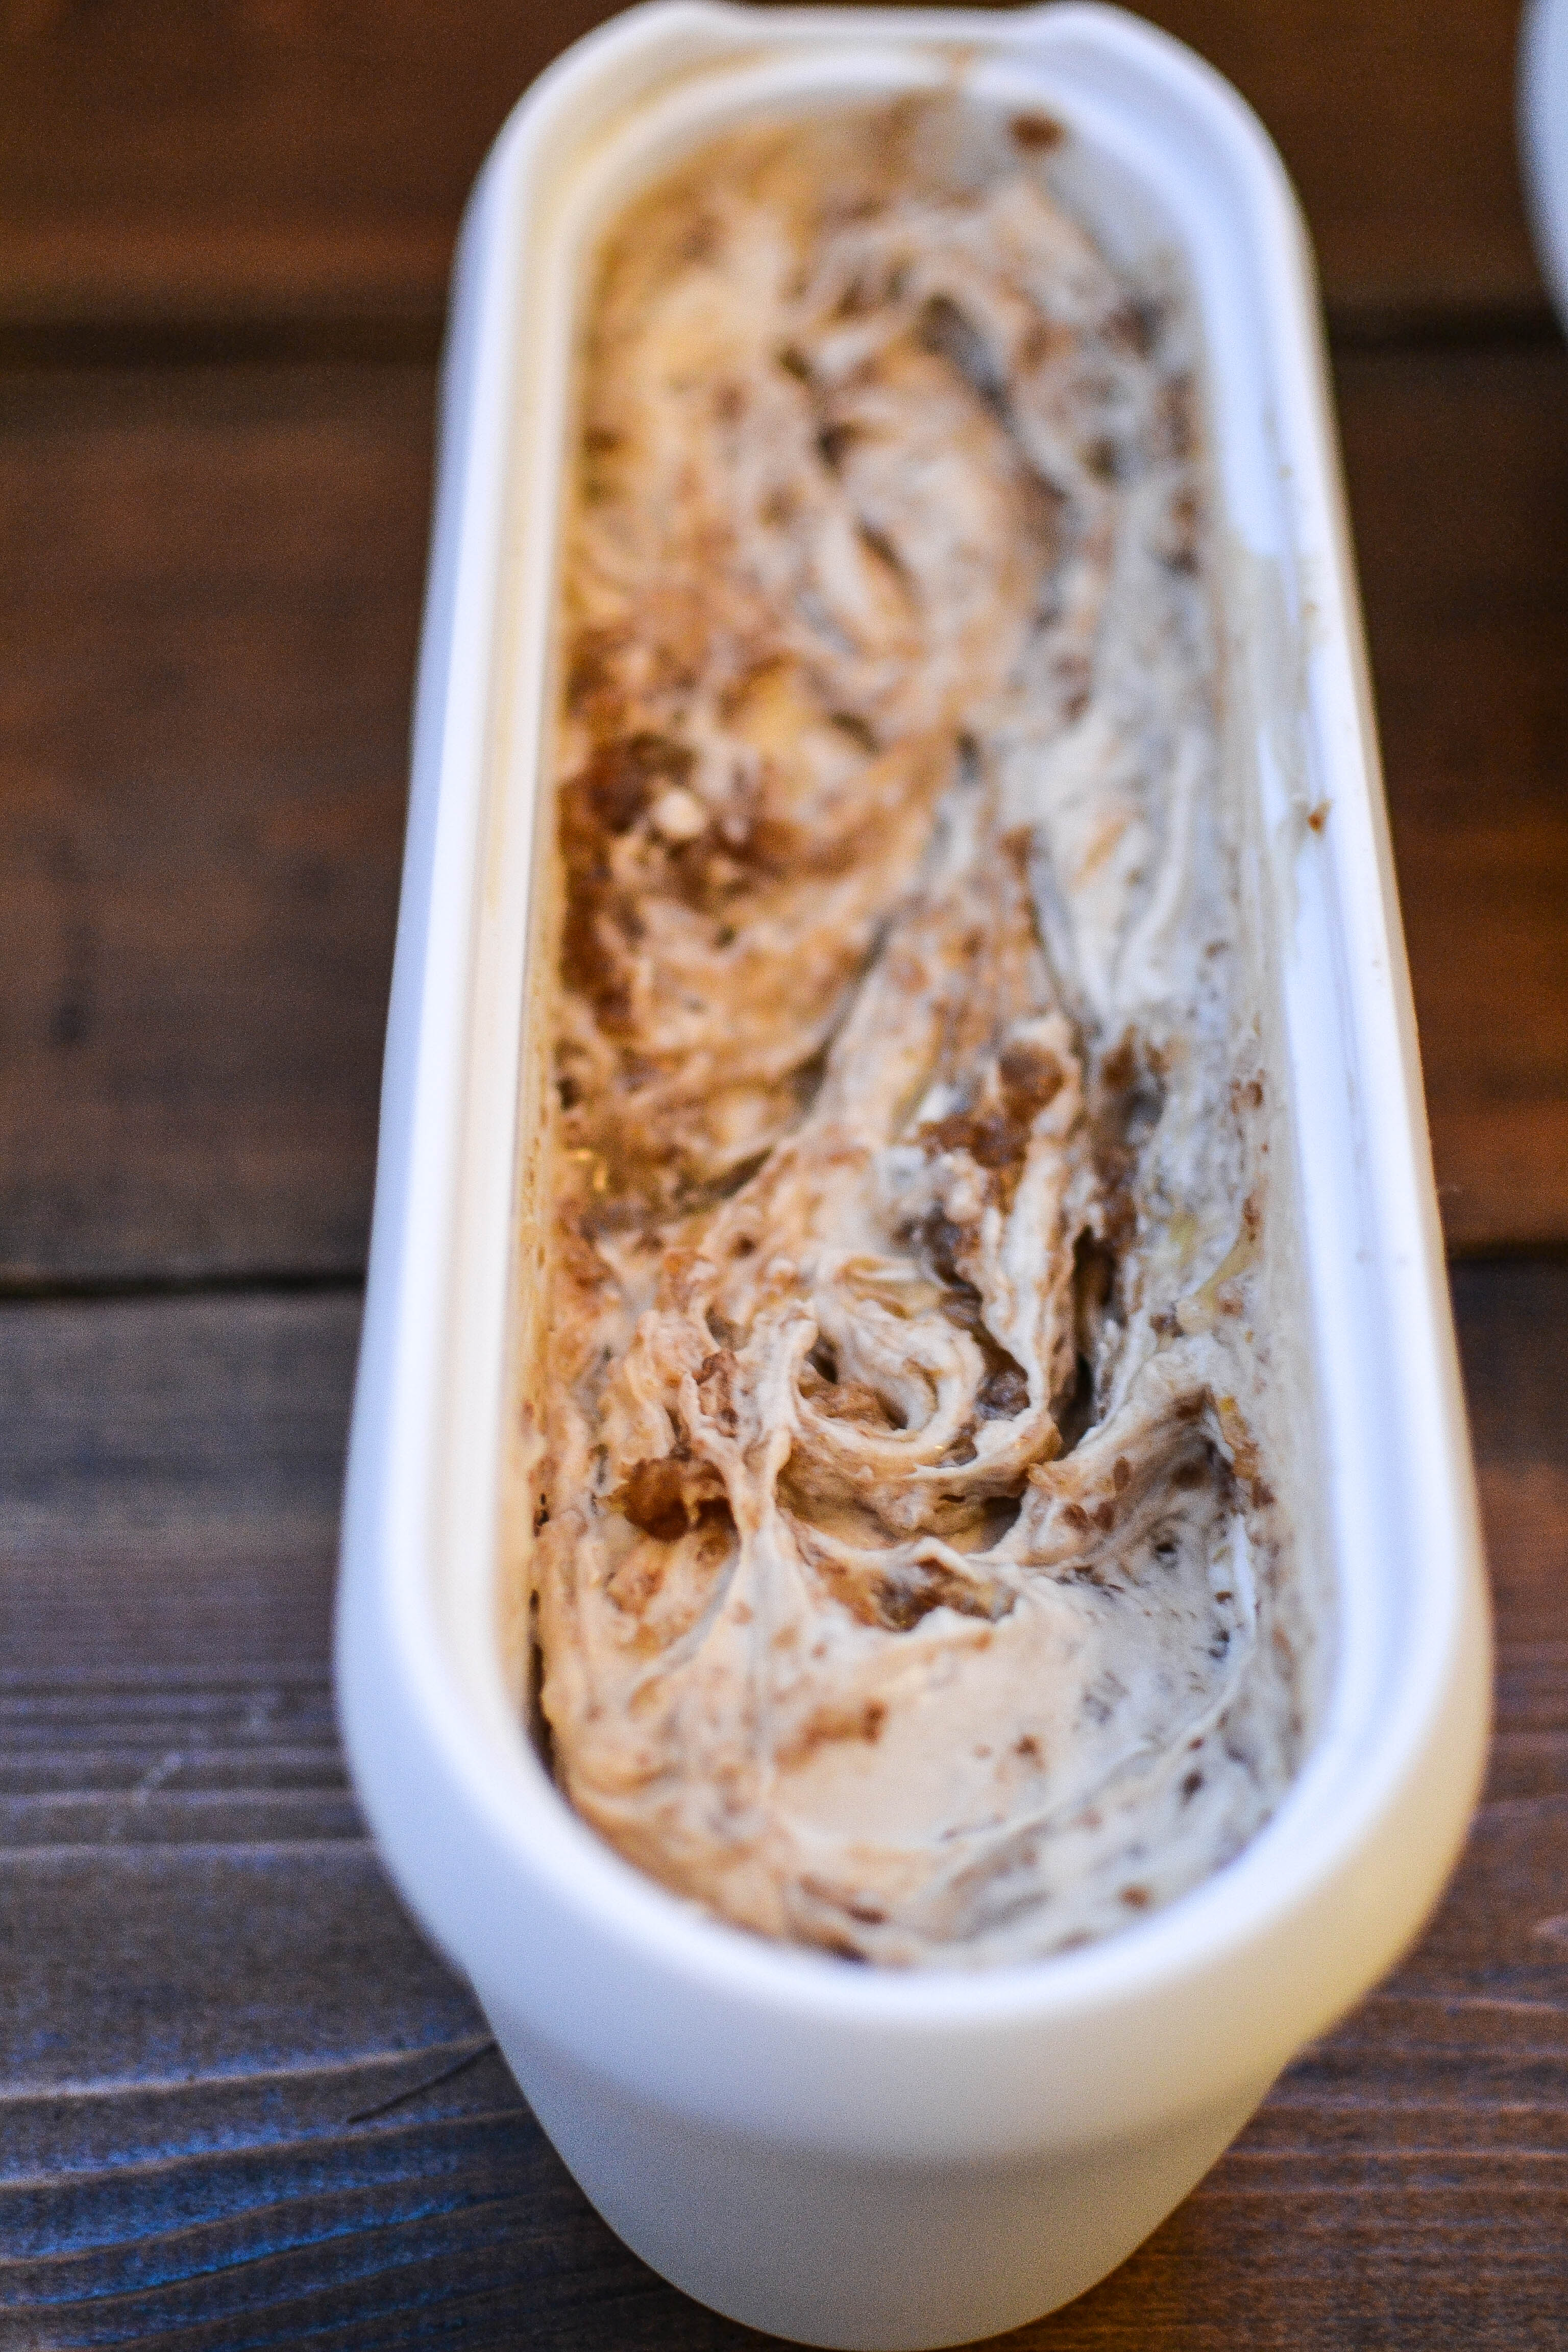
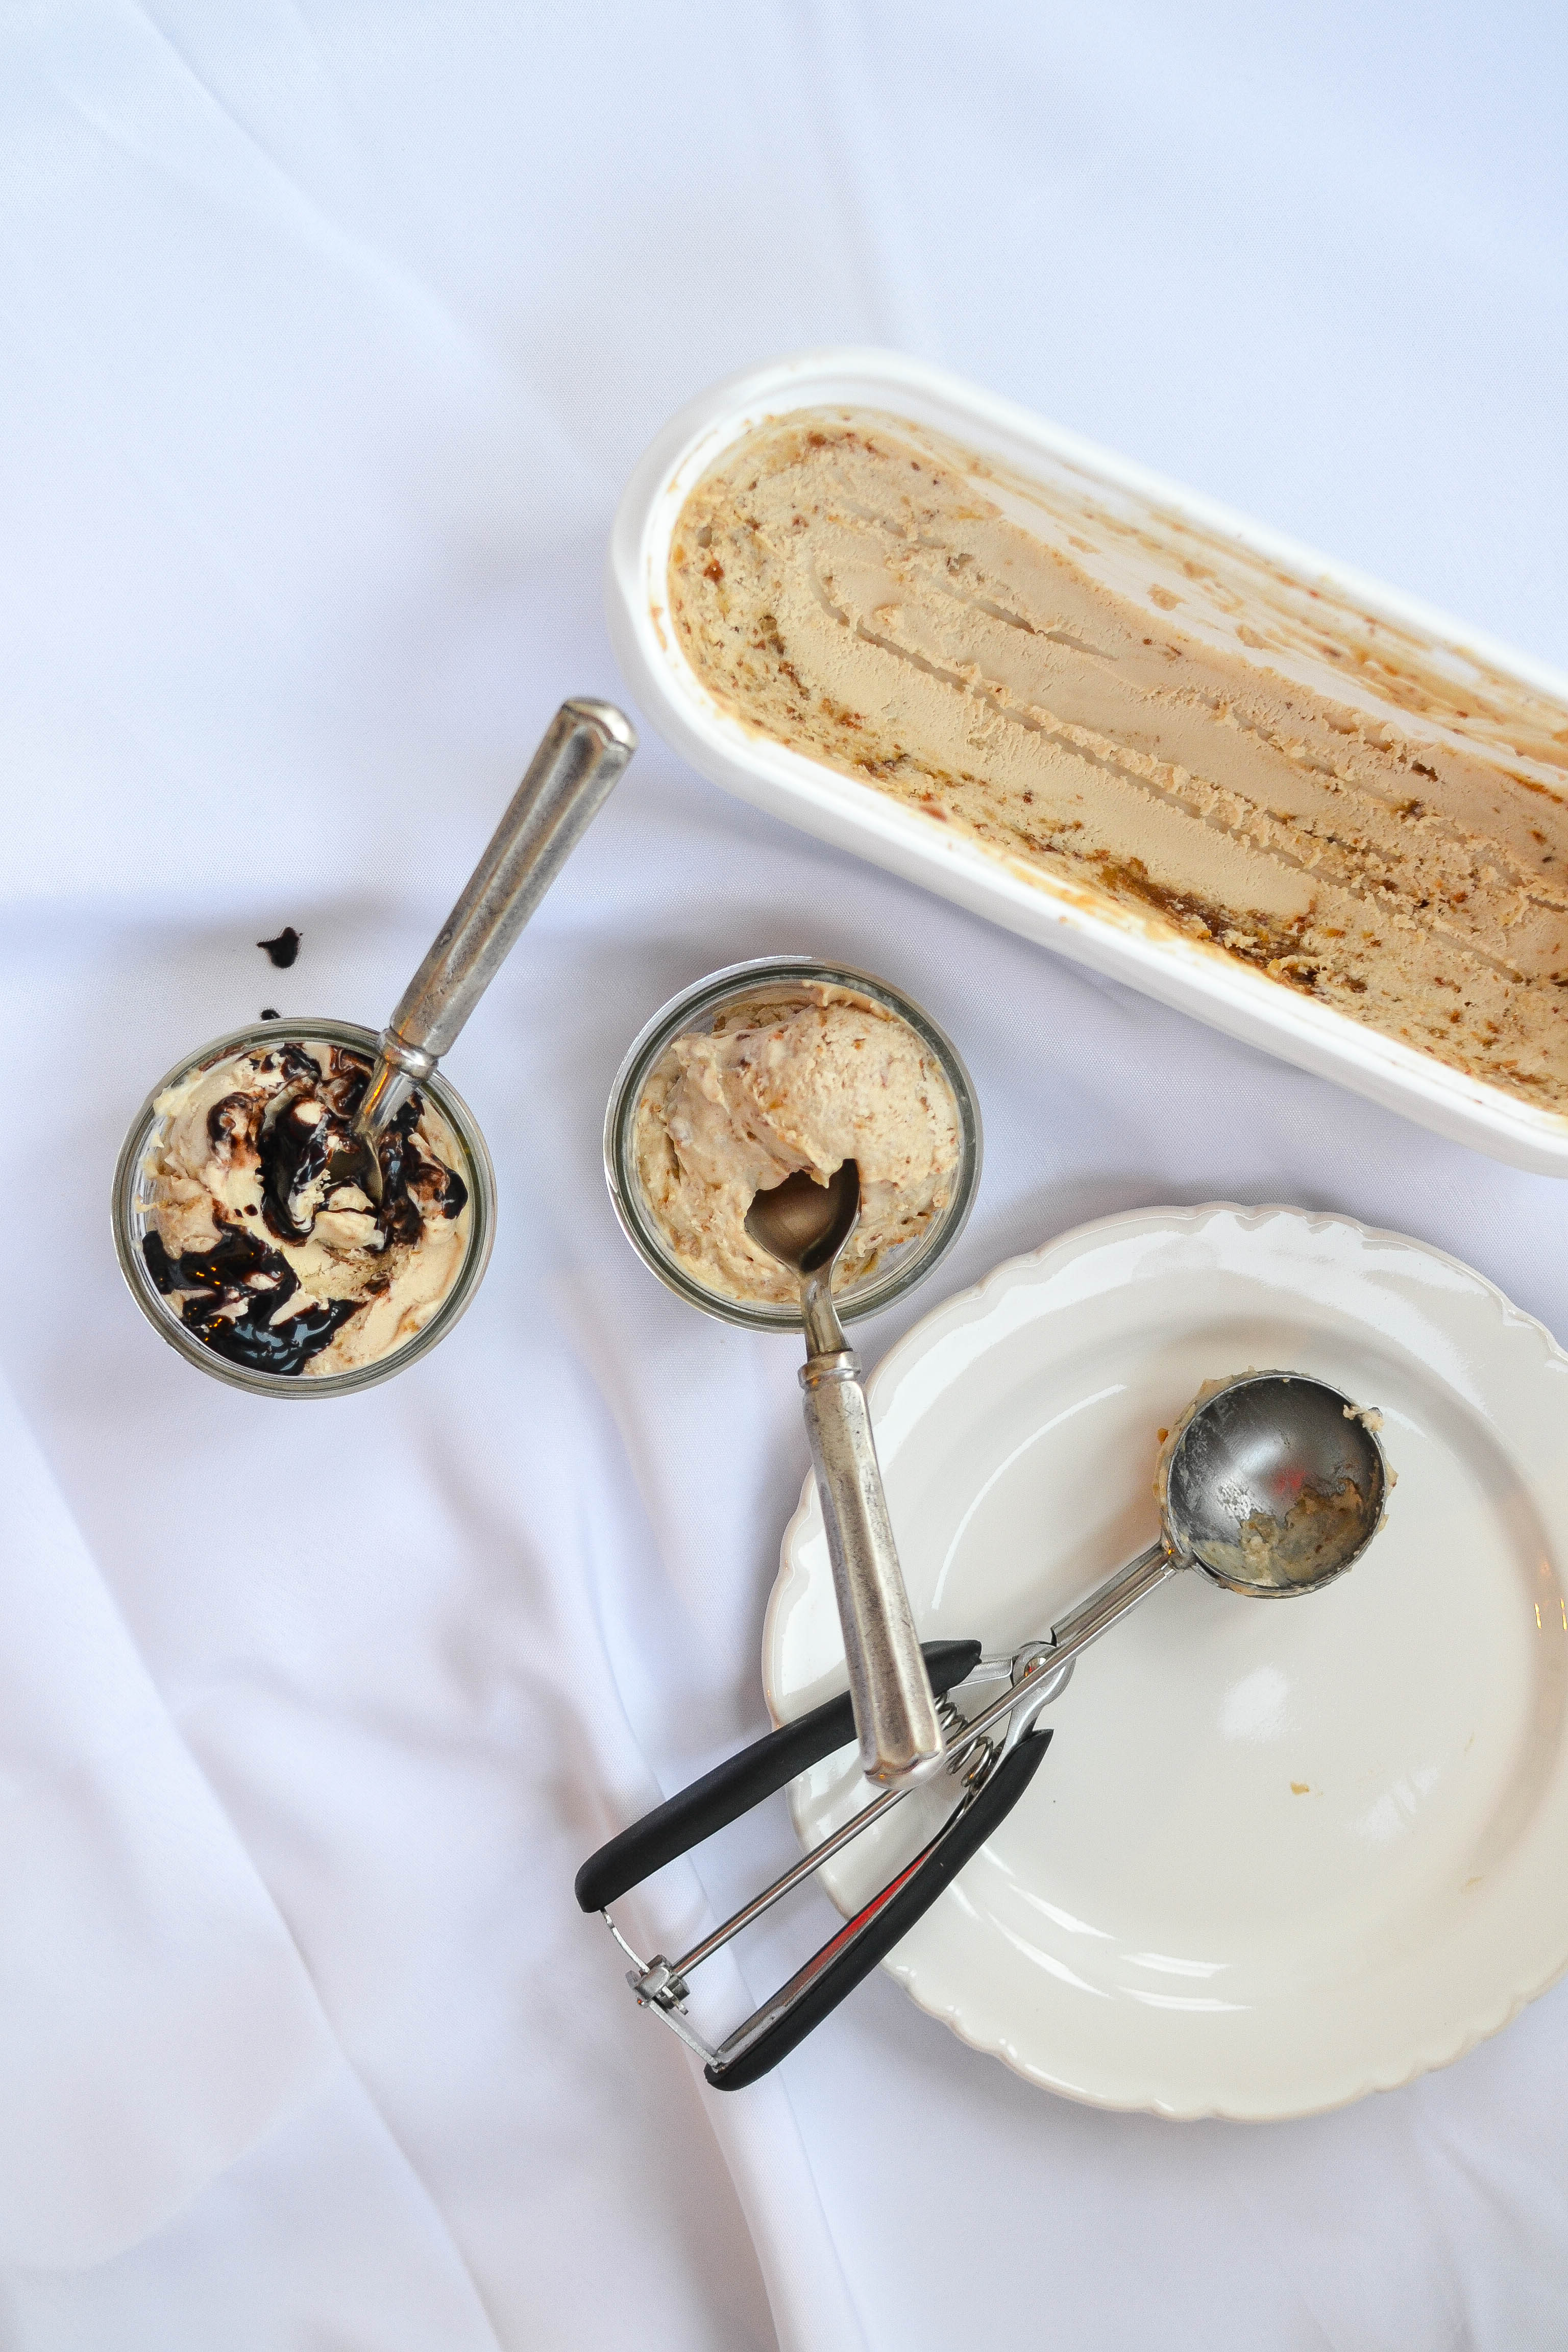
  6. pour churned ice cream into a freezer safe container (i use these and they are awesomesauce.). using a butter knife, scoop some caramel onto the knife then dip it into the ice cream and swirl it around to create a marbled pattern of ice cream and caramel. make sure to evenly distribute the caramel throughout the ice cream! lastly, top with a few more pinches of sea salt!
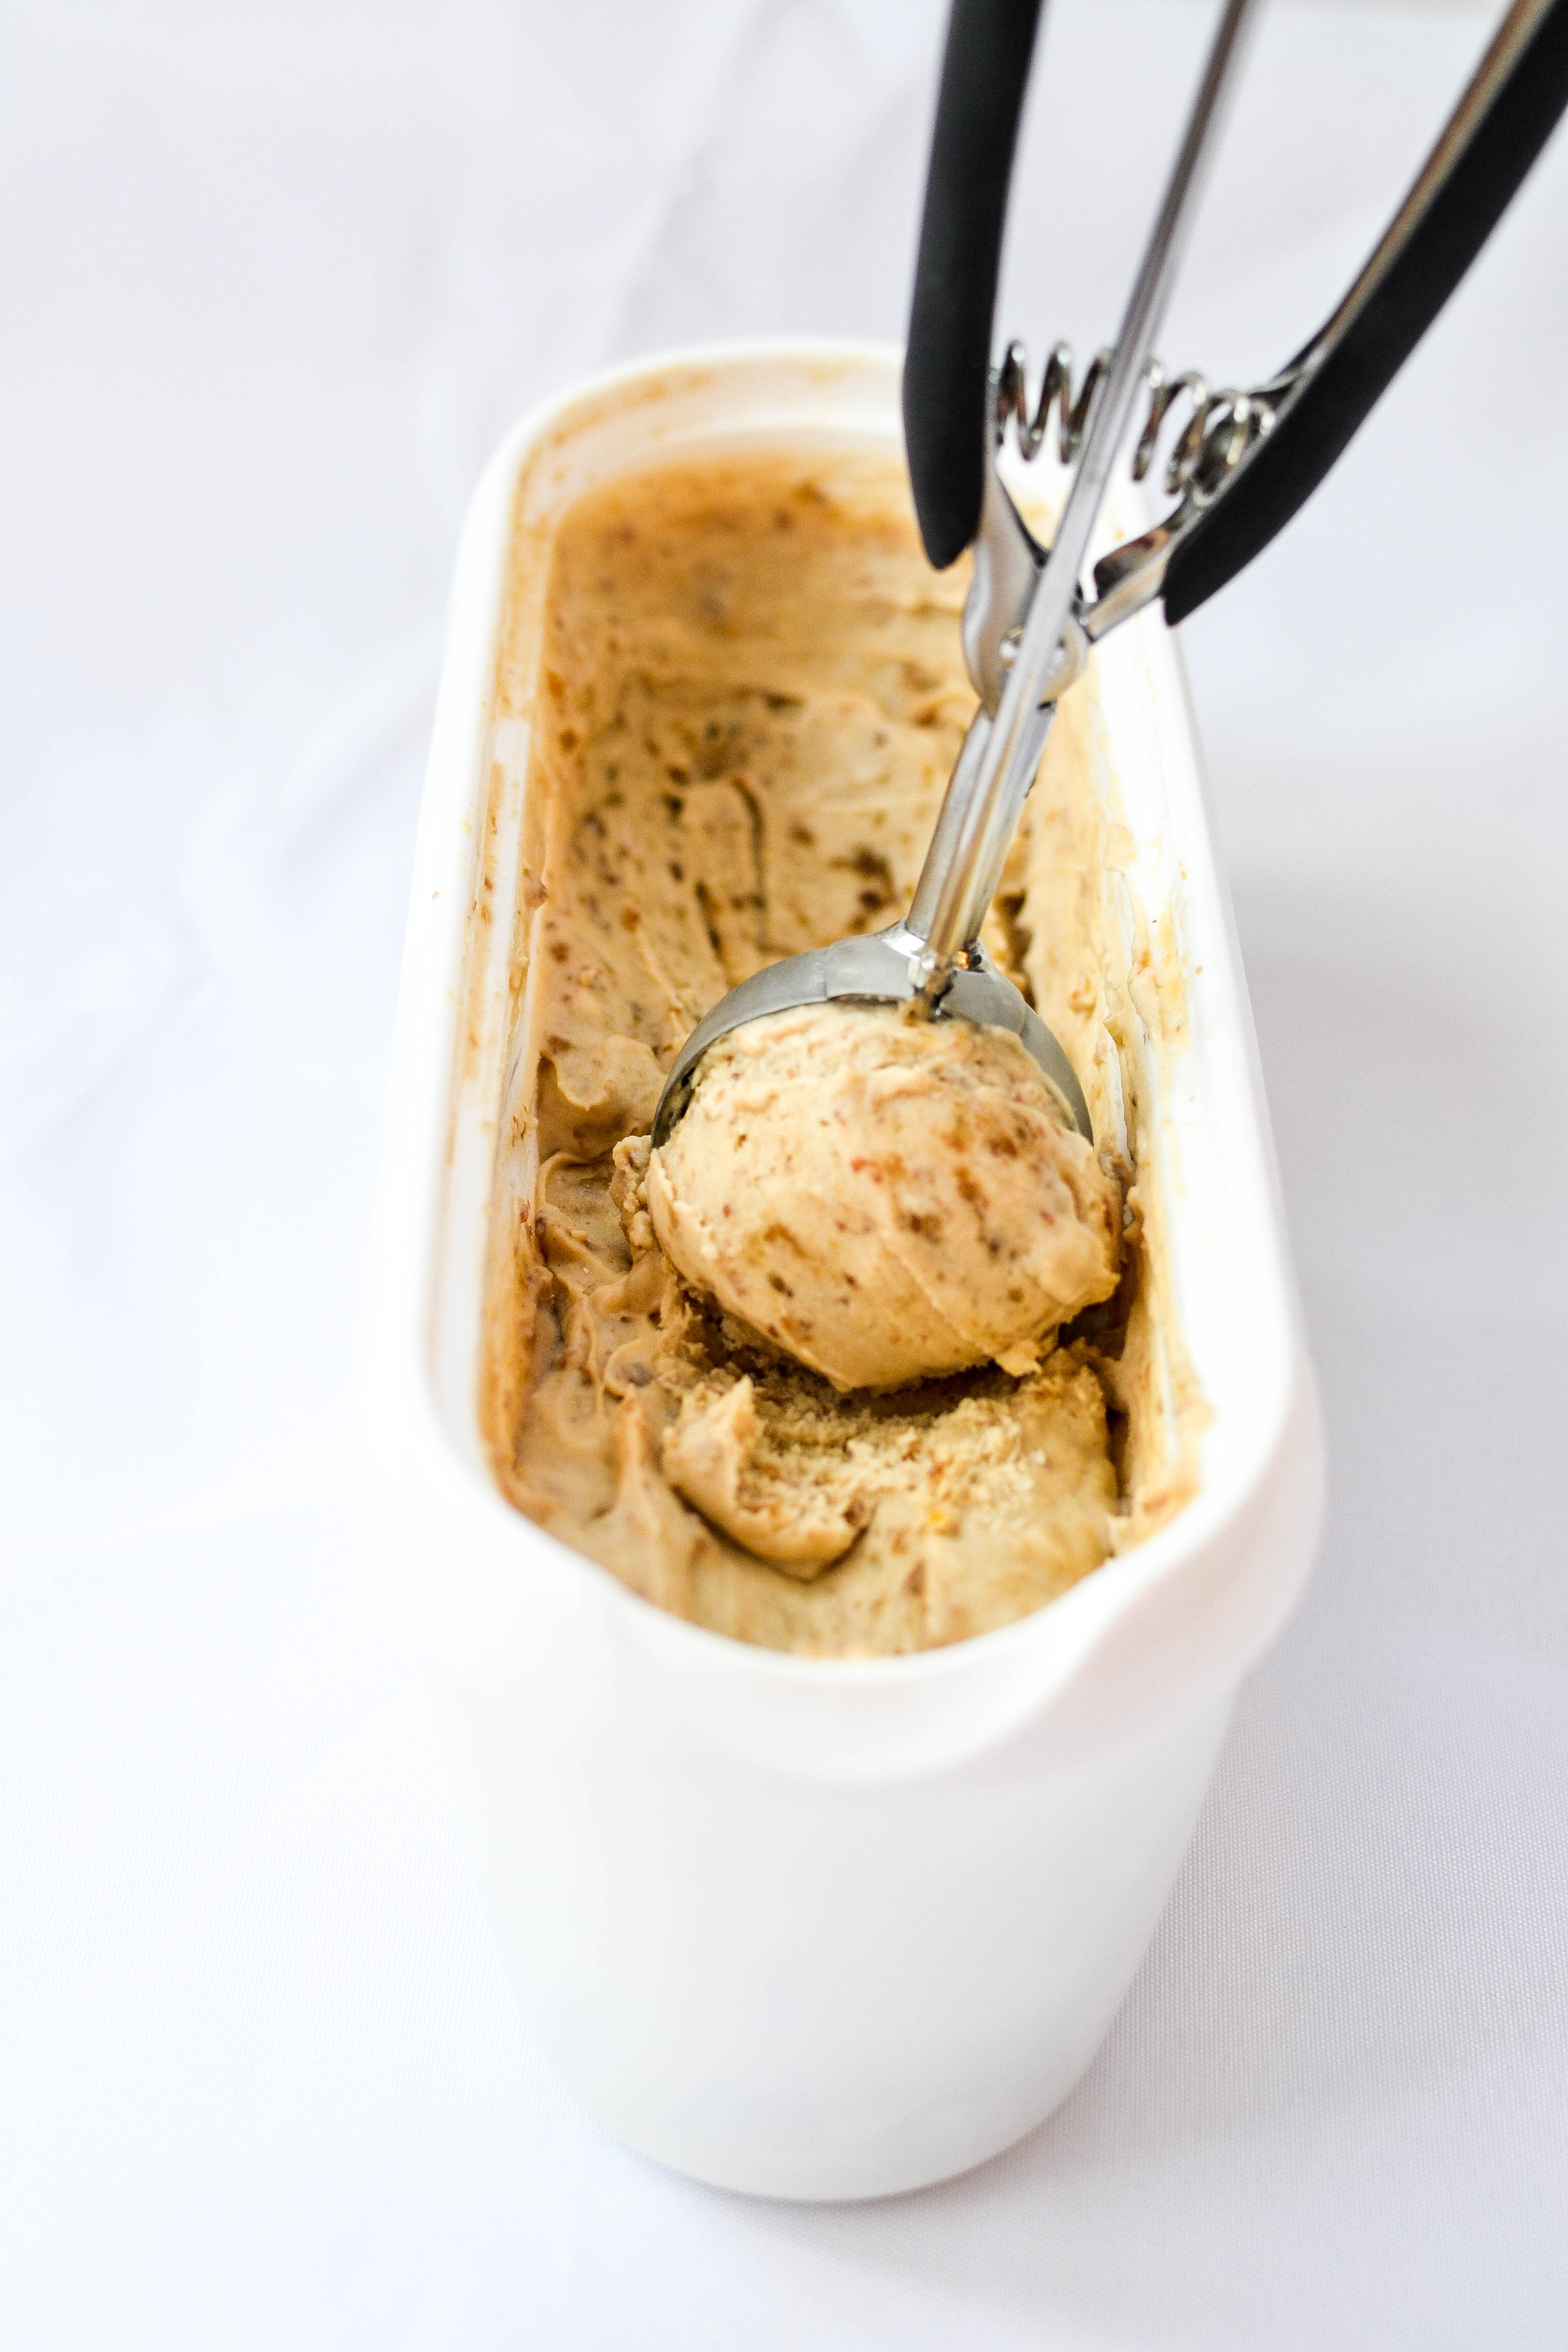
  7. place ice cream with swirled caramel in its container in the freezer for 2-4 hours or until ready to eat. i recommend letting it sit out for about ten minutes before scooping. it will be much easier on your forearms/biceps J
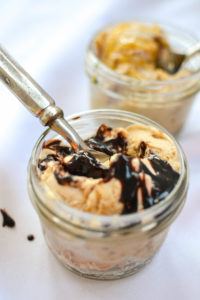
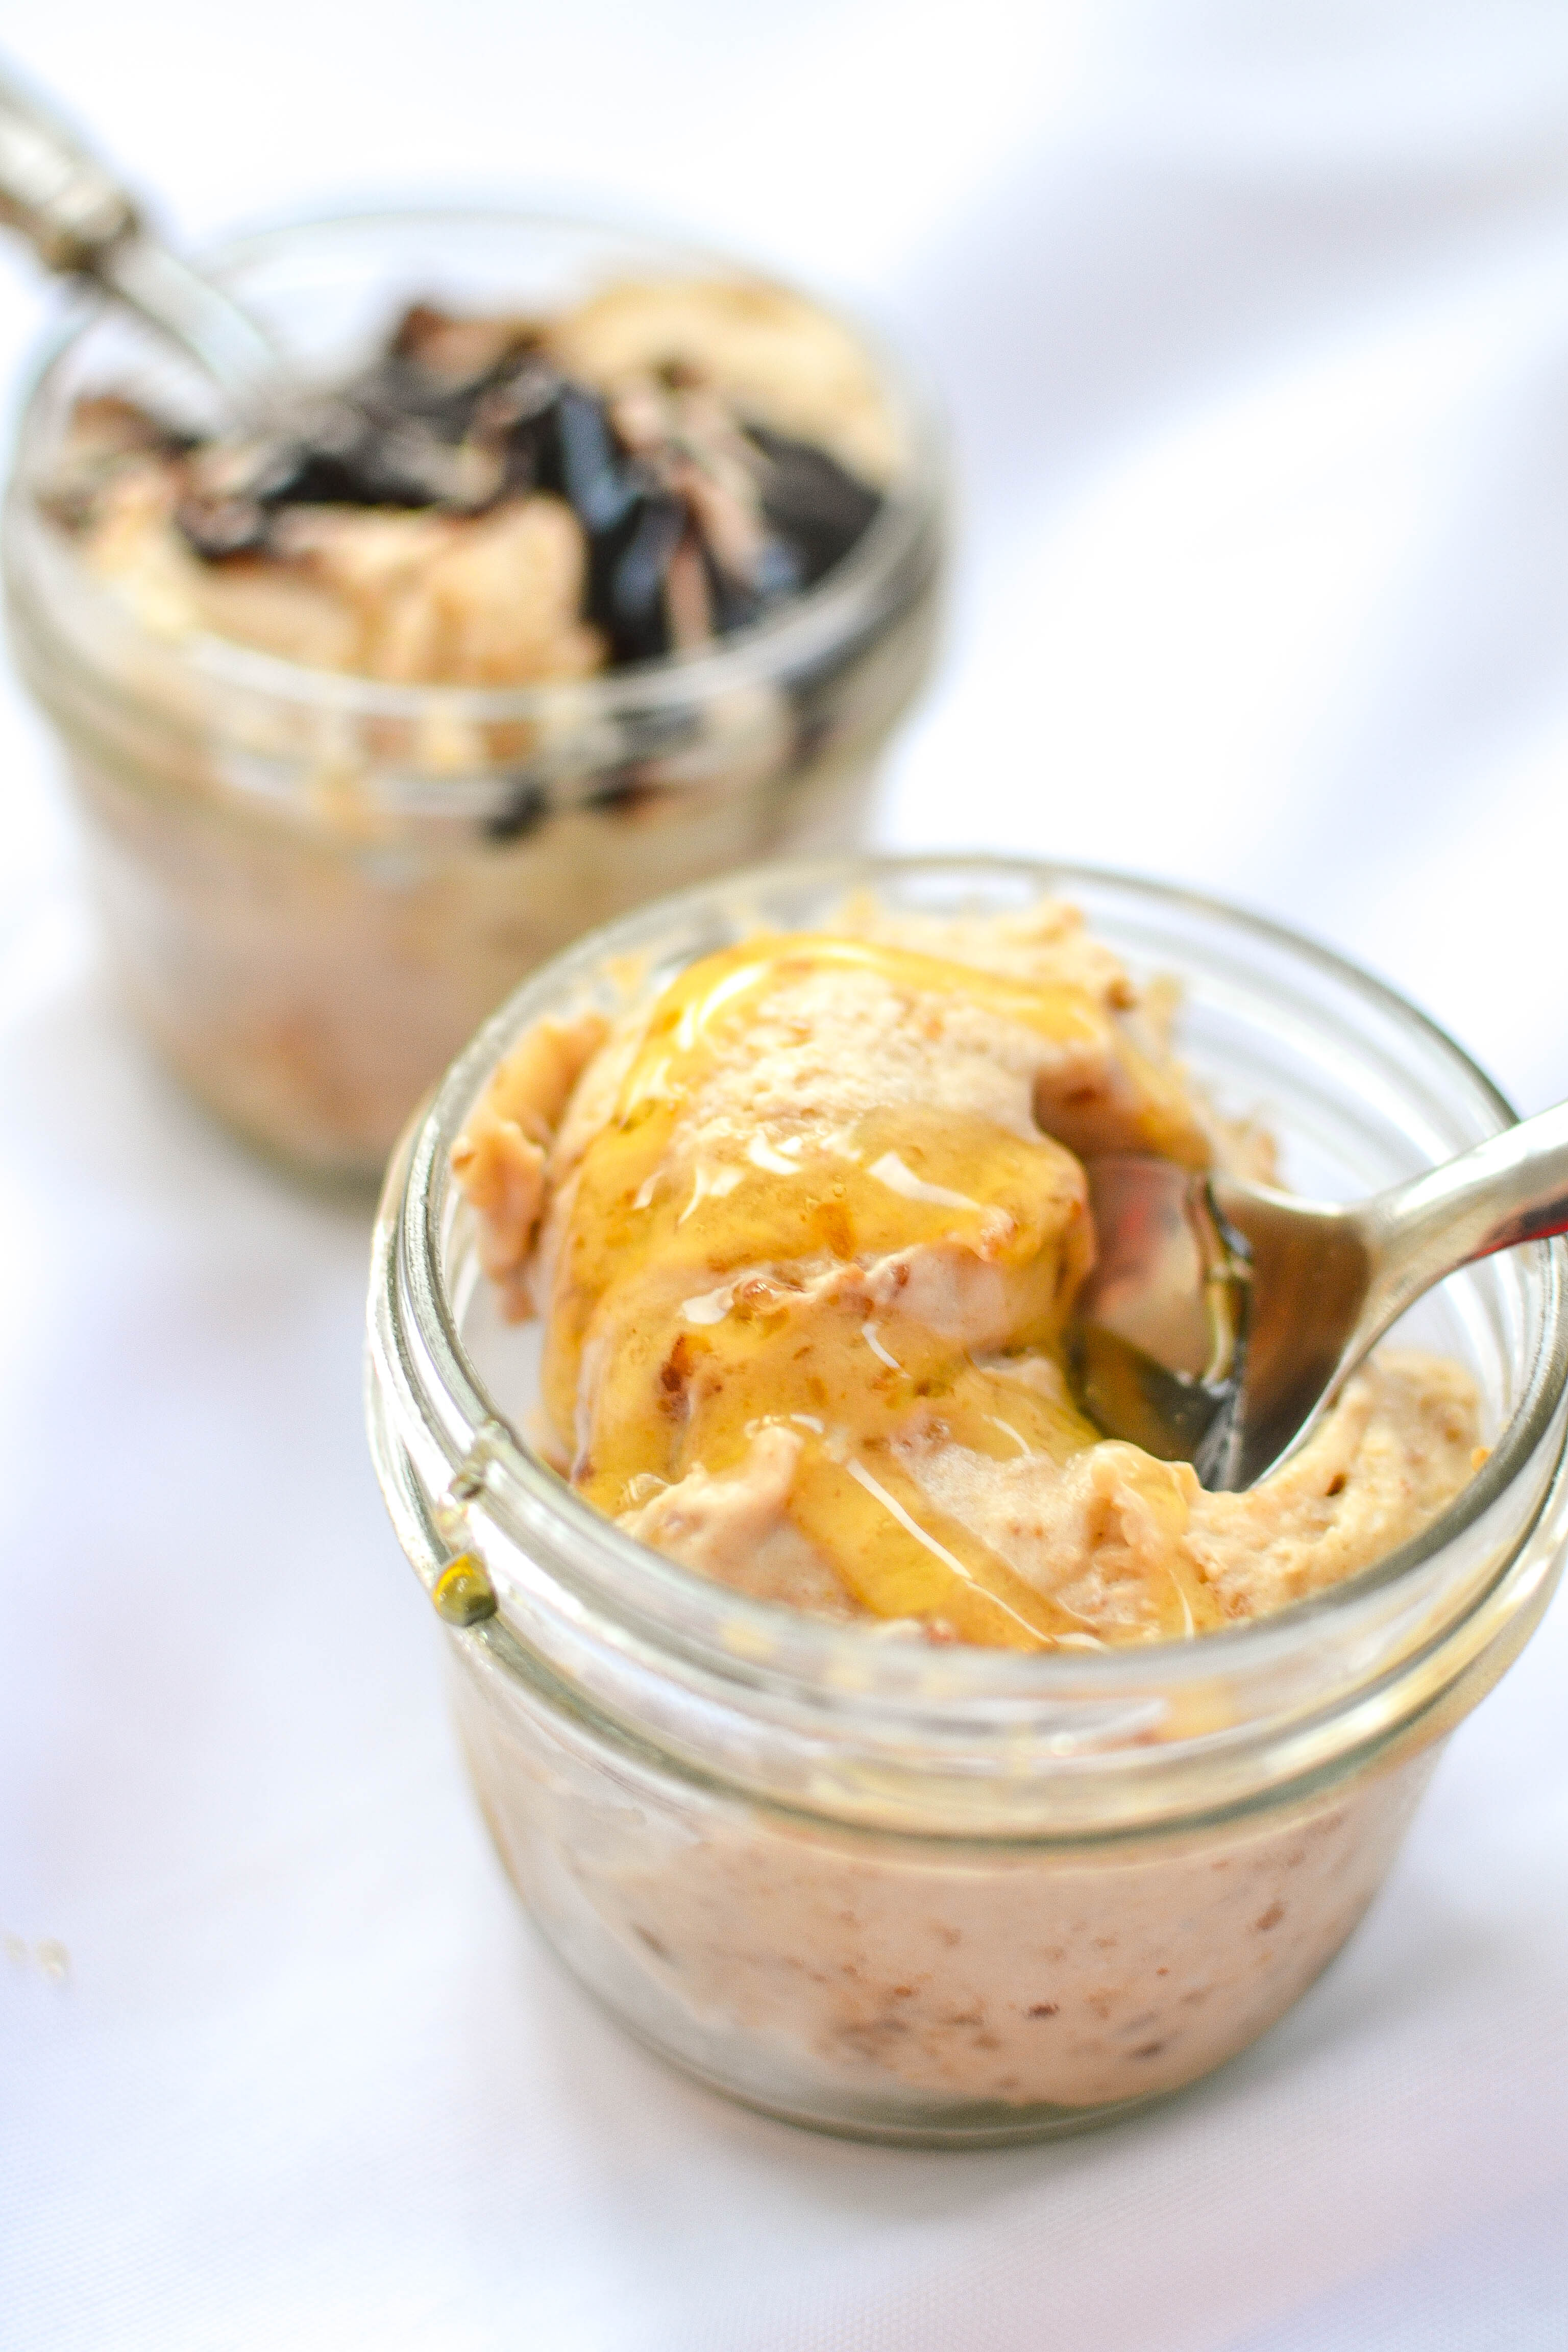
  8. serve ice cream plain or with delicious toppings like dark chocolate syrup or honey!! enjoy!!

1
2
3

4
10
12
13
14
15
18
20
21
22
24

34

35

36

39
41

43
© Appetites Anonymous 2016

Verified by ExactMetrics