We’ve been trying to find some time to sit down and plan out the nursery, and decided to put most of our house projects on hold until it was finished. Then one day, one of Jeremy’s super-generous coworkers said “Hey, I have this Pottery Barn medicine cabinet that I bought a few years ago and don’t have any use for now. Do you want it?”
And I was like:
 …and we totally forgot about the nursery. Oops! The End.
Really though, it was an amazing gift (thank you, Sharon!) as we’d been talking for over a year about how little storage space the guest bathroom has, and how a medicine cabinet would solve that problem. We were going to hang on to it until after the baby was here, but after thinking it through it was decided that if we were going to cut holes in the walls and take on a big project like this, it would probably be best to do it before we have infant needs and nap times to compete with. So with that, we jumped right in!
 This is the cabinet, in chrome finish. Isn’t it pretty? Originally, there was just a framed mirror hung on the wall. It was a good size for the space, but obviously the lack of storage was an issue.

We took down the mirror, turned off the power to the bathroom, and cut a few exploratory holes in the wall. This is a really important step, you need to take your time determining where plumbing and electrical are running before you go any further. Just our luck, we found we had a water pipe running directly behind where the cabinet would have to sit. This was not the best news. And the hole in wall got progressively bigger as Jeremy kept saying “I just need to cut a little more out so I have room to work.” At this point I was a little scared that we were about to tear our bathroom apart forever.


Thankfully, Jeremy had some plumbing knowledge from one of his jobs in high school, so he felt comfortable taking this on himself. He ended up buying 4- 45 degree copper elbows, flux, and pipe sanding cloth. We had a soldering gun and solder, too. After shutting off the water, he was able to move the pipe back further into the wall, leaving plenty of clearance between the wall/pipe/medicine cabinet. The real moment of truth was turning the water back on, and making sure the soldering job was solid. It was! I’m still SO impressed with what a great job he did, since any kind of plumbing or electrical is intimidating to me.


 We’d already determined where the medicine cabinet would sit before we cut into the wall, so now we just had to frame it out. Jeremy used 2×4’s cut to size, to frame out the cabinet insert. By using the existing woodwork + 2 extra pieces to frame out the top and bottom, we were able to make the frame REALLY solid and stable.

To repair the gaping hole we’d left in the drywall, we went to Lowe’s to grab some more. Pro tip: if you only have a small section to repair, ask them if they have any scrap drywall to sell. These are full sheets that have small imperfections that make them unsellable as a whole – we were able to get a 4’x4′ piece cut from a scrap piece of green board (good for moisture-heavy rooms) for $1. Can’t beat that! We cut the drywall to match the existing space, and screwed it in. Jeremy then cut the hole out for the cabinet insert, and put the cabinet in to make sure it fit.
 We then taped and mudded the edges of the drywall, and filled in all of the screw holes. After it dried it was given a good sanding to remove any rough edges or bumps, and this had to be repeated for a total of 5 coats. We use pre-mixed joint compound, and have found that this kind is the easiest to work with – be prepared to be patient with the drying time. It took almost a whole day for each coat to fully dry. I also highly recommend a Magic Trowel for a really smooth finish!

After the final coat was dry it was sanded, primed (with trusty old Kilz), and painted (Benjamin Moore – Palladian Blue). We then re-inserted the cabinet, screwed it in place, and put in the glass shelving. Finally done, and looking like it was there the whole time! We re-hung the lights upside down on accident, but decided to leave it for a while to see if we liked it.

 I made a fun little sign out of some scrap wood for the floating shelf.

 The project turned out to be a little more involved than we anticipated, but turned out so great. The cabinet sits flush with the wall, which is perfect for the small space, and now we have storage! Totally worth it.

I had to take a sappy photo because I realized seconds before I took this that we met 13 years ago today! Now I guess we should probably get working on that nursery 🙂


 Yep, I just entered the home stretch of pregnancy – and I can’t believe it! I just had my glucose test last week – I bombed the 1-hour test, which was pretty stressful. I thought that I was healthy enough that it wouldn’t be a problem, but I’ve learned it’s really common for healthy women to fail it. I had to go in last Friday for the dreaded 3-hour Glucose Tolerance Test, and while it was rough (I hate having my blood drawn!), I got the news yesterday that I passed with flying colors. So, yay! I definitely have a lot more appreciation for my own mom after experiencing pregnancy for myself. Between the morning sickness in the beginning, the crazy emotions, body changes, and all of the medical tests, I’ve realized just how much my mom went through to get me here. Thanks, mom!
 1.)
1.) 


 I used an orbital sander, and did a light sanding with a 120 grit pad on both sides. I went really easy on the handles and sides because the wood was a little softer and I didn’t want to reshape it.
 I really like how the sanding sealer darkened the wood just a bit, but still let all of the weathered grain show through.

 Finished 🙂
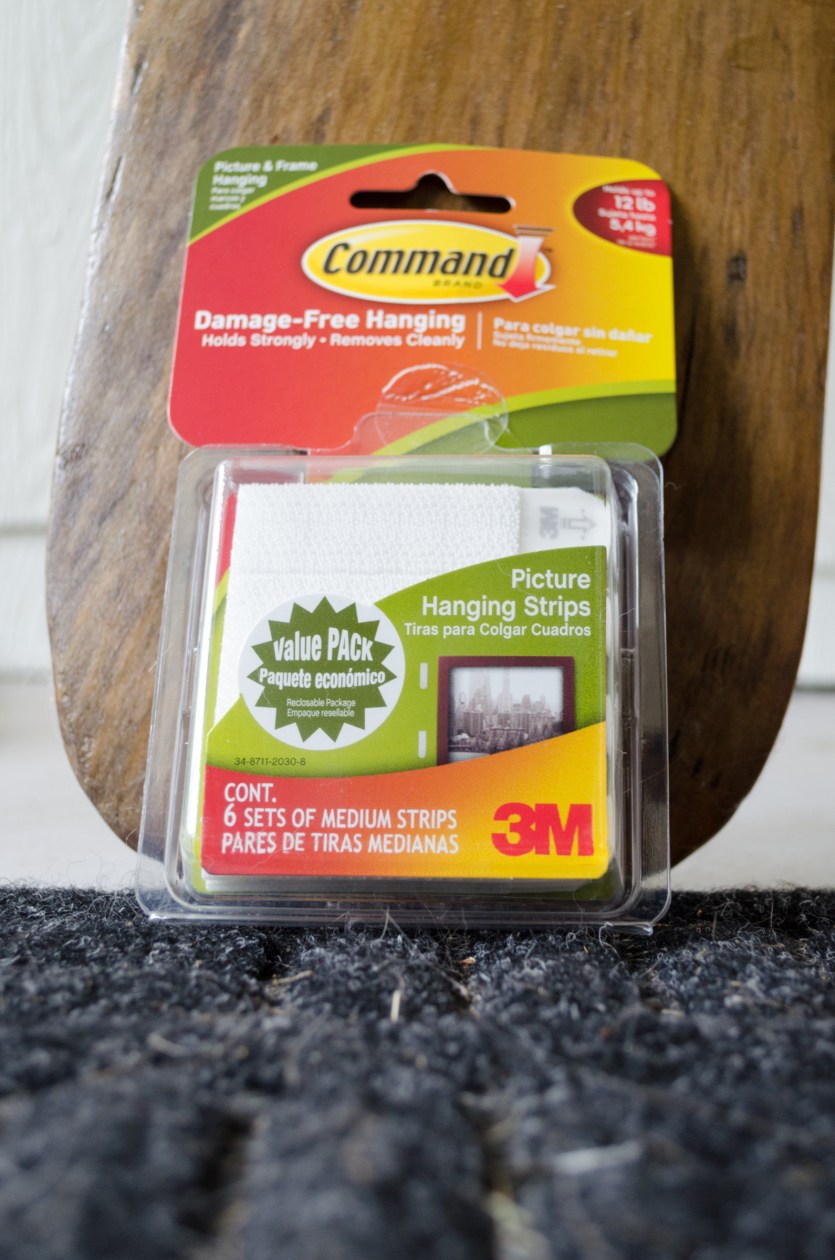
 I wasn’t crazy about the idea of screwing the oars into the wall and creating a million holes, in case we wanted to move them in the future – I was also worried about damaging the oars themselves, so I decided to hang these using medium